
Are you tired of struggling to hang your favorite pictures, shelves, or decorations? Drilling hooks into your wall might seem tricky, but with the right steps, you can do it quickly and safely.
Imagine having the perfect spot to display your items without worrying about damage or falling hooks. In this guide, you’ll learn exactly how to drill hooks into your wall like a pro—no guesswork, no mistakes. Keep reading, and you’ll have your walls looking just the way you want in no time.
Tools And Materials Needed
Drilling hooks into a wall requires the right tools and materials. Having the proper items makes the task easier and safer. It helps you finish the job with a neat and strong hold.
This section covers the essential tools and materials. Each part plays a key role in the process. Understanding them helps you prepare before you start drilling.
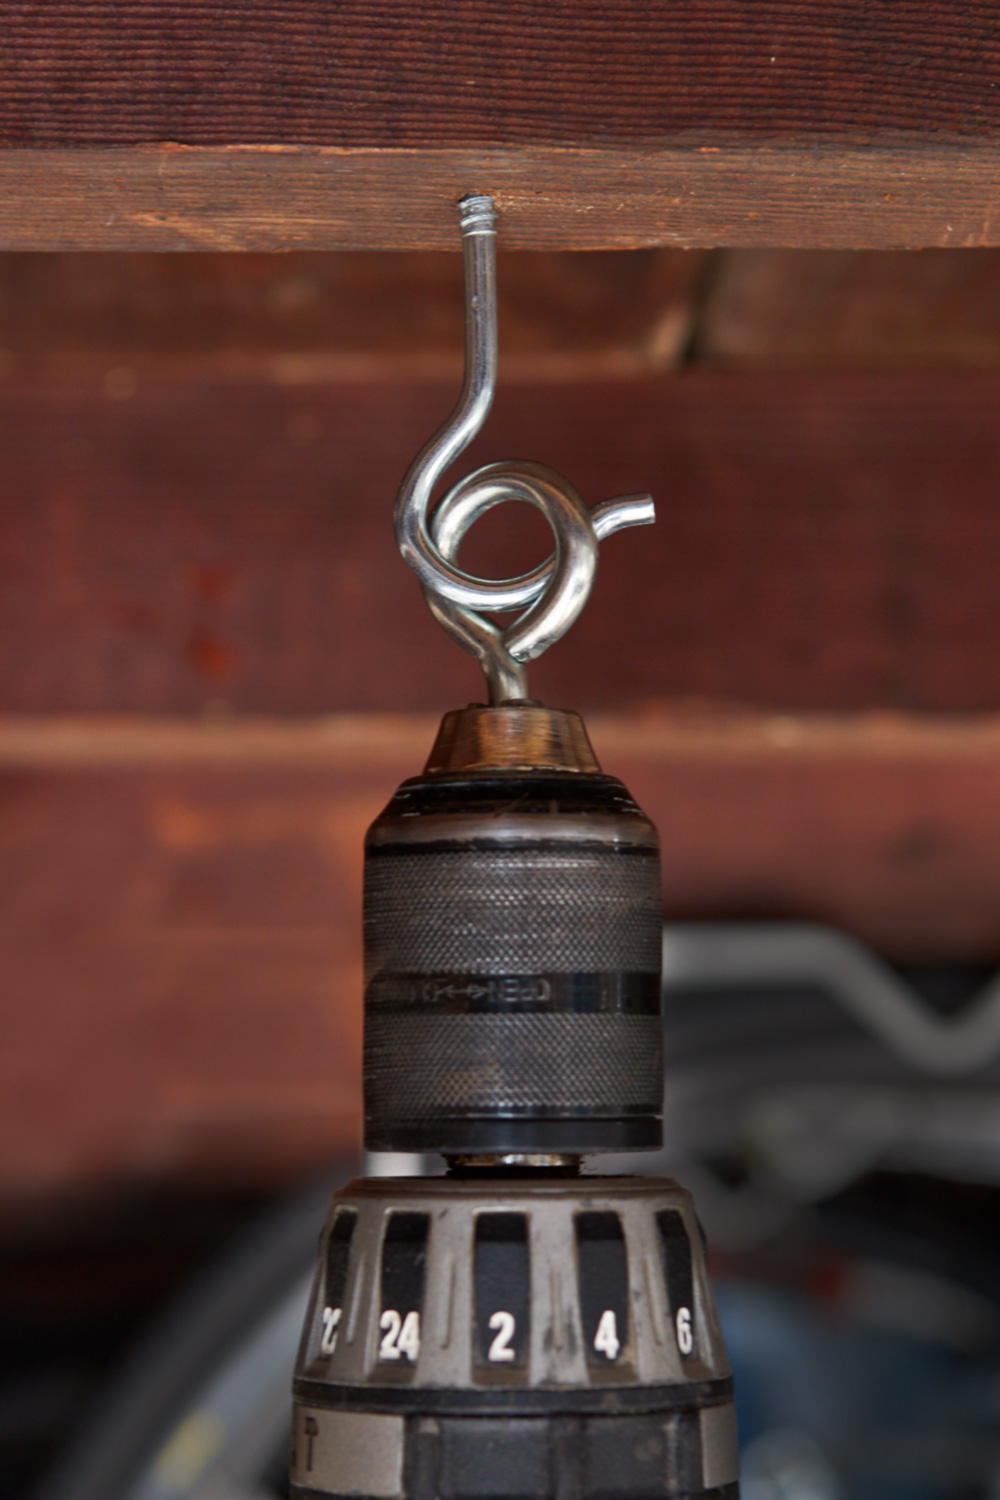
Choosing The Right Drill
Pick a drill that fits your wall type. A cordless drill works well for most home projects. Look for one with adjustable speed settings. It allows better control while drilling holes.
Check the drill’s power. A 12-volt or 18-volt drill is enough for light to medium tasks. Make sure it has the right drill bits for your wall material. Masonry bits are best for brick or concrete walls.
Selecting Appropriate Hooks
Choose hooks that match the weight of the item you want to hang. Small hooks suit light objects like keys or pictures. Larger hooks hold heavier items like shelves or tools.
Consider the hook type. Screw-in hooks work well for wood and drywall. Expansion or anchor hooks are best for hollow walls or plaster. Pick hooks made of sturdy materials to avoid bending or breaking.
Additional Supplies
Gather extra materials to support your work. Wall anchors provide extra grip in drywall or plaster. A pencil helps mark the drilling spots precisely.
Use a tape measure to find the right height and position. Safety goggles protect your eyes from dust and debris. A level ensures your hooks hang straight. Have a screwdriver handy for adjusting or tightening hooks after drilling.
Credit: www.manmadediy.com
Preparing The Wall
Preparing the wall properly is a key step before drilling hooks. It helps avoid damage and ensures a strong hold. Careful preparation saves time and effort later. Follow simple steps to get ready.
Finding The Ideal Spot
Choose a spot that can hold the hook’s weight. Avoid weak areas like drywall alone. Look for wall studs or solid surfaces. These spots offer better support for your hook.
Checking For Wiring And Pipes
Check behind the wall for electrical wires and pipes. Use a stud finder with wire detection. This prevents accidents and damage to your home. Safety is important before drilling any holes.
Marking The Drill Point
Use a pencil to mark the exact spot to drill. Double-check the location before drilling. Accurate marking makes the process easier. It also keeps the hook in the right place.
Drilling The Hole
Drilling the hole is the key step in hanging hooks on your wall. It ensures the hook stays strong and secure. Doing this right means your hook will hold weight without slipping or falling.
Take your time and work carefully. The right drill speed and technique prevent damage. Different walls need different approaches. Understanding these helps you avoid mistakes and get a clean hole every time.
Setting The Drill Speed
Set the drill to a slow or medium speed. High speeds can damage the wall or drill bit. For soft walls like drywall, use low speed. For hard walls like concrete, medium speed works best. Always start slow and increase if needed. Control is more important than speed.
Drilling Techniques
Hold the drill steady and straight. Start by marking the spot with a pencil. Use a small drill bit to make a guide hole first. Then use the right size bit for the hook anchor. Drill slowly and do not push too hard. Let the drill bit do the work. Clean dust away to see the hole clearly.
Dealing With Different Wall Types
Drywall needs a gentle touch and a special anchor. Wood walls are easier; drill a small pilot hole. Brick or concrete require a masonry bit and steady pressure. Avoid twisting the drill at an angle. Check the wall type before choosing the drill bit. This keeps the hole clean and strong.
Installing The Hook
Installing the hook properly is key to a secure hold on your wall. This step needs care and the right tools. Follow clear steps to make sure the hook stays firm and safe. Start by preparing the spot, then put in wall anchors. After that, attach the hook and check its strength. This guide will help you do it right.
Inserting Wall Anchors
Wall anchors give extra support for your hook. First, drill a hole that fits the anchor size. Push the anchor gently into the hole until it is flush with the wall. Use a hammer softly if needed. Anchors stop the hook from pulling out. They work best in drywall and hollow walls.
Securing The Hook
Place the hook over the wall anchor. Insert the screw through the hook’s base into the anchor. Turn the screw clockwise using a screwdriver. Tighten it until the hook feels tight but do not over-tighten. Over-tightening can damage the wall or the anchor. The hook should sit flat against the wall.
Testing Stability
After installing, test the hook’s strength. Pull gently on the hook to check if it holds well. Hang a light item first to see if it stays secure. Increase weight slowly to avoid sudden falls. If the hook moves or feels loose, tighten the screw more. Stable hooks keep your items safe and your walls undamaged.
Tips For Long-lasting Hooks
Making your hooks last longer saves time and money. Proper care and correct installation keep hooks strong and safe. Follow these tips to avoid common problems and enjoy sturdy hooks for years.
Weight Limits And Hook Types
Choose hooks that match the weight of your items. Heavy objects need strong, durable hooks. Light hooks work only for small decorations or keys.
Metal hooks hold more weight than plastic ones. Use wall anchors for extra support on drywall. Make sure the hook type fits the wall material.
Maintenance And Care
Check hooks regularly for any signs of wear or damage. Tighten screws if they become loose over time. Clean hooks with a soft cloth to avoid rust or dust buildup.
Do not overload hooks beyond their weight limit. Remove items gently to prevent bending or breaking. Proper care extends hook life and keeps walls safe.

Credit: www.wikihow.com

Credit: www.youtube.com
Frequently Asked Questions
How Do I Choose The Right Drill Bit For Hooks?
Select a drill bit matching your wall type and hook size. For drywall, use a smaller bit. For masonry, use a masonry bit. This ensures a secure fit and prevents wall damage when drilling hooks.
What Tools Are Needed To Drill Hooks Into Walls?
You need a drill, appropriate drill bits, wall anchors, a screwdriver, and a pencil. These tools help create precise holes and securely install hooks for hanging items safely.
How Deep Should I Drill Holes For Wall Hooks?
Drill holes slightly deeper than the wall anchor length. This ensures the anchor fits fully and provides strong support for the hook and the item it holds.
Can I Drill Hooks Into Any Wall Type?
Hooks can be drilled into drywall, plaster, brick, or concrete with correct tools. Use suitable drill bits and anchors for each wall type to avoid damage and ensure hook stability.
Conclusion
Drilling hooks into a wall is simple with the right steps. Start by choosing the correct drill bit and hook size. Mark the spot clearly before drilling to ensure accuracy. Drill carefully and avoid pushing too hard. Insert the hook firmly to hold weight safely.
Taking these steps helps you hang items securely and neatly. Practice makes the process easier and faster. Enjoy your organized space with hooks placed just right.