
Are you ready to make your woodworking projects easier and more precise? Knowing how to drill a hole in wood for a screw is a skill that can save you time, prevent wood damage, and ensure your screws fit perfectly every time.
Whether you’re fixing furniture, building shelves, or tackling a DIY project, mastering this simple step will boost your confidence and results. Keep reading, and you’ll learn clear, easy tips that anyone can follow to get it right—no guesswork, no frustration.
Your next project will thank you!
Choosing The Right Drill And Bit
Choosing the right drill and bit is key to making clean holes in wood. The right tools help prevent wood from splitting or cracking. They also make the job faster and easier. Knowing which drill and bit to use saves time and effort.
Types Of Drills For Wood
There are different drills for woodworking. A cordless drill is popular because it is easy to carry. It works well for most home projects. A corded drill offers more power for tough wood. Drill presses give precise control but are less common at home. Choose a drill that fits your project size and power needs.
Selecting The Correct Drill Bit Size
The drill bit size must match the screw size. A bit too small makes it hard to insert the screw. Too large, and the screw won’t hold tight. Check the screw packaging for the right bit size. For wood screws, the bit should be slightly smaller than the screw’s core.
Material And Coating Considerations
Drill bits come in many materials. High-speed steel bits work well for soft wood. For hardwood, use bits with titanium or cobalt coatings. These coatings last longer and reduce heat. Sharp bits cut cleaner holes and avoid wood damage. Replace dull bits to keep good results.

Credit: mtcsolutions.com
Preparing The Wood Surface
Preparing the wood surface is a key step before drilling holes for screws. It helps ensure accuracy and prevents damage to the wood. Taking time to prepare the surface makes the drilling process smoother and safer. This section covers marking the drill spot, securing the wood piece, and avoiding splintering and tear-out.
Marking The Drill Spot
Start by marking the exact spot where you want the hole. Use a pencil or a fine marker for clear visibility. A small indentation at the spot helps guide the drill bit. You can make this indentation with a nail or an awl. Marking prevents the drill bit from slipping off during drilling.
Securing The Wood Piece
Clamp the wood piece firmly to your work surface. This keeps the wood steady and prevents movement. Use a bench vise or C-clamps for better hold. Avoid holding the wood by hand while drilling. Secure wood reduces mistakes and improves safety.
Avoiding Splintering And Tear-out
Place a scrap piece of wood under the drilling area. This supports the wood fibers and reduces splintering. Drill slowly and apply steady pressure for a clean hole. Use a sharp drill bit to cut smoothly. Protecting the wood surface keeps your project neat and strong.
Drilling Techniques For Precision
Drilling holes in wood with precision improves the strength and look of your project. Good technique prevents wood from splitting and keeps screws tight. Focus on drill speed, angle, and using pilot holes for the best results.
Setting The Drill Speed
Set the drill speed based on wood type and drill bit size. Use slower speeds for hard wood to avoid burning. Faster speeds work well for soft wood and small bits. Control the speed with your drill’s settings or by pressing the trigger gently.
Maintaining Drill Angle And Pressure
Hold the drill steady and straight to make clean holes. Keep the drill at a 90-degree angle to the wood surface. Apply firm but gentle pressure. Too much force can crack the wood. Too little pressure makes the drill slip or wander.
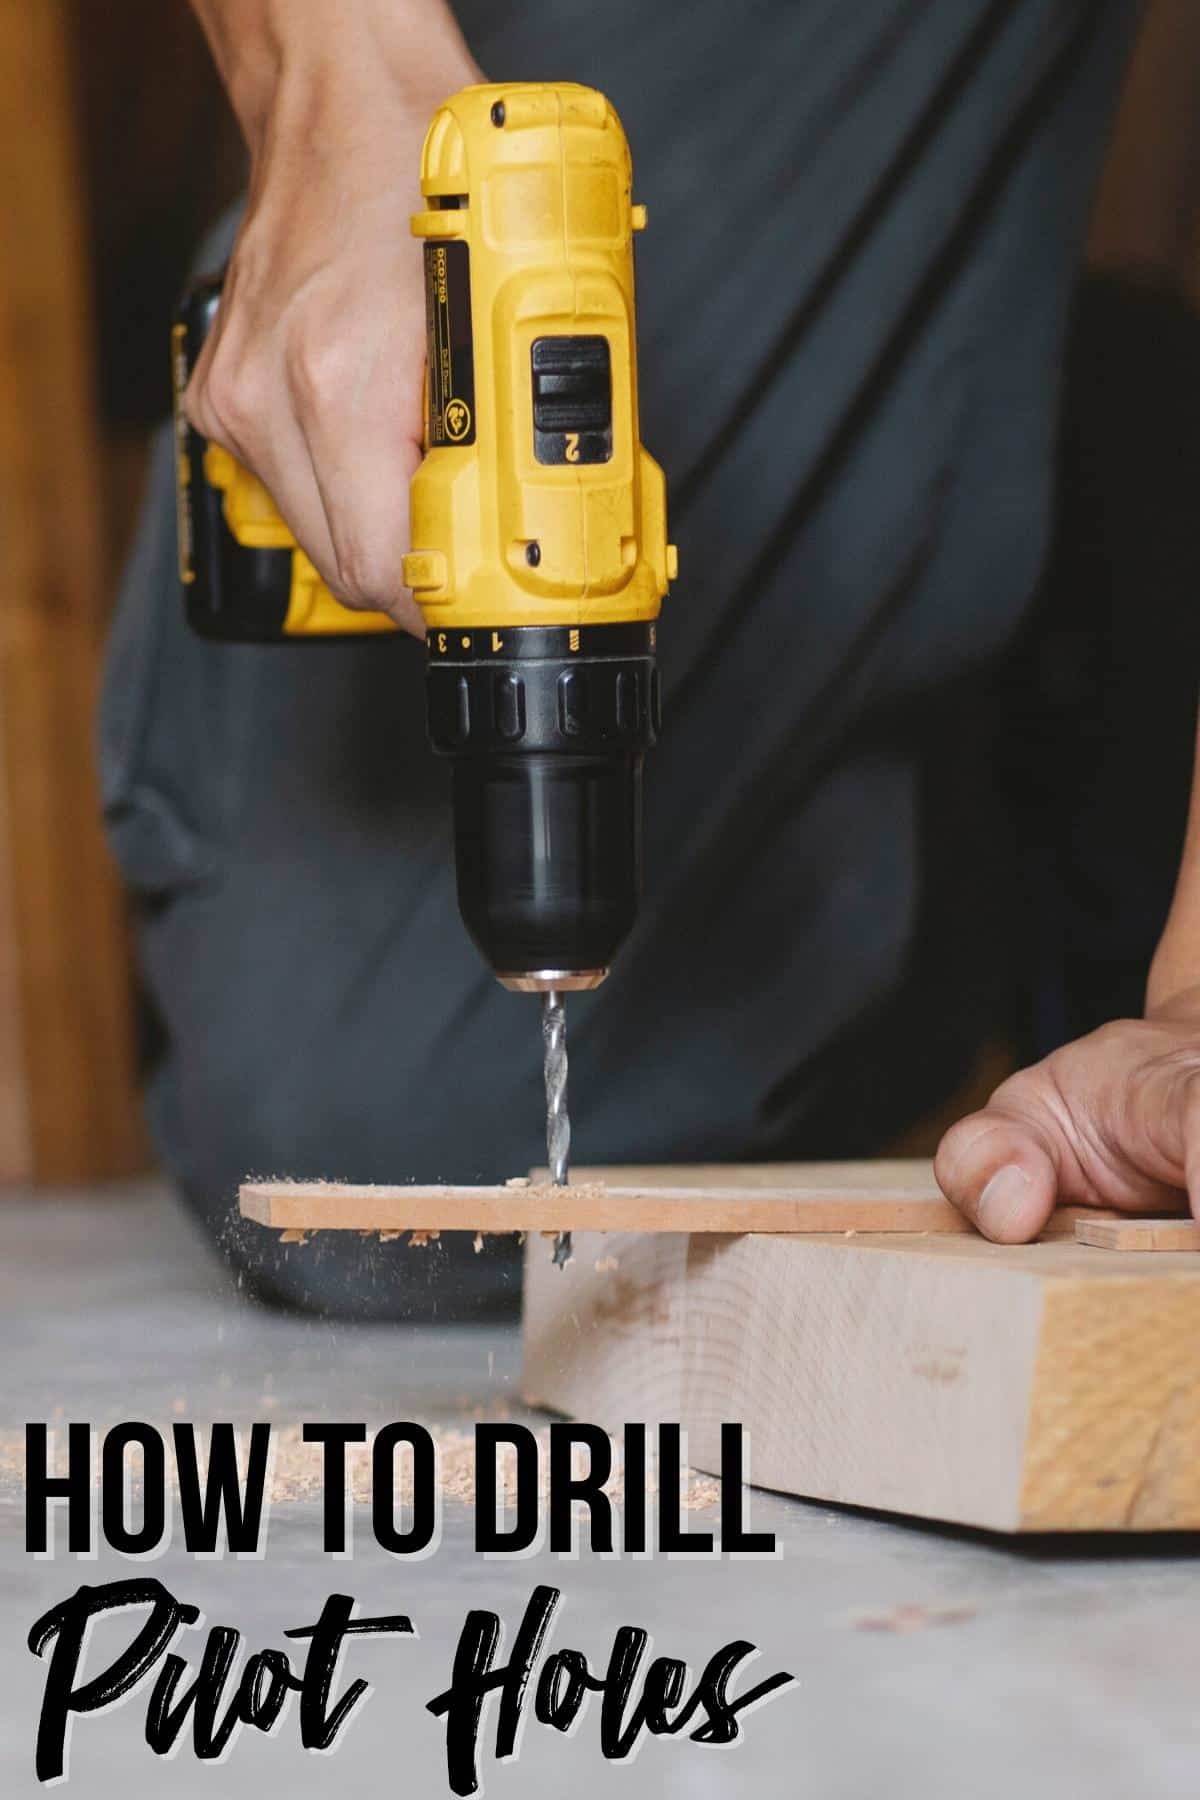
Using Pilot Holes For Hardwoods
Drill pilot holes before screwing into hardwood. Pilot holes guide screws and reduce wood splitting. Use a smaller bit than the screw diameter. Drill the pilot hole the full length of the screw. This step makes driving screws easier and safer.
Credit: www.thehandymansdaughter.com
Handling Common Challenges
Drilling holes in wood can bring some common challenges. These issues can slow your work or damage the wood. Handling these problems well makes your project easier and cleaner. Below are key tips for common drilling challenges.
Preventing Drill Bit Slippage
Drill bits often slip on smooth wood surfaces. This makes the hole start in the wrong place. To stop slippage, use a small nail to mark the spot. Tap the nail lightly to create a small dent. This dent keeps the drill bit from moving. Another way is to use masking tape on the wood. The tape gives the bit more grip. Start drilling slowly to keep control and prevent slipping.
Dealing With Knotty Or Dense Wood
Knots and dense wood can be very hard to drill. The drill bit may stop or bend. Use a sharp, high-quality drill bit for these spots. Drill slowly and apply steady pressure. Do not push too hard. If the bit gets stuck, pull it out and clear the wood dust. Drill a small pilot hole first to guide the bigger bit. This helps reduce stress on the wood and bit.
Managing Heat And Bit Wear
Drilling creates heat, which can wear out the drill bit fast. Heat can also damage the wood around the hole. To reduce heat, drill in short bursts. Let the bit cool down between bursts. Use cutting oil or water on metal bits to keep them cool. Check the bit often for dullness. Replace dull bits to keep the holes clean and easy. Sharp bits make drilling safer and faster.
Finishing Touches For Screw Installation
Finishing touches make screw installation neat and strong. They improve the look and the hold of your project. Small steps after drilling can save problems later. Take time to do these steps for best results.
Countersinking Holes
Countersinking means making a small, wider hole at the top. This lets the screw head sit flush with the wood surface. Use a countersink bit or a larger drill bit for this. It stops wood from splitting and makes the screw fit better. A clean countersink gives a smooth, professional finish.
Cleaning The Drill Hole
Remove dust and wood chips from the hole before screwing. Use a brush, compressed air, or blow gently. Clean holes help screws go in smoothly. Dust can cause the screw to slip or not hold well. A clean hole also protects the wood from damage.
Choosing The Right Screw Type
Select screws that match your wood and project needs. Use wood screws for softwoods and hardwoods. Pick the right length to avoid splitting or weak hold. Coated screws resist rust for outdoor projects. The right screw type ensures strong, lasting connections.
Safety Tips While Drilling
Drilling holes in wood for screws can be simple but requires care. Safety during drilling protects you from accidents. Following safety tips helps avoid injuries and damage. Always prepare before starting to drill.
Protective Gear Recommendations
Wear safety glasses to protect your eyes from wood chips. Use ear protection if the drill is loud. Gloves can protect your hands but must fit well. Avoid loose gloves that can catch in the drill. Wear a dust mask to avoid breathing sawdust.
Safe Drill Handling Practices
Hold the drill firmly with both hands for control. Keep fingers away from the drill bit. Start drilling slowly to keep the bit steady. Do not force the drill; let it cut naturally. Always unplug or turn off the drill before changing bits.
Workspace Organization
Keep your workspace clean and free of clutter. Secure the wood piece with clamps to stop movement. Make sure the area is well-lit to see clearly. Keep cords away from the drilling area to avoid tripping. Organize tools nearby to avoid reaching across the drill.

Credit: www.youtube.com
Frequently Asked Questions
How Do I Drill A Pilot Hole For Wood Screws?
To drill a pilot hole, choose a drill bit slightly smaller than the screw’s diameter. Drill straight and steady to avoid wood splitting. This helps the screw go in smoothly and prevents wood damage.
What Size Drill Bit Should I Use For Screws?
Select a drill bit that matches the screw’s core diameter, excluding threads. This size ensures the screw threads grip the wood firmly without causing cracks or splits.
Can I Drill Holes Without A Drill Guide?
Yes, but it’s harder to drill straight holes without a guide. Use a clamp or mark the wood carefully to keep the drill steady and accurate.
Should I Drill A Countersink Hole Before Screwing?
Drilling a countersink hole allows the screw head to sit flush with the wood surface. It improves appearance and prevents wood from splitting when driving screws.
Conclusion
Drilling a hole in wood for a screw is simple with the right steps. Choose the correct drill bit size to match the screw. Mark the spot clearly to avoid mistakes. Drill slowly to keep control and prevent wood damage.
This method helps screws fit tightly and hold better. Practice a few times to build confidence and skill. Soon, you will do it quickly and neatly every time. Keep these tips in mind for all your wood projects.