
Do you need to create perfect conical holes but aren’t sure where to start? Drilling these tapered holes can be tricky if you don’t have the right techniques.
Whether you’re working on a DIY project or a professional task, knowing how to drill conical holes accurately will save you time and frustration. In this guide, you’ll discover simple steps and expert tips that make the process easy, even if you’re a beginner.
Keep reading to unlock the secrets to flawless conical holes every time.
Choosing The Right Drill Bit
Choosing the right drill bit is essential for drilling conical holes. The drill bit affects the hole’s shape, size, and finish. Picking the wrong bit can cause damage or poor results. This guide helps you select the best drill bit for your project.
Types Of Drill Bits For Conical Holes
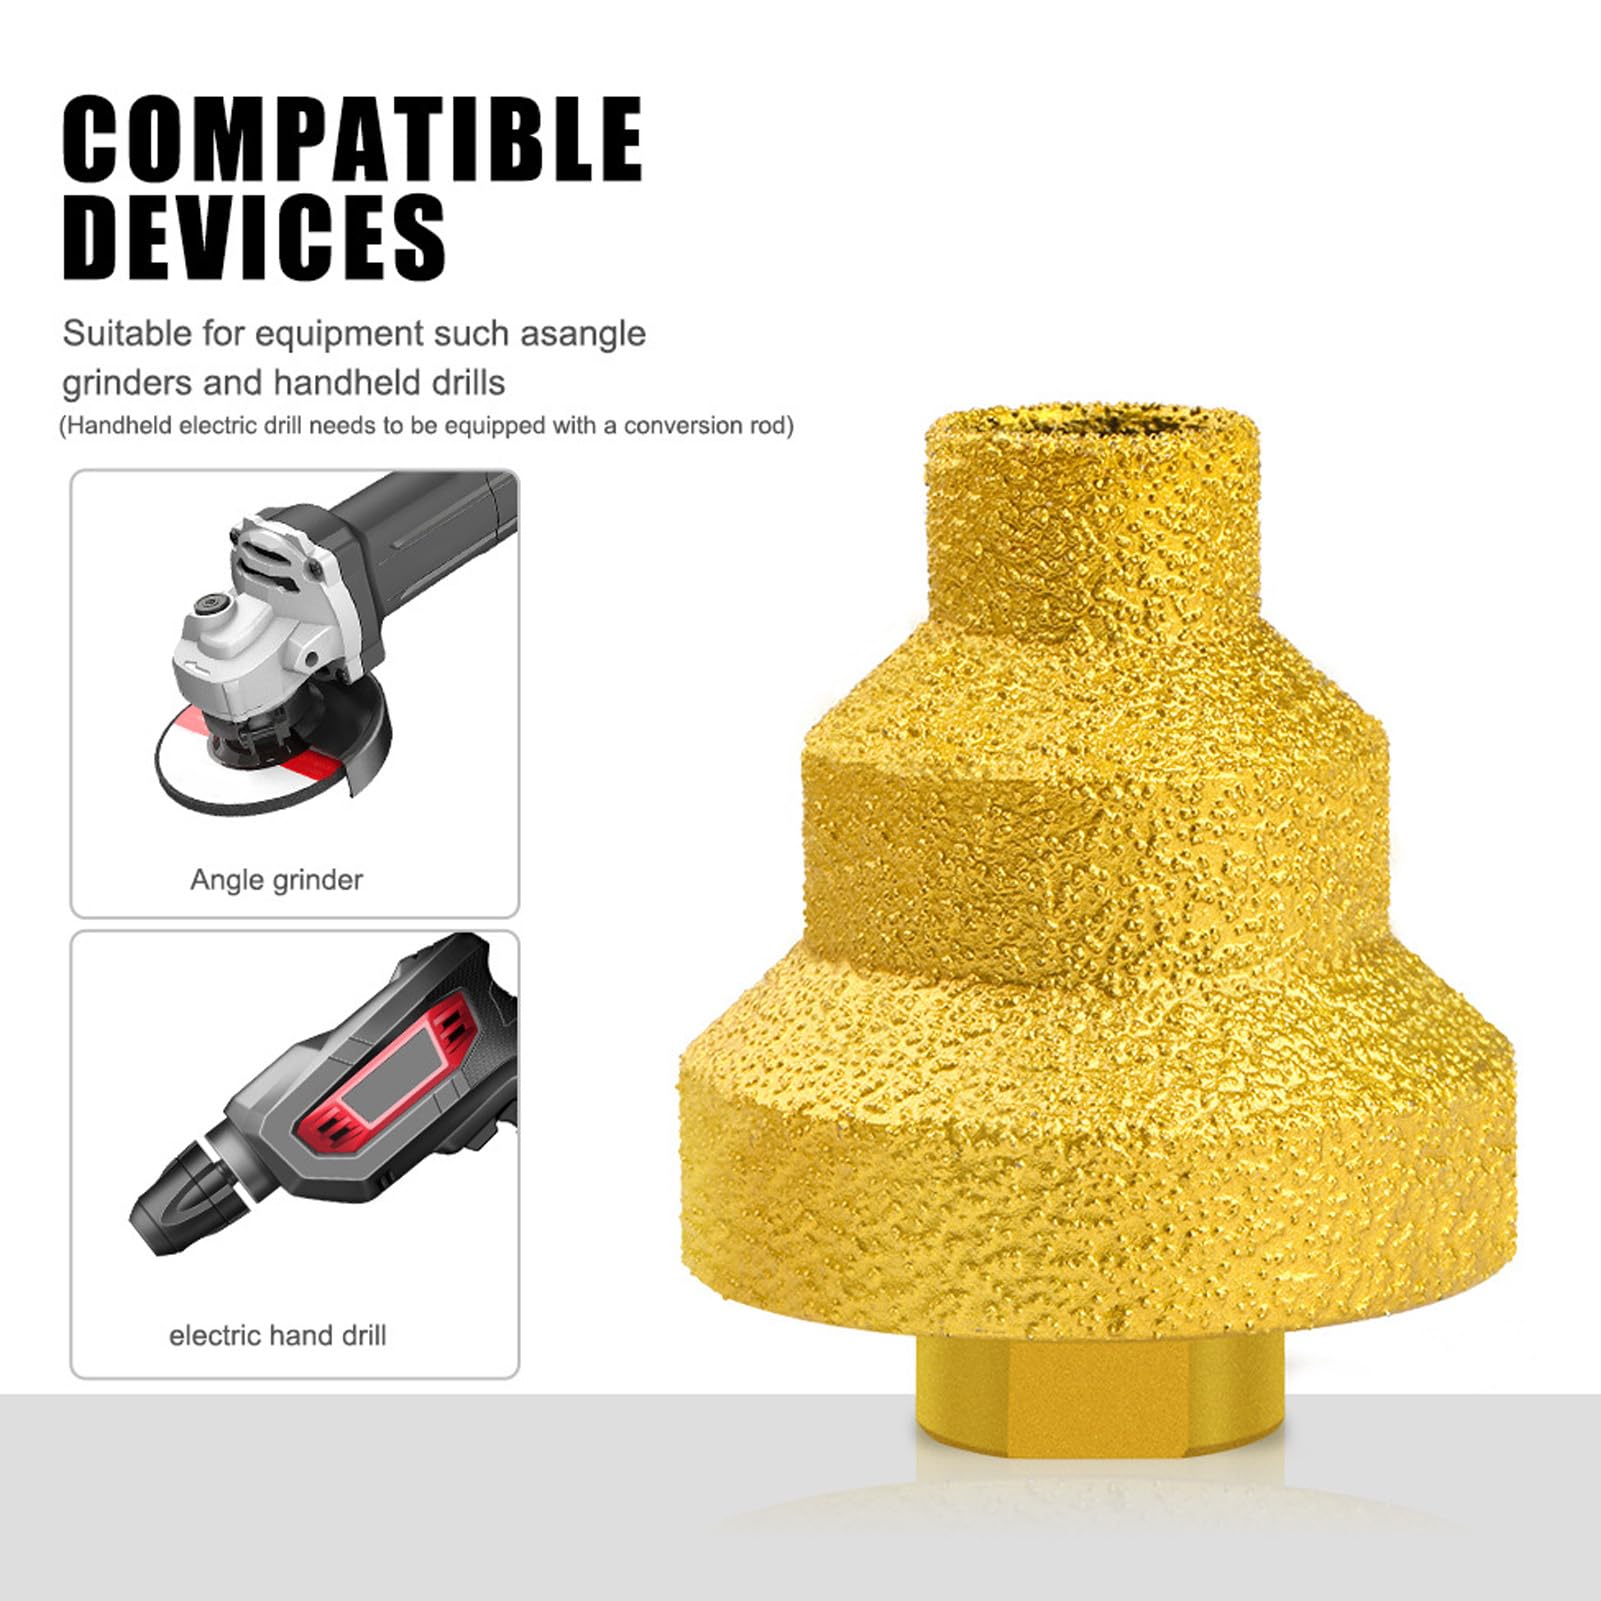
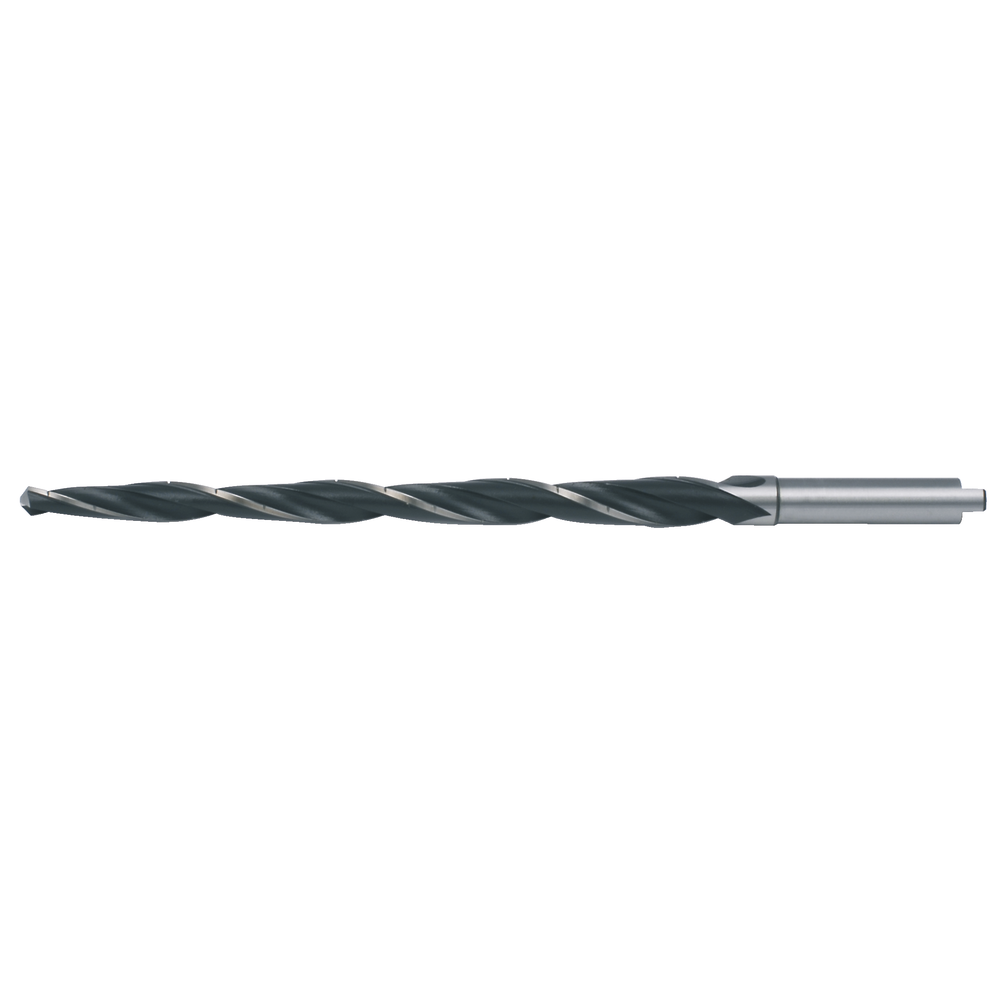
Several drill bit types create conical holes. Countersink bits are common. They shape the hole to fit screws or fasteners. Step drill bits also work well. They drill holes of various sizes and create a conical shape. For precise angles, a chamfer bit fits best. Each type suits different tasks and materials.
Materials And Coatings
Drill bits come in many materials. High-speed steel (HSS) is standard and works for wood, plastic, and metal. Carbide bits last longer and handle harder materials. Coatings improve bit life and performance. Titanium coating reduces heat and friction. Black oxide coating prevents rust and increases durability. Choose the material and coating based on your workpiece.
Size Selection Tips
Select the right size for the hole and screw or fastener. Measure the diameter needed at the widest point. Match the drill bit to this size. For tapered holes, consider the base and top diameters. Use a drill bit set to find the perfect size. Avoid bits that are too big or too small to prevent damage.

Credit: www.akifix.com
Preparing Your Workspace
Preparing your workspace is the first step to drilling conical holes correctly. A clean, organized area helps you work safely and accurately. Take time to set up everything before you start drilling. This preparation makes the process smooth and reduces mistakes.
Securing The Workpiece
Hold the workpiece tightly to stop it from moving. Use clamps or a vise to keep it stable. A moving piece can cause uneven holes and risk injury. Check the tightness before you begin drilling.
Marking The Drilling Spot
Mark the exact spot where you want the hole. Use a pencil or a center punch for clear marks. Precise marking guides the drill bit and improves hole accuracy. Double-check the position before drilling.
Safety Precautions
Wear safety glasses to protect your eyes from debris. Use gloves to guard your hands during the work. Clear the workspace of any loose objects. Keep your hands away from the drill bit. Safety first for every drilling task.
Setting Up The Drill
Setting up the drill correctly is key for drilling conical holes. Proper setup helps achieve clean, precise cuts and avoids damage. It involves adjusting speed and torque, using guides, and ensuring alignment. Each step prepares the drill for accurate work.
Adjusting Speed And Torque
Set the drill speed based on the material. Softer materials need higher speed. Harder materials require slower speed to avoid burning. Torque controls the drill’s power. Too much torque can break the bit. Too little slows progress. Adjust torque for smooth drilling.
Using Guides And Jigs
Guides and jigs help keep the drill steady. They prevent slipping and ensure the hole is conical. Use a cone-shaped guide or a custom jig. Secure the guide tightly. This support improves accuracy and safety during drilling.
Ensuring Proper Alignment
Check the drill’s angle before starting. The drill bit must align with the cone shape needed. Use a level or angle finder for precision. Proper alignment avoids uneven holes. It makes the process faster and cleaner.
Drilling Techniques For Conical Holes
Drilling conical holes needs special care and skill. These holes are wider at one end and narrower at the other. The shape requires precise control to avoid mistakes. Using the right techniques helps create clean and accurate holes. This section explains key drilling steps to guide you through the process.
Starting The Hole
Begin by marking the exact center of the hole. Use a small pilot drill bit to make a shallow guide hole. This stops the drill from slipping. Align the drill bit carefully before starting. Slow and steady motion gives the best result. A sharp drill bit cuts better and lasts longer.
Controlling Drill Angle
Keep the drill straight or at the needed angle. Use a drill guide or jig for accuracy. Tilting the drill too much can cause uneven holes. Hold the drill steady with both hands. Check the angle often during drilling. Consistent angle control shapes the conical hole well.
Managing Pressure And Feed Rate
Apply even pressure while drilling. Too much force can break the bit or damage material. Too little pressure slows the process. Feed the drill bit at a steady pace. Pause occasionally to clear out chips. Proper pressure and feed rate improve hole quality and drill life.
Finishing And Smoothing
Finishing and smoothing are vital steps when drilling conical holes. These steps improve the hole’s appearance and function. A rough edge or uneven surface can cause problems in assembly or reduce the strength of the part.
Proper finishing makes the hole clean and precise. It also helps in fitting parts together smoothly. Follow each step carefully for the best results.
Deburring The Hole
Deburring removes sharp edges left after drilling. Use a deburring tool or a fine file. Run the tool gently along the hole’s edge. This prevents injury and avoids damage to parts that fit inside the hole.
Check the hole’s edge from different angles. Make sure no rough spots remain. Smooth edges also reduce wear and tear on tools and parts.
Using Reamers Or Countersinks
Reamers enlarge and smooth the hole with precision. Choose a reamer that matches the hole size. Insert it slowly and turn it evenly. This removes small imperfections and improves roundness.
Countersinks create a conical shape at the hole’s opening. They help screws or bolts sit flush with the surface. Use a countersink bit that fits the screw head size. Move it carefully to avoid over-cutting.
Inspecting For Accuracy
Check the hole’s size and shape with measuring tools. Use calipers or gauges to ensure the correct diameter. Inspect the depth and angle for the conical shape. A precise hole ensures a tight and secure fit.
Look for any scratches or uneven spots inside the hole. Fix issues before using the part. Accurate holes improve the strength and lifespan of your project.
Credit: www.pirouette-editions.fr
Troubleshooting Common Issues
Drilling conical holes can be tricky. Common problems often slow down the work or affect the hole quality. This section covers easy fixes for these issues. Follow these tips to improve your drilling results and save time.
Avoiding Drill Bit Wandering
Drill bit wandering causes holes to be off-center or uneven. Start with a sharp, pointed bit for better control. Use a center punch to mark the spot before drilling. Slow the drill speed at the start. Hold the drill steady and apply even pressure. A drill guide or jig helps keep the bit straight.
Preventing Overheating
Overheating damages the drill bit and workpiece. Use cutting oil or water to cool the bit. Drill at a moderate speed to reduce heat. Pause often to let the bit cool down. Keep the bit clean and sharp. Replace dull bits to avoid excess heat buildup.
Fixing Irregular Hole Shapes
Irregular holes happen due to wrong drill angles or bit damage. Check that the drill is perpendicular to the surface. Use the correct bit size and type for the material. Replace worn or damaged bits immediately. Remove debris from the hole during drilling. Ensure steady hand movement for smooth shapes.
Maintaining Your Tools
Maintaining your tools is key to drilling perfect conical holes. Well-kept tools last longer and work better. Regular care keeps drill bits sharp and equipment safe. This saves time and effort during your projects.
Cleaning And Storage
Clean drill bits after each use. Remove dust, dirt, and metal shavings. Use a dry cloth or brush for cleaning. Avoid water to prevent rust. Store bits in a dry place. Use a case or organizer to keep them safe.
Sharpening Drill Bits
Dull bits cause poor holes and more effort. Sharpen bits regularly using a sharpening tool or stone. Keep the original angle of the bit. Sharpen both cutting edges evenly. Check sharpness by gently touching the edge with your finger.
Regular Equipment Checks
Inspect your drill and bits before each use. Look for cracks, chips, or wear. Tighten loose parts and replace damaged bits. Check the drill’s chuck for proper grip. Fix issues immediately to avoid accidents and poor results.
Credit: www.saratools.com
Frequently Asked Questions
What Tools Are Best For Drilling Conical Holes?
The best tools include conical drill bits, countersinks, and step drills. These tools create smooth, tapered holes efficiently. Using the right tool prevents material damage and ensures precision. Always select a bit size matching your hole requirements for optimal results.
How Do I Prepare The Surface For Conical Drilling?
Clean and secure the material firmly before drilling. Mark the drilling spot accurately using a center punch. This prevents drill slippage and ensures hole precision. Proper surface preparation helps achieve smooth, conical holes without irregularities or damage.
What Speed Should I Use For Conical Drilling?
Use a moderate drill speed to avoid overheating and bit wear. Speed depends on material type and bit size. For metal, slow speeds work best; for wood, higher speeds are suitable. Controlled speed ensures clean, precise conical holes.
Can I Drill Conical Holes In Metal Safely?
Yes, using proper tools, lubrication, and controlled speed ensures safety. Always wear protective gear and clamp the metal securely. Use cutting oil for heat reduction and smoother drilling. Following safety guidelines prevents accidents and tool damage.
Conclusion
Drilling conical holes takes practice and the right tools. Start with a sharp drill bit and steady hands. Take your time and check your work often. Using guides or templates helps keep holes accurate. Clean the hole after drilling to avoid rough edges.
With patience, you can create smooth, precise conical holes. Keep practicing to improve your skill and confidence. Simple steps lead to better results every time.