
Have you ever wished you could drill precise holes without buying an expensive drill press? Imagine having a tool that makes your projects easier, faster, and more accurate—right in your own workspace.
Building your own drill press might sound complicated, but it’s simpler than you think. In this guide, you’ll discover easy steps to create a reliable drill press using materials you probably already have. Stick with me, and you’ll soon have a powerful tool that saves you time and money on every project.
Ready to turn your ideas into reality? Let’s get started!
Choosing The Right Materials
Choosing the right materials is key to building a strong drill press. Good materials make your drill press last longer and work better. Focus on quality parts that fit your budget. Think about safety and durability when picking your materials. The right choices help you build a tool you will trust.
Selecting The Drill Motor
Pick a motor that matches your drilling needs. A motor with 3/4 to 1 horsepower works well for most projects. Choose a motor with a variable speed control for more flexibility. Make sure the motor fits your power supply. Check the size and weight so it fits your design.
Picking The Base And Support
Use a solid base to keep the drill press stable. Thick wood or metal plates work well. The base should be heavy enough to prevent movement. For support, use strong metal rods or thick wood pieces. Make sure the support can hold the weight of the drill and motor. Stability is important for safe, accurate drilling.
Gathering Tools And Accessories
Collect basic tools like screwdrivers, wrenches, and pliers. A drill and clamps help with assembly. Use measuring tools for precise cuts and alignments. Consider safety gear like gloves and goggles. Accessories like a drill chuck and depth stop improve performance. Having the right tools makes building easier and safer.
Building The Frame
Building the frame is a key step in making your own drill press. It gives the tool strength and stability. A solid frame keeps the drill steady during use. This makes drilling safe and accurate. Follow these steps carefully to build a strong frame for your drill press.
Measuring And Cutting Components
Start by measuring the wood or metal pieces you need. Use a tape measure for precise lengths. Mark the cutting lines clearly with a pencil. Cut each piece carefully using a saw or cutter. Check each piece after cutting to ensure accuracy. Proper measurements keep the frame balanced and strong.
Assembling The Base
The base supports the entire drill press. Lay the base pieces flat on a workbench. Join them using screws or bolts for firm attachment. Use a square tool to keep corners at right angles. Tighten all fasteners securely to avoid wobbling. A sturdy base prevents shaking during drilling tasks.
Constructing The Vertical Support
The vertical support holds the drill in place. Attach a strong, straight piece to the base. Fix it firmly with screws or brackets. Make sure it stands perfectly vertical using a level tool. This support guides the drill up and down smoothly. Proper alignment improves drilling precision and safety.
Mounting The Drill
Mounting the drill is a key step in building your own drill press. It ensures the drill stays steady and works accurately. Proper mounting keeps the drill aligned and safe during use. This section guides you through securing the motor, aligning the drill, and adjusting its height and depth.
Securing The Motor To The Frame
Start by choosing a solid frame for the motor. Use strong bolts or screws to attach the motor firmly. Make sure the motor does not wobble or move. Tighten all fasteners carefully. A secure motor prevents vibrations and improves drilling precision.
Aligning The Drill For Accuracy
Check the drill bit’s position relative to the base. Align the drill so the bit points straight down. Use a square tool to confirm the angle. Adjust the motor or frame until the drill is perfectly vertical. Accurate alignment helps drill clean, straight holes every time.
Adjusting Height And Depth
Install a mechanism to raise and lower the drill easily. Use a simple lever or screw system for smooth movement. Set a stop to control drilling depth. This prevents drilling too deep and damaging the workpiece. Proper adjustment adds control and safety during drilling tasks.
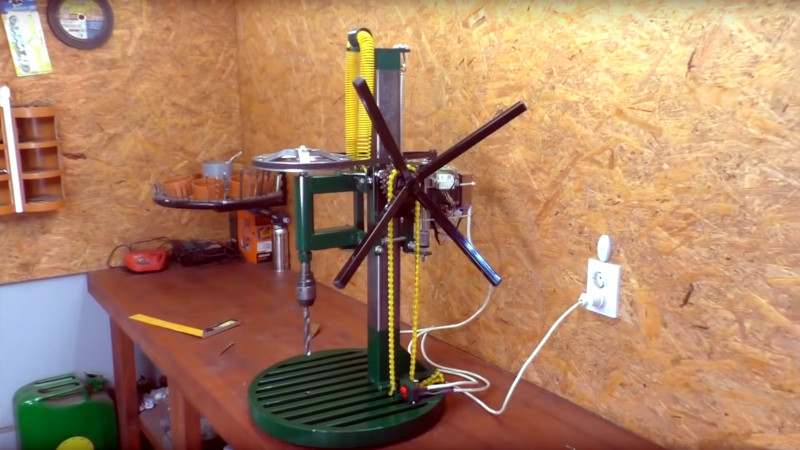
Credit: hackaday.com
Adding Safety Features
Adding safety features to your homemade drill press is essential. It protects you and others from accidents. Safety should never be an afterthought. It helps you work with confidence and focus.
Simple safety upgrades can make a big difference. They keep the moving parts covered and allow quick stops. Stability prevents the tool from tipping or wobbling. These features make your drill press safer and easier to use.
Installing A Guard
A guard covers the drill bit and moving parts. It stops debris and dust from flying out. Use clear plastic or metal mesh for good visibility. Secure the guard firmly to avoid any movement during work. Make sure it does not block your view or access to controls.
Incorporating Emergency Stop
An emergency stop switch shuts off power immediately. Place it within easy reach at all times. Use a big red button or a large switch. Test it often to ensure it works well. This feature can prevent serious injuries by stopping the drill fast.
Ensuring Stable Operation
Stability keeps the drill press steady during use. Attach the base to a solid workbench or heavy table. Use bolts or clamps for a firm hold. Check that the drill press does not wobble or move. A stable setup improves accuracy and safety at the same time.
Testing And Calibration
Testing and calibration are key steps after building your drill press. They make sure the tool works safely and accurately. Taking time here saves you from mistakes later. Follow clear steps to check and adjust your drill press.
Checking Drill Alignment
Start by checking if the drill bit is straight. Use a square or ruler to see if the bit is vertical. The bit should line up with the base hole perfectly. If it tilts, it can make uneven holes. Adjust the drill head until it is straight. Tighten all screws to keep it fixed in place.
Adjusting Speed Settings
Test the drill’s speed control next. Different materials need different speeds. Turn the speed dial and watch how fast the bit spins. Check if the speed changes smoothly and stays steady. Fix any loose parts in the speed control. Make sure the motor runs without strange noises.
Performing Trial Drills
Use scrap wood or metal for trial drills. Drill several holes to see how well the press works. Check if holes are clean and straight. Feel if the drill press is stable during use. If holes are off, check alignment and speed again. Keep testing until results are good and consistent.

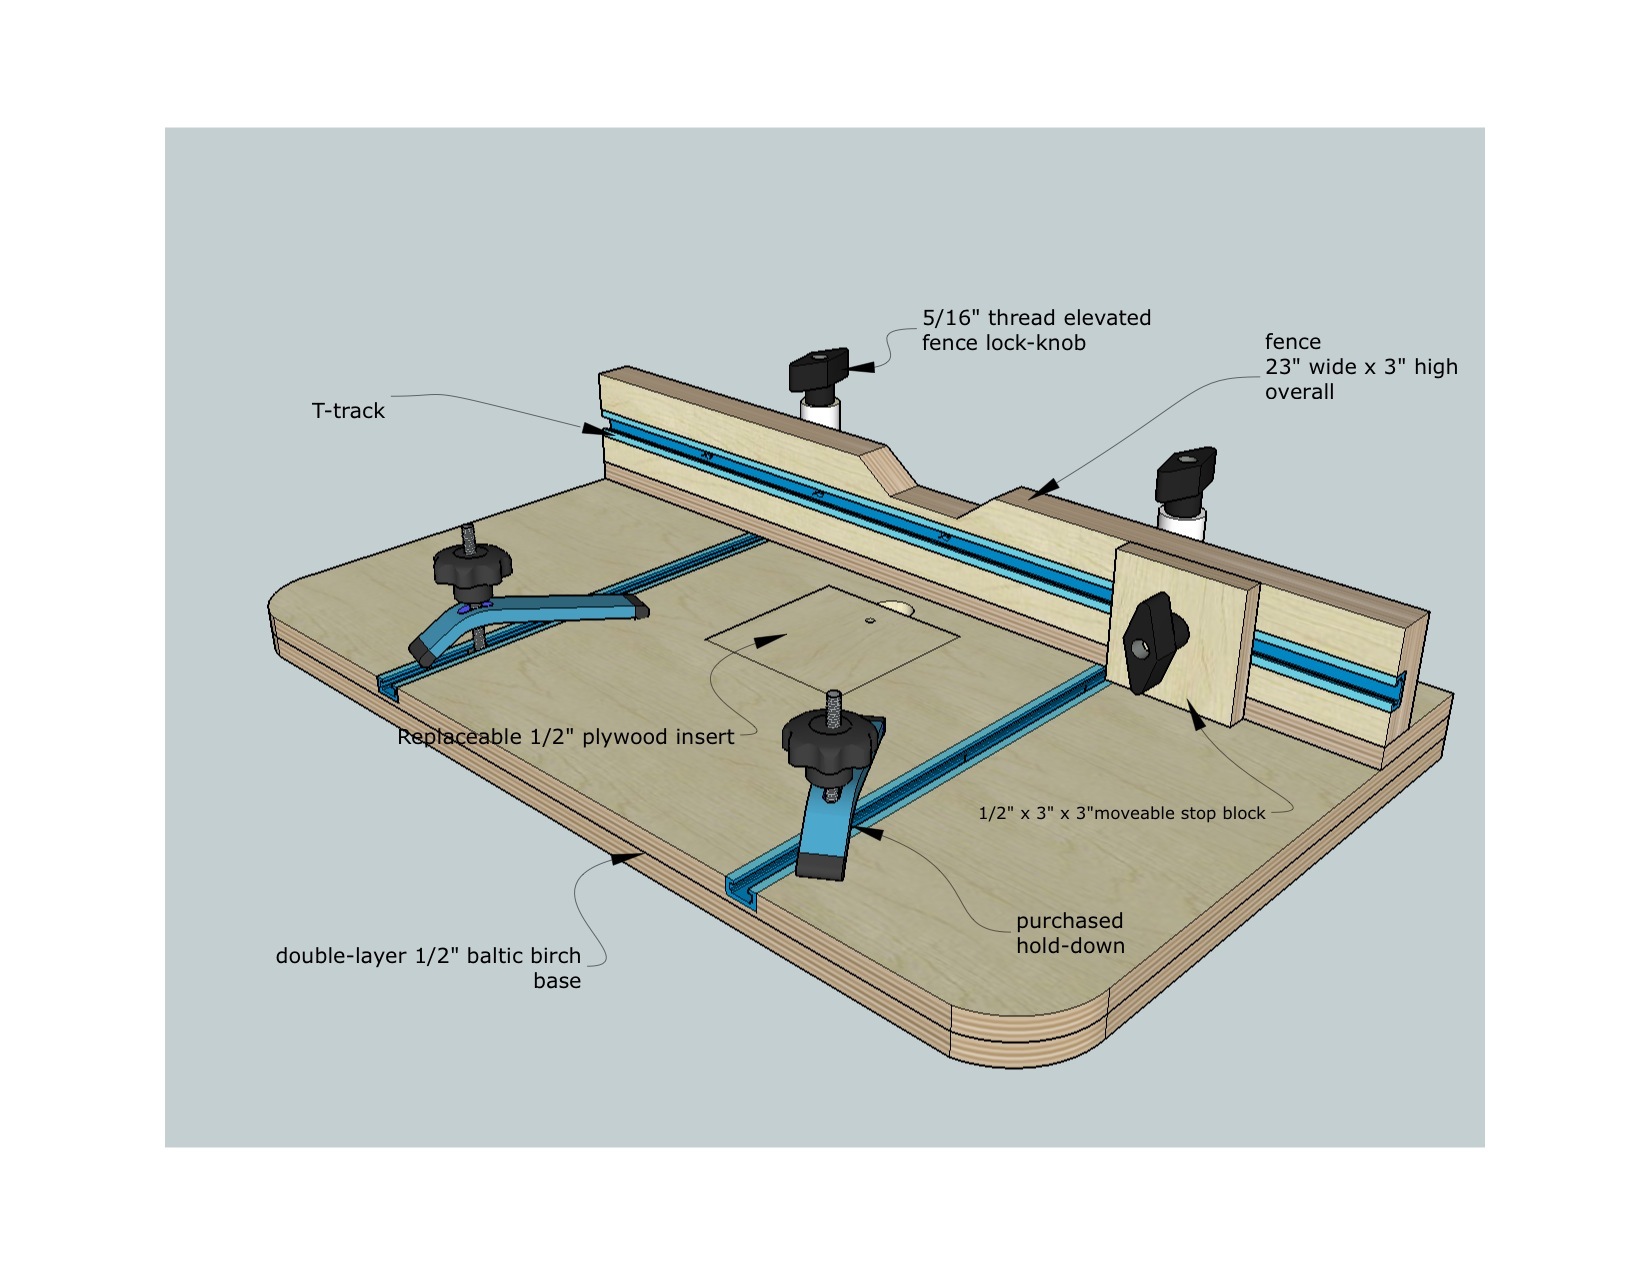
Credit: www.youtube.com
Maintenance Tips
Keeping your homemade drill press in good condition is key. Regular maintenance helps it work smoothly and last longer. Simple care tasks prevent bigger problems later.
Lubricating Moving Parts
Apply oil to all moving parts often. Use light machine oil on the spindle, gears, and pulleys. This reduces friction and wear. Wipe off old grease before applying fresh oil. Avoid over-lubricating to prevent dirt buildup.
Regular Inspections
Check your drill press weekly for any loose bolts or worn parts. Look for cracks in the frame or table. Tighten screws and nuts as needed. Make sure the belt is tight and not cracked. Early detection keeps the drill press safe and efficient.
Troubleshooting Common Issues
If the drill press makes strange noises, stop and inspect it. A slipping belt causes uneven speed. Tighten or replace the belt to fix this. If the spindle wobbles, check the bearings. Replace damaged parts quickly to avoid bigger damage.
Credit: www.wwgoa.com
Frequently Asked Questions
What Materials Do I Need To Build A Drill Press?
You need a motor, drill chuck, metal or wood base, vertical column, and adjustable table. Quality materials ensure stability and safety.
How Long Does It Take To Make A Drill Press?
Building a drill press usually takes 4 to 6 hours. Time varies by skill level and tool availability.
Can I Use A Hand Drill As A Drill Press Motor?
Yes, a hand drill can serve as the motor. Secure it firmly for consistent speed and control.
Is It Safe To Build Your Own Drill Press?
Yes, with proper materials and safety precautions, it is safe. Always wear protective gear and follow instructions carefully.
Conclusion
Building your own drill press saves money and boosts your skills. The steps are clear and easy to follow. You control the size and power. It fits your specific needs. Safety matters, so always work with care. Take your time and check each part.
Soon, you will have a useful tool at home. Enjoy crafting and creating with your new drill press. It’s a satisfying project anyone can do.