
Want to give your car that showroom shine without spending a fortune or hiring a pro? You can do it yourself using a tool you might already have—a cordless drill.
Yes, your cordless drill can double as a car buffer, saving you time and effort while bringing back that glossy finish. In this guide, you’ll learn simple, step-by-step tips to turn your drill into a powerful polishing machine. Keep reading, and you’ll discover how to protect your car’s paint and make it look brand new—all with a tool in your hand.
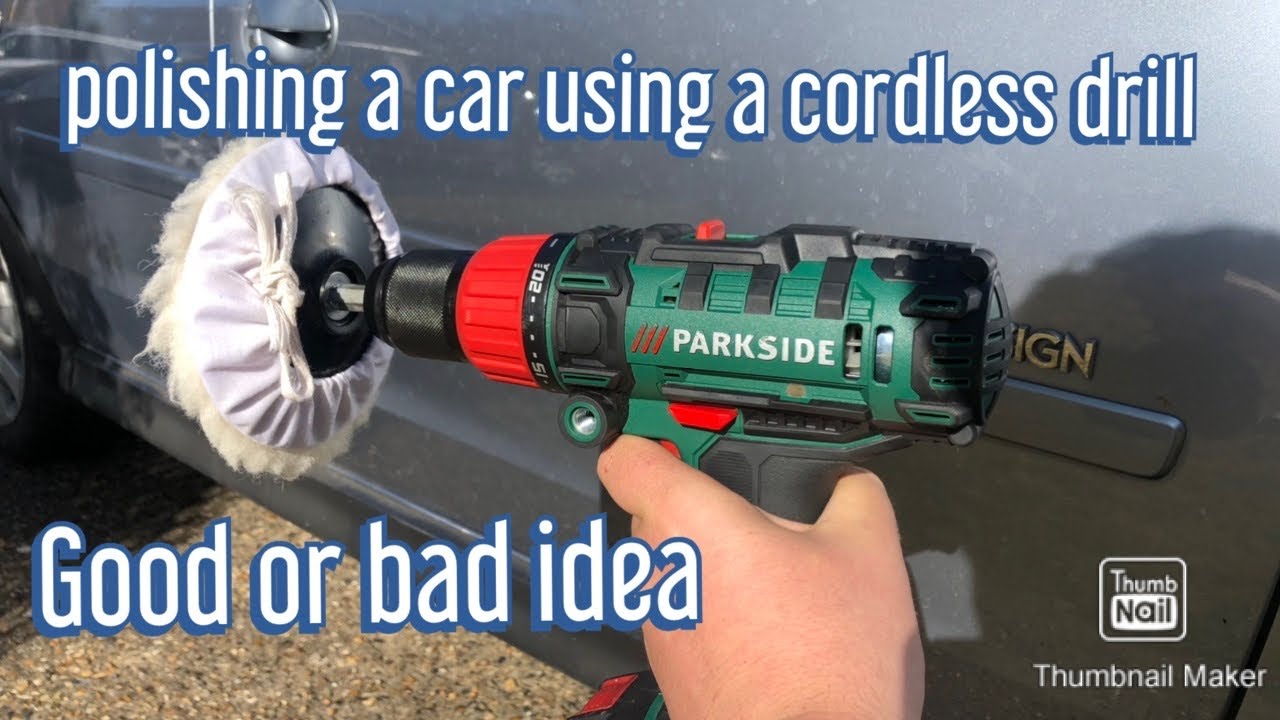
Credit: www.youtube.com
Choosing The Right Cordless Drill
Choosing the right cordless drill is key to buffing a car well. Not all drills work the same. Some have more power, better battery life, or different speed options. Picking the right one makes the job easier and gives better results.
Battery Life And Power
Battery life matters a lot. A drill with a long battery lets you work longer without stopping. Power is also important. Stronger drills handle buffing pads better and do not slow down under pressure. Choose a drill with a battery that lasts at least 30 minutes of continuous use.
Speed Settings
Speed control helps avoid damage to your car’s paint. Look for drills with variable speed settings. Lower speeds work well for delicate areas. Higher speeds help remove scratches faster. Being able to adjust speed gives you more control and better results.
Compatibility With Buffing Pads
Not all drills fit every buffing pad. Check the drill’s chuck size and thread type. Most buffing pads need a 3/8 or 1/2 inch drill chuck. Make sure the drill can hold the pad tightly. A secure fit prevents wobbling and uneven buffing.
Selecting Buffing Pads
Selecting the right buffing pads is key to getting a smooth, shiny car finish. The pads attach to your cordless drill and help spread polish or wax evenly. Choosing the correct pad type and size makes buffing easier and protects your car’s paint. Knowing the differences between pad materials and sizes helps you achieve the best results.
Types Of Buffing Pads
Buffing pads come in different types for various tasks. Foam pads are common and good for polishing and waxing. Wool pads are more aggressive and remove deep scratches or oxidation. Microfiber pads combine softness and cutting power. Choose a pad based on the condition of your car’s paint and the job needed.
Material And Texture
The material affects how the pad works on the surface. Foam pads have a soft texture that spreads polish gently. Wool pads have a rougher texture for heavy cutting and paint correction. Microfiber pads offer a balance with fine cutting and smooth finishing. Softer pads reduce the risk of swirl marks and damage.
Pad Sizes For Different Areas
Pad size matters for reaching all car parts. Large pads cover wide surfaces quickly, like doors and hoods. Small pads fit tight spots such as near mirrors and edges. Using the right size pad improves control and avoids uneven buffing. Carry a few sizes to handle all areas efficiently.
Preparing Your Car For Buffing
Preparing your car before buffing is very important. It helps you get the best results and avoids damage to the paint. Taking time for this step saves effort later. Clean and dry surfaces allow the drill and buffing pad to work well. Follow these simple steps to get your car ready.
Washing And Drying
Start by washing your car carefully. Use car shampoo and water to remove dirt and grime. Avoid household soaps as they can harm the paint. Rinse the car thoroughly to remove all soap. After washing, dry the car with a soft, clean towel. Drying prevents water spots during buffing. Make sure the surface is completely dry before moving on.
Removing Surface Dirt
Even after washing, some dust or particles may remain. Use a clay bar or detailing spray to remove these tiny bits. This step smooths the surface for better buffing results. Work gently to avoid scratching the paint. Removing surface dirt helps the buffing pad glide evenly across the car.
Taping Sensitive Areas
Cover edges and delicate parts with painter’s tape. Tape off areas like trim, rubber seals, and lights. This protects them from accidental buffing damage. Press the tape firmly to ensure it sticks well. Removing the tape after buffing keeps your car’s details clean and safe.
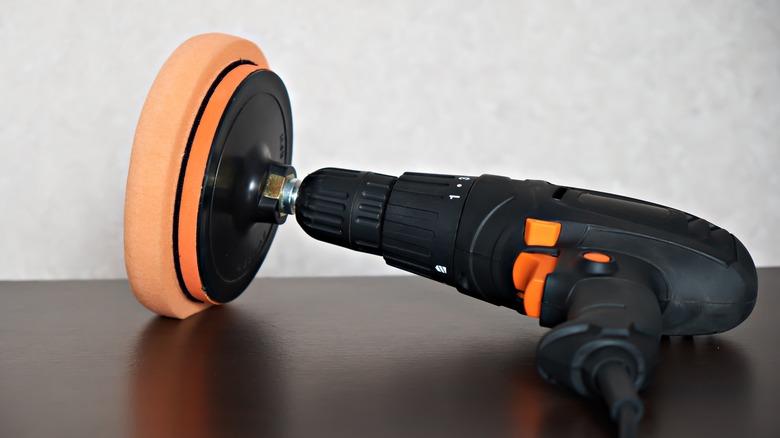
Attaching The Buffing Pad To The Drill
Attaching the buffing pad to a cordless drill is the first step in polishing your car effectively. A secure attachment ensures smooth buffing and prevents damage to the car’s surface. Take time to prepare the drill and the buffing pad properly for the best results.
Securing The Pad
Start by choosing the right buffing pad for your drill. Most pads have a backing that fits onto a drill attachment or a backing plate. Attach the pad firmly to the backing plate. Press down to ensure it sticks well. Attach the backing plate to the drill’s chuck. Tighten the chuck by turning it clockwise until the plate is secure. Give a gentle tug to check if the pad is fixed tightly. A loose pad can cause uneven buffing or fly off.
Ensuring Proper Alignment
Make sure the buffing pad sits flat on the backing plate. Misalignment can cause wobbling during use. Align the center of the pad with the drill’s axis. Check from different angles to confirm it is straight. A well-aligned pad spins evenly and reduces the chance of scratches. Proper alignment helps the drill work smoothly and extends the life of the buffing pad.
Buffing Techniques
Buffing a car with a cordless drill needs careful technique. Using the right method protects your car’s paint and gives a smooth shine. Follow these key steps to get the best result without damage.
Optimal Drill Speed
Set your cordless drill to a low or medium speed. High speed can cause heat build-up. Heat can damage the paint or cause uneven buffing. Start slow and increase speed only if needed. Keep the drill steady to avoid swirl marks.
Applying Even Pressure
Press the buffing pad gently against the car surface. Too much pressure can harm the paint. Too little pressure will not polish well. Use firm but light pressure for smooth results. Let the drill do the work, not your hands.
Working In Small Sections
Buff small areas, about 2 feet by 2 feet at a time. This way, you can control the polish better. Finish each section fully before moving on. Overlapping slightly helps avoid lines or marks. Small sections give a consistent shine all over.
Using Polishing Compounds
Using polishing compounds is a key step to make your car’s paint shine. Polishing compounds help remove scratches, swirl marks, and dull spots. They smooth the surface and bring out a fresh, glossy look.
Choosing the right compound and applying it well can save time and improve results. The cordless drill helps spread the compound quickly and evenly. Let’s explore how to use polishing compounds with your drill for a great finish.
Choosing The Right Compound
Pick a compound that matches your car’s paint condition. Use a coarse compound for deep scratches or heavy oxidation. Use a fine or finishing compound for light scratches or a smooth shine. Check the label for compatibility with your car’s paint type. Avoid harsh compounds on delicate or thin paint.
Applying Compound Correctly
Apply a small amount of compound on the drill’s polishing pad. Spread the compound on a small section of your car’s surface. Work in straight or overlapping lines. Avoid overloading the pad with compound. Too much can cause uneven polishing and mess.
Buffing With Compound
Start the drill at low speed to spread the compound evenly. Increase speed gently to begin polishing. Move the drill slowly in a circular or back-and-forth motion. Keep the pad flat against the surface. Avoid staying too long in one spot to prevent damage. Wipe off residue with a clean microfiber cloth.
Safety Tips While Buffing
Buffing a car with a cordless drill can be effective and quick. Safety matters the most during this process. Protect yourself and your car to avoid accidents and damage. Follow these safety tips to keep everything smooth and safe.
Protective Gear
Wear safety glasses to protect your eyes from dust and splashes. Use gloves to keep your hands safe and improve grip. Put on a dust mask to avoid breathing in fine particles. Wear old clothes that cover your arms to prevent scratches.
Avoiding Overheating
Stop often to let the drill cool down. Overheating can damage both the drill and the car paint. Work in short bursts, not long continuous sessions. Check the drill temperature with your hand before continuing. Avoid pressing too hard on the drill to reduce heat.
Handling The Drill Safely
Hold the drill firmly with both hands. Keep the drill steady and avoid sudden movements. Use the correct buffing pad for your car’s paint type. Make sure the drill speed is set to low or medium. Never leave the drill running unattended. Keep the power cord clear from the drill’s path.
Credit: www.slashgear.com
Aftercare And Maintenance
After using a cordless drill to buff your car, proper aftercare and maintenance keep your tools and car looking great. Caring for your equipment helps it last longer. Taking care of your car’s shine ensures the polish stays smooth and bright. Here are some simple steps to follow.
Cleaning Buffing Pads
Remove the buffing pads from your drill right after use. Rinse them with warm water to wash away polish and dirt. Use a mild soap if needed. Gently squeeze the pads to clean them without damaging. Let them air dry completely before storing. Clean pads work better and last longer.
Storing Your Drill
Store your cordless drill in a dry, cool place. Keep it away from dust and moisture. Use a case or box to protect it from damage. Remove the battery if you don’t plan to use it soon. Proper storage keeps your drill ready and safe.
Maintaining Car Shine
Wash your car regularly to keep the shine fresh. Use a soft cloth or sponge to avoid scratches. Apply wax every few months to protect the paint. Park in shaded areas to reduce sun damage. Small care steps keep your car glossy and smooth longer.

Credit: www.slashgear.com
Frequently Asked Questions
How Do I Prepare My Car For Cordless Drill Buffing?
Clean your car thoroughly before buffing. Remove dirt and debris to avoid scratches. Dry the surface completely. This ensures the drill pads work effectively and deliver a smooth finish.
What Drill Speed Is Best For Buffing A Car?
Use low to medium drill speed, around 1,000 to 2,000 RPM. High speeds risk burning the paint or causing swirl marks. Always start slow and adjust based on the buffer pad and compound used.
Which Drill Attachment Is Ideal For Car Buffing?
Use a soft foam or microfiber buffing pad attachment. These pads are gentle and help evenly distribute polishing compounds. Avoid hard or abrasive attachments to protect your car’s paint.
Can I Use Any Cordless Drill For Car Buffing?
Not all cordless drills suit buffing. Choose one with variable speed control and at least 18 volts. This provides enough power and control to buff effectively without damaging the surface.
Conclusion
Using a cordless drill to buff your car saves time and effort. It helps remove scratches and gives your car a shiny look. Always choose the right pad and polish for best results. Work in small sections for even buffing.
Keep the drill moving to avoid damage. Practice on a small area first to build confidence. This method is simple and cost-effective for car care. Try it yourself and see the difference. Your car will look cleaner and fresher after buffing.