
Are you struggling to get the perfect height on your drill press table? Raising it just right can make your work safer, easier, and more precise.
Whether you’re a seasoned woodworker or a weekend DIYer, knowing how to adjust your drill press table can save you time and frustration. You’ll discover simple, step-by-step tips to raise your drill press table quickly and securely. Keep reading, and you’ll soon have the confidence to tackle your projects with ease and accuracy.

Credit: www.youtube.com
Benefits Of Raising A Drill Press Table
Raising a drill press table changes how you work with the machine. It makes many tasks easier and safer. The right height helps you control your work better.
Adjusting the table height allows you to fit bigger pieces of wood or metal. It also helps you keep your body in a good position. This reduces strain and improves precision.
Improved Safety And Comfort
Raising the table puts your work closer to eye level. This helps you see the drill bit and material clearly. You avoid bending too much, which reduces back pain.
Better posture means less chance of accidents. You control the tool more easily and avoid slips or mistakes.
Greater Flexibility For Larger Workpieces
You can raise the table to fit tall or thick materials. This means you can drill deeper holes. It also helps when using clamps or jigs on big pieces.
More space under the drill bit allows for more types of projects. You get better results with different sizes and shapes.
Enhanced Accuracy And Precision
When the table is at the right height, your hands stay steady. You guide the drill bit more smoothly. This reduces wobbling and uneven holes.
Clear view of the work area helps align the drill bit perfectly. You make cleaner and more precise holes each time.
Tools And Materials Needed
Preparing to raise a drill press table requires certain tools and materials. Having everything ready helps the process go smoothly. The right items make the job safer and easier.
Each tool and material has a specific purpose. Missing one can cause delays or problems. Gather all items before starting your project.
Adjustable Wrench
An adjustable wrench fits different bolt sizes. It helps loosen and tighten nuts on the drill press. This tool is essential for making height adjustments.
Hex Key Set
Many drill press parts use hex screws. A hex key set fits these screws perfectly. It allows you to remove or secure parts without damage.
Measuring Tape
Accurate measurements are important for raising the table correctly. Use a measuring tape to check heights. This ensures the table is level and at the right height.
Wood Or Metal Blocks
Blocks support the table while adjusting its height. Choose sturdy wood or metal blocks. They keep the table stable and safe during the process.
Screwdriver
A screwdriver helps with small screws and adjustments. Choose the right type, either flathead or Phillips. This tool is useful for fine-tuning the setup.
Safety Gloves
Protect your hands while working with tools and metal parts. Wear safety gloves to avoid cuts or scrapes. Safety is important during any drill press work.
Cleaning Cloth
Keep the drill press clean before and after adjustment. Use a cleaning cloth to wipe dust and debris. A clean workspace improves tool performance.
Preparing The Drill Press For Adjustment
Preparing the drill press for adjustment is the first step to raise the table safely and accurately. Taking time to set up correctly helps avoid mistakes and keeps you safe. This section guides you through essential steps to get your drill press ready for raising its table.
Turn Off And Unplug The Drill Press
Always switch off the drill press before making adjustments. Unplug it from the power source to prevent accidental starts. This step protects you from injury and electrical hazards.
Clear The Work Area
Remove any tools, materials, or debris from the drill press table. A clean surface makes it easier to see and adjust the table height. It also prevents objects from falling during the process.
Loosen The Table Locking Mechanism
Find the handle or knob that locks the table in place. Turn it to loosen the table so it can move freely. Do not force the table; it should slide up or down smoothly.
Check The Column And Table Condition
Inspect the column and table for rust, dirt, or damage. Clean any buildup with a cloth to ensure smooth movement. Fix any visible issues before raising the table.

Credit: www.youtube.com
Step-by-step Guide To Raising The Table
Raising the drill press table is a simple task that lets you work with different material sizes. This step-by-step guide shows how to do it safely and correctly. Follow these easy steps to adjust the table height.
Loosening The Table Lock
First, find the table lock on your drill press. It usually looks like a lever or knob near the table’s support. Turn or loosen this lock carefully. This action frees the table, allowing it to move up or down. Do not force it; loosen it just enough to move the table.
Adjusting The Height
Next, hold the table firmly with both hands. Slide or lift the table to your needed height. Use the crank handle or raise it by hand, depending on your model. Adjust the table slowly to avoid sudden drops. Make sure the table is level and stable at the new height.
Securing The Table In Place
Finally, tighten the table lock to hold the table securely. Check that the table does not move or wobble. Tighten the lock firmly but do not overtighten. A stable table ensures safe and accurate drilling. Now, your drill press is ready for the next task.
Ensuring Perfect Alignment And Precision
Ensuring perfect alignment and precision is key to raising a drill press table correctly. Proper alignment helps you make clean, accurate holes. It also keeps your work safe and reduces drill bit wear. Small mistakes can cause big problems in your projects. This section covers how to check for levelness and align the table with the drill bit.
Checking For Levelness
Start by placing a spirit level on the drill press table. Check the surface from front to back and side to side. The bubble should be in the center. If it is off, adjust the table height or support screws. Make small changes and recheck until the table is perfectly level. A level table ensures your workpiece stays flat and steady.
Aligning With The Drill Bit
Lower the drill bit close to the table without touching it. Look down the bit to see if it lines up with the center of the table. If not, loosen the table lock and gently move it. Adjust the table until the drill bit is exactly over the center mark. Tighten the lock to hold the table in place. Correct alignment ensures holes are drilled exactly where you want them.
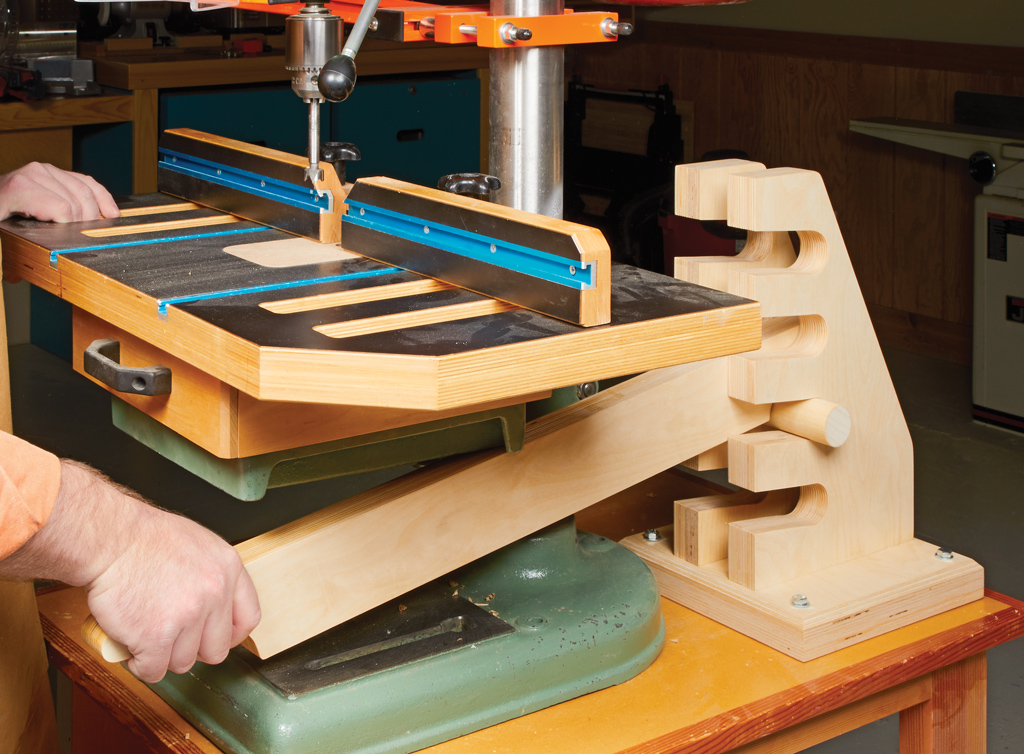
Credit: www.woodsmith.com
Common Mistakes To Avoid
Raising a drill press table requires care. Mistakes can cause problems or damage. Avoiding common errors helps keep your work safe and accurate.
Check each step carefully. Small errors can lead to big issues. Understanding common mistakes saves time and effort.
Not Securing The Table Properly
Failing to lock the table firmly causes movement during drilling. This leads to uneven holes and safety risks. Always tighten clamps or bolts before starting work.
Ignoring The Drill Press Manual
Each drill press has unique parts and adjustments. Skipping the manual can cause wrong setups. Read instructions to know the exact way to raise your table.
Using The Wrong Tools
Using incorrect wrenches or loose tools can damage parts. Use tools recommended for your drill press model. Proper tools ensure smooth and safe adjustments.
Overlooking Table Alignment
Raising the table without checking its level leads to crooked drilling. Always check alignment after adjusting height. A square table ensures precise drilling results.
Raising The Table Too High
Setting the table too close to the drill bit risks collision. This can damage the bit or workpiece. Leave enough space for the drill bit to move freely.
Maintenance Tips For Drill Press Tables
Maintaining a drill press table is key for its smooth function and long life. Clean and care for the table often. Small steps can stop big problems.
Keep the table free of dust and metal scraps. Use a soft cloth to wipe it down after each use. This stops rust and damage.
Cleaning The Drill Press Table
Remove dirt and grease with mild soap and water. Avoid harsh chemicals that can harm the surface. Dry the table fully to prevent rust.
Lubricating Moving Parts
Apply light machine oil to the table’s moving parts. This keeps them sliding easily. Do this regularly to avoid stiffness and wear.
Checking For Rust And Corrosion
Inspect the table for rust spots. Use fine sandpaper or a wire brush to clean small rust areas. Then, apply a rust inhibitor to protect the metal.
Adjusting The Table Height Mechanism
Test the height adjustment for smooth action. Tighten loose bolts and clear any dirt in the mechanism. Proper function keeps the table steady and safe.
Protecting The Surface
Use a coat of paste wax or a rust-preventive spray on the table. This shields the metal from moisture and dust. Reapply often for best results.
Frequently Asked Questions
How Do You Raise A Drill Press Table Safely?
To raise a drill press table safely, first unplug the machine. Loosen the table lock or clamp. Use the adjustment crank or handle to raise the table slowly. Secure the table firmly before resuming work to prevent movement or accidents.
What Tools Are Needed To Raise A Drill Press Table?
You typically need an Allen wrench or hex key to loosen the table lock. Some models require a crank handle or a wrench to adjust the height. Always check your drill press manual for specific tools and follow safety guidelines.
Why Should You Raise A Drill Press Table?
Raising the drill press table allows you to accommodate larger workpieces. It also helps position the workpiece closer to the drill bit for better control. This adjustment improves drilling accuracy and safety by ensuring proper clearance.
How High Can You Safely Raise A Drill Press Table?
The drill press table should be raised only to the maximum height allowed by the machine’s design. Avoid raising it beyond the support column limits. Exceeding the height can cause instability and reduce drilling accuracy.
Conclusion
Raising a drill press table helps improve your work’s precision. It lets you handle larger materials easily. Always measure carefully before making adjustments. Use proper tools to avoid damage or injury. Keep the table stable to ensure safe drilling. Small steps make a big difference in results.
Practice often to gain confidence and skill. This simple change can boost your workshop’s efficiency. Try it yourself and see the improvements happen.