
Drilling a hole through porcelain tile can feel like a tricky task, but it doesn’t have to be. If you’re worried about cracking or damaging your tile, you’re not alone.
The good news is, with the right tools and a few simple steps, you can do it yourself without stress. In this guide, you’ll learn exactly how to drill through porcelain tile safely and cleanly, saving you time and money.
Ready to tackle this project with confidence? Let’s get started.
Credit: yplbct.org
Tools Needed
Drilling a hole through porcelain tile needs the right tools. Using proper equipment helps avoid cracks and damages. It also makes the work easier and faster. Below are the essential tools needed for this task.
Drill Types
A corded drill offers constant power for tough materials. A cordless drill gives freedom of movement and is easier to handle. Choose a drill with variable speed control for better precision. Avoid hammer drills, as they can crack porcelain tiles.
Drill Bits For Porcelain
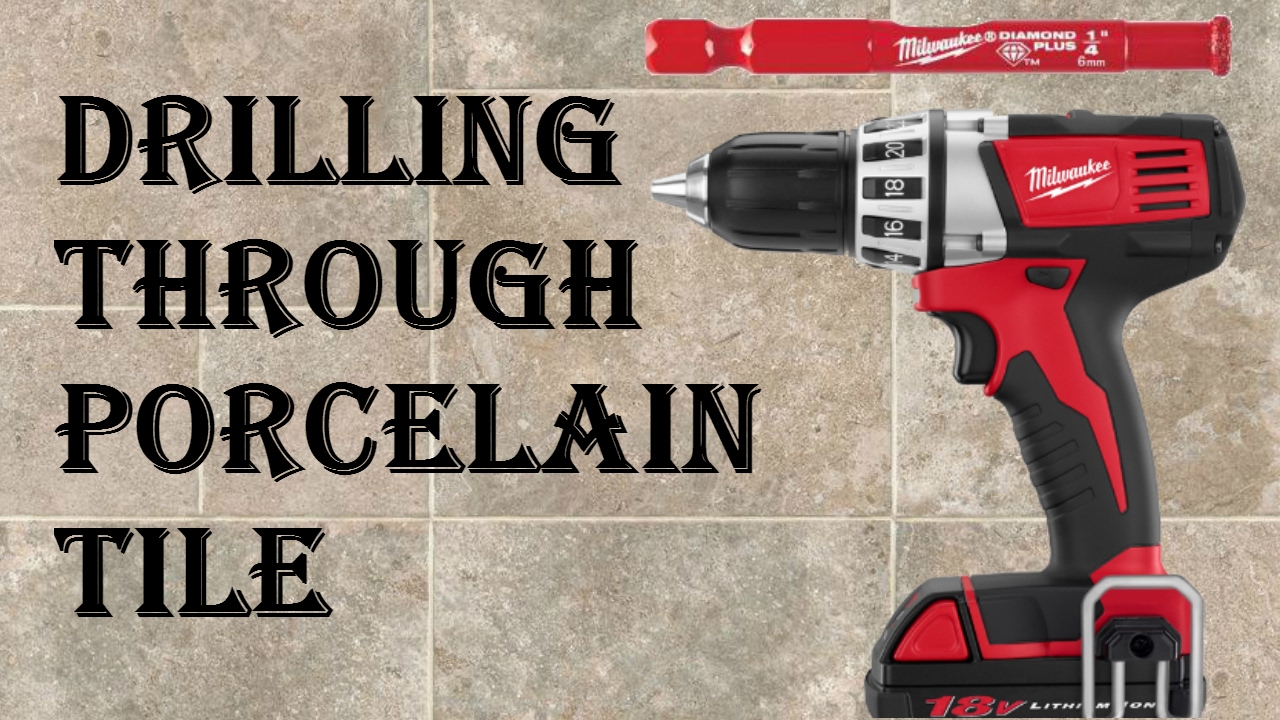
Diamond-tipped drill bits are the best for porcelain tiles. They cut smoothly without damaging the surface. Carbide-tipped bits work but wear out faster. Use a small pilot bit first, then a larger one to widen the hole. Keep the drill bit cool with water to prevent overheating.
Safety Gear
Wear safety goggles to protect your eyes from dust and debris. Use a dust mask to avoid inhaling fine particles. Gloves protect your hands from sharp edges and heat. Ear protection helps reduce noise from drilling. Always work in a well-ventilated area for safety.
Preparing The Tile
Preparing the tile is a key step before drilling through porcelain. It helps avoid cracks and keeps the drill steady. Take your time with this phase for the best results.
Marking The Spot
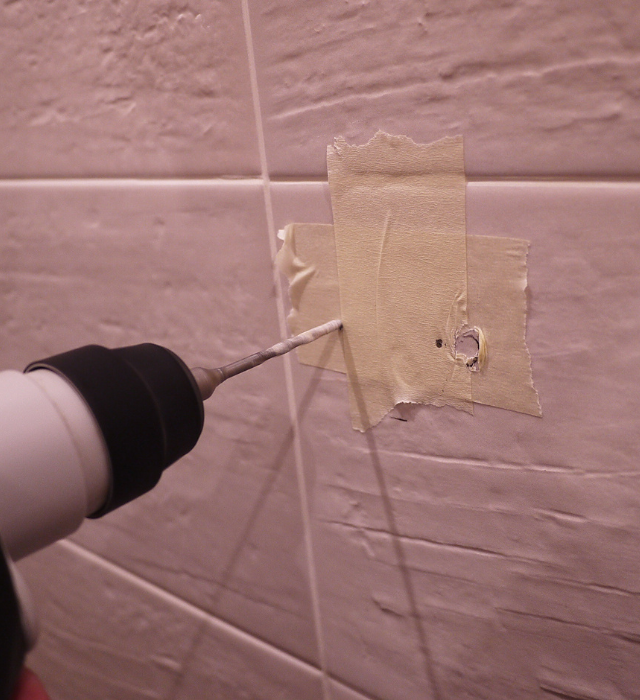
Start by finding the exact spot for the hole. Use a pencil or marker that shows clearly on the tile. A small dot is enough. This mark guides the drill and prevents mistakes.
Securing The Tile
Keep the tile still before drilling. Place it on a flat surface. Use clamps or heavy objects to hold it tight. Movement can cause the drill to slip and damage the tile.
Preventing Slippage
Porcelain is smooth and slippery. Stop the drill bit from sliding by adding grip. Place a piece of masking tape over the mark. The tape gives extra friction and holds the drill in place.
Drilling Techniques
Drilling through porcelain tile needs care and the right methods. The tile is hard and brittle. Wrong technique can cause cracks or damage. Follow simple steps to drill clean holes safely.
Starting The Hole
Begin by marking the spot clearly. Use a pencil or tape to avoid slipping. Start drilling at a low speed. Hold the drill at a 45-degree angle. This helps the bit grip the tile surface. Once the bit creates a small groove, move the drill to a 90-degree angle. This stabilizes the drill and prepares for deeper drilling.
Maintaining Steady Pressure
Apply gentle, steady pressure on the drill. Too much force can crack the tile. Too little pressure slows the process. Keep the drill moving smoothly. Avoid stopping or pushing hard. Let the drill bit do the work. Keep your hands steady to prevent shaking.
Cooling The Drill Bit
Drilling heats the bit quickly. Heat can damage both bit and tile. Use water to cool the drill bit. Spray water or drip it slowly on the drilling area. Stop drilling occasionally to cool the bit. This prevents overheating and extends the bit’s life. Keep the tile wet for best results.
Common Mistakes To Avoid
Drilling through porcelain tile requires care and the right technique. Many beginners make mistakes that damage the tile or cause injury. Avoiding common errors will save time and keep your tile intact.
Applying Too Much Force
Pressing hard on the drill can crack the tile. Porcelain is hard but brittle. Use gentle pressure and let the drill do the work. Slow and steady is the best approach.
Using Wrong Drill Bits
Regular drill bits can chip or shatter porcelain tiles. Use a diamond-tipped or carbide-tipped drill bit designed for tiles. The right bit cuts cleanly without causing damage.
Ignoring Safety Precautions
Skipping safety gear risks injury. Always wear safety goggles to protect your eyes from shards. Use gloves to avoid cuts and a dust mask to prevent inhaling dust.
Finishing Touches
After drilling a hole through porcelain tile, the final steps improve both look and durability. These finishing touches protect the tile and keep it neat. Taking time here prevents damage and ensures a clean, professional result.
Cleaning The Hole
Clear away dust and debris from the drilled hole. Use a soft brush or a small vacuum to remove loose particles. Wipe the hole edges gently with a damp cloth. This helps the sealant stick better and stops dirt from building up later.
Sealing Around The Hole
Apply a waterproof sealant around the hole to protect the tile. Use a small brush or a caulking gun for precise application. Sealants stop water from seeping under the tile and causing damage. Allow the sealant to dry fully before using the area.

Credit: www.youtube.com
Credit: ceramiccity.ie
Frequently Asked Questions
How Do I Drill A Hole In Porcelain Tile Without Cracking?
Use a carbide-tipped or diamond drill bit at low speed. Start with light pressure and keep the drill bit cool with water. Avoid pressing too hard to prevent cracking.
What Drill Bit Is Best For Porcelain Tiles?
A diamond-tipped drill bit is the best choice for porcelain tiles. It provides precision and durability while minimizing the risk of tile damage.
How Can I Prevent Dust While Drilling Porcelain Tiles?
Use a wet sponge or spray water on the tile surface. This keeps the dust down and cools the drill bit during drilling.
What Speed Should I Use When Drilling Porcelain Tile?
Always use a slow to medium drill speed. High speed can cause overheating and cracking of the tile.
Conclusion
Drilling through porcelain tile takes care and the right tools. Use a diamond drill bit to avoid cracks. Keep the drill steady and go slow. Water helps keep the tile cool and dust low. Take your time and be patient.
With these tips, you can finish your project safely. Remember, practice makes perfect. Stay calm, and you will get the hole done right. This simple guide helps you work with confidence and ease.