
Are you looking to add holes to your ceramic pottery but don’t know where to start? Drilling into ceramic might sound tricky, but with the right tools and simple steps, you can do it safely and cleanly.
Whether you want to make a planter with drainage holes or create unique designs, this guide will show you exactly how to drill holes without cracking or damaging your pottery. Keep reading, and you’ll gain the confidence to transform your ceramics like a pro.

Credit: www.youtube.com
Choosing The Right Tools
Choosing the right tools is key to drilling holes in ceramic pottery without cracks. Ceramics are hard but fragile. The wrong tools can cause chips or breaks. Use tools made for delicate materials. This saves time and protects your pottery. Proper tools make drilling smooth and precise. It also keeps you safe during the process.
Selecting Drill Bits For Ceramic
Pick drill bits designed for ceramic or glass. Diamond-tipped bits work best. They cut smoothly through hard surfaces. Carbide-tipped bits are another choice for softer ceramics. Avoid regular metal drill bits. They can cause cracks or shatter the pottery. Choose bits with a small tip angle. This reduces pressure and heat during drilling. Use new or sharp bits for clean holes.
Using A Drill Guide Or Template
A drill guide helps keep the drill steady and straight. This prevents slipping and uneven holes. Templates mark exact spots for drilling. They ensure consistent hole placement. Use clamps to hold the guide or template in place. This adds stability and safety. A drill guide also protects the surface around the hole. It reduces the risk of accidental damage. Always check the guide fits your drill size.
Preparing The Pottery
Preparing the pottery is the first step before drilling holes. This process helps avoid cracks and ensures accurate drilling. Careful preparation makes your work safer and more precise.
Cleaning And Marking The Spot
Start by cleaning the pottery surface. Remove dust, dirt, and grease with a soft cloth and mild soap. Dry the area completely before marking.
Use a pencil or a marker to mark the drilling spot clearly. Make sure the mark is visible but not too thick. Precise marking guides the drill bit exactly where you want.
Securing The Pottery For Drilling
Place the pottery on a stable surface to avoid slipping. Use a clamp or put it between two soft blocks to hold it steady. The pottery must not move during drilling.
Support the inside of the pottery if possible. This reduces stress on the piece and prevents cracking. A steady hold protects your pottery and improves drilling accuracy.
Drilling Techniques
Drilling holes in ceramic pottery requires careful techniques to avoid cracks or breaks. Using the right method helps keep the pottery safe and the hole clean. This section covers essential drilling tips to make the process smooth and effective.
Starting With A Pilot Hole
Begin by making a small pilot hole before drilling the final hole. A pilot hole guides the drill bit and reduces pressure on the pottery. Use a small diamond-tipped or carbide drill bit for this step. Drill slowly and gently to avoid damage. The pilot hole helps control the drill and prevents slipping.
Maintaining Proper Speed And Pressure
Keep the drill speed low and steady. High speed can cause heat and cracks in the ceramic. Apply light, even pressure on the drill. Pressing too hard may break the pottery. Let the drill bit do the work. Take breaks if the pottery feels hot or if drilling becomes difficult.
Using Water To Cool The Drill Bit
Use water to cool the drill bit while drilling. Water reduces heat and dust. It also helps the drill bit last longer. Keep the drilling area wet by dripping or spraying water. Avoid flooding the pottery with water. A wet sponge or a small cup can help control water flow.
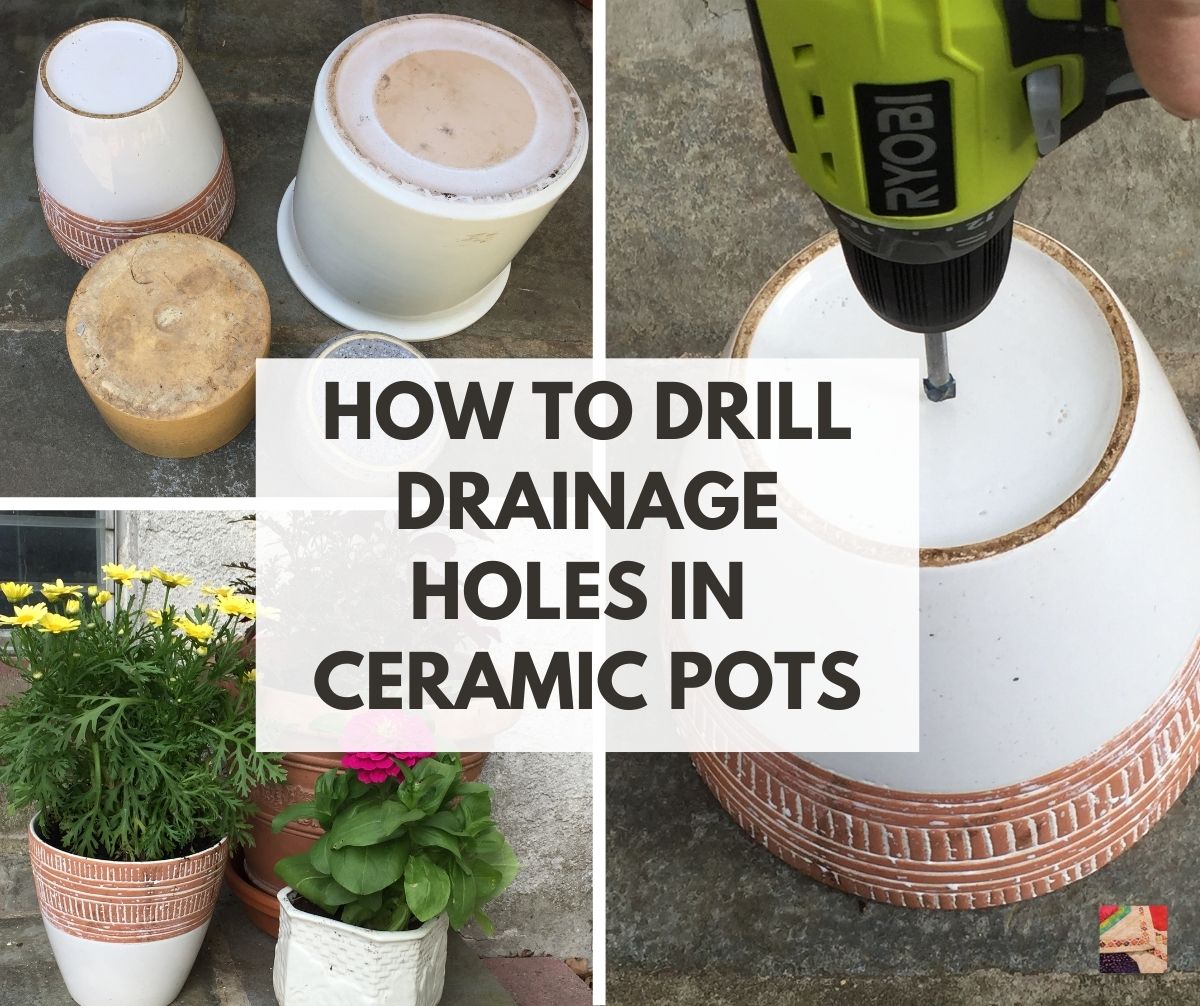
Credit: www.youtube.com
Troubleshooting Common Issues
Drilling holes in ceramic pottery can be tricky. Small mistakes cause cracks or chips. Some common issues slow down your progress. Knowing how to fix these problems saves time and keeps your pottery safe.
Preventing Cracks And Chips
Cracks and chips happen when pressure is too high. Use a slow drill speed to avoid damage. Always keep the drill bit wet. Water cools the ceramic and reduces heat. Start drilling with a small pilot hole first. This guides the bigger drill bit smoothly. Support the pottery on a soft surface. It absorbs vibrations and stops cracks.
Dealing With Drill Bit Slippage
Slippage makes it hard to start the hole. Mark the spot with a pencil or tape. This gives the drill bit a grip point. Hold the drill steady and start slowly. Press gently; hard pushing causes slipping. Use a diamond or carbide drill bit. These bits cut through ceramic better. Keep the drill straight to avoid slipping sideways.
Finishing Touches
Finishing touches are important after drilling holes in ceramic pottery. They help make your work look clean and safe to use. Taking time to smooth and clean the hole improves the pottery’s appearance and durability. Follow these simple steps to complete your project well.
Smoothing Rough Edges
Drilled holes often have sharp or rough edges. These edges can cause cuts or cracks later. Use fine sandpaper or a small sanding stone. Gently rub around the hole’s edge until it feels smooth. Work slowly to avoid breaking the pottery. Check the edges with your fingers to ensure no sharp spots remain.
Cleaning The Drilled Hole
Dust and small ceramic pieces often stay inside the hole. This dirt can weaken the pottery or cause damage. Use a soft brush or compressed air to clean inside the hole. Wipe the surface with a damp cloth to remove remaining dust. Let the pottery dry completely before using or decorating it further.
Credit: www.needlepointers.com
Safety Tips
Drilling holes in ceramic pottery requires care and attention. Safety is the top priority to avoid injuries and damage. Follow simple safety tips to protect yourself and your work.
Wearing Protective Gear
Always wear safety glasses to protect your eyes from dust and shards. Use a dust mask to avoid breathing in fine ceramic particles. Wear gloves to protect your hands from sharp edges and the drill bit. Choose clothing that covers your arms to prevent scratches.
Working In A Safe Environment
Work in a well-ventilated area to keep dust levels low. Use a sturdy table to hold your pottery steady. Keep your workspace clean and free of clutter. Have good lighting to see your work clearly. Keep children and pets away while drilling. Ensure your drill and tools are in good condition before starting.
Frequently Asked Questions
How Do I Drill Holes In Ceramic Pottery Safely?
Use a diamond-tipped drill bit and water for cooling. Secure the pottery firmly to prevent slipping. Drill slowly to avoid cracks or breaks. Always wear safety goggles and gloves for protection.
What Drill Bit Is Best For Ceramic Pottery?
A diamond-tipped or carbide-tipped drill bit works best. These bits cut smoothly through ceramic without causing damage. Avoid using standard metal drill bits as they can crack the pottery.
Can I Drill Holes In Glazed Ceramic Pottery?
Yes, but drill slowly to avoid cracking the glaze. Use water to keep the bit and surface cool. Start with a small pilot hole before enlarging it.
How Do I Prevent Ceramic Pottery From Cracking?
Use low drilling speed and constant water cooling. Secure the pottery firmly on a soft surface. Avoid applying too much pressure while drilling.
Conclusion
Drilling holes in ceramic pottery takes patience and care. Use the right tools and go slow to avoid cracks. Keep the pottery wet to stop overheating. Small steps help you drill clean, precise holes. Practice on scrap pieces before starting your main project.
This way, you build confidence and skill. Enjoy creating unique pottery with your new technique. It makes your work more functional and creative. Keep safety in mind and stay focused throughout the process. You can achieve great results with steady hands and time.