
Are you tired of struggling to drill perfectly straight holes in tight spaces? Making a right angle drill guide can change the way you work, giving you precision and control where you need it most.
Imagine being able to drill accurate right-angle holes easily, without expensive tools or complicated setups. In this post, you’ll discover simple steps to create your own drill guide that fits your needs and boosts your DIY skills. Keep reading, and soon you’ll have a handy tool that makes every project smoother and more professional.
Credit: www.reddit.com
Tools And Materials Needed
Gathering the right tools and materials is the first step. This ensures your right angle drill guide works well and lasts long.
Using the correct supplies makes the building process easier and safer. Prepare everything before starting the project.
Basic Tools
You will need a few simple tools. A drill, a screwdriver, and a measuring tape are essential. A saw helps cut wood or plastic parts. Clamps keep pieces steady while you work. Sandpaper smooths rough edges for a clean finish.
Materials
Choose strong materials like wood or plastic for the main body. Small metal brackets add extra support. Screws and bolts hold parts together firmly. A square block or angle bracket helps keep the drill at a right angle. Use glue for added strength if needed.
Safety Equipment
Wear safety glasses to protect your eyes. Gloves protect your hands from sharp edges. A dust mask keeps you safe from particles while sanding or cutting.

Credit: www.youtube.com
Choosing The Right Drill
Choosing the right drill is key to making a good right angle drill guide. The drill must fit your project needs and the guide design. Picking the correct type helps you work safely and easily.
Drills come in many styles. Each style suits different tasks and materials. The right drill makes drilling at a right angle smooth and accurate.
Choosing Between Corded And Cordless Drills
Corded drills offer constant power. They are best for long or tough jobs. Cordless drills give freedom to move. They are lighter and easy to handle. Think about your work space and power needs.
Selecting The Drill Size And Chuck Type
Drill size affects control and precision. Smaller drills work well for light tasks. Bigger drills handle heavy jobs better. Check the chuck type too. Keyless chucks change bits fast. Keyed chucks hold bits tighter.
Looking For Drill Speed And Torque
Speed controls how fast the bit spins. Torque is the drill’s twisting power. High torque drills handle thick materials. Variable speed drills allow better control. Both features help drill clean right angles.
Considering Drill Weight And Ergonomics
Lighter drills reduce hand fatigue. Ergonomic handles improve grip and comfort. Choose a drill that feels balanced in your hand. This helps keep steady during drilling.
Selecting Guide Materials
Choosing the right materials is key to making a strong right angle drill guide. Wood, metal, or plastic can work well depending on your project. Focus on durability and ease of cutting for best results.
Choosing Wood For The Drill Guide
Wood is easy to cut and shape for a right angle drill guide. Pine and plywood work well because they are strong yet light. Avoid soft woods that can break under pressure. Wood also holds screws and nails securely.
Using Metal For Durability
Metal parts add strength and last longer. Aluminum is a good choice since it is light and resists rust. Steel is tougher but heavier. Metal parts need special tools to cut and drill accurately.
Plastic Options For Lightweight Guides
Plastic pieces can make the guide light and easy to handle. Acrylic or PVC sheets are good choices. They are simple to cut and glue. Plastic may not hold up well under heavy use.
Combining Materials For Best Results
Mix wood, metal, and plastic for a balanced guide. Use wood for the base and metal for the angle parts. Add plastic inserts to reduce friction. This mix can improve strength and ease of use.
Measuring And Marking Components
Measuring and marking components is a key step in making a right angle drill guide. Accurate measurements help the parts fit well. Clear marks guide your cuts and holes. This step saves time and reduces mistakes. Focus on precision and use the right tools.
Choosing The Right Measuring Tools
Select tools that give precise readings. A ruler with clear numbers works well. A caliper helps measure small parts accurately. Use a square to check right angles. Sharp pencils or fine markers give clear lines.
Measuring Each Component Carefully
Measure twice, cut once. Start with the base piece. Mark its length and width clearly. Measure the drill guide arm next. Note the thickness and length. Write down all measurements to avoid confusion.
Marking Straight And Clear Lines
Use a square to draw straight lines. Draw light guide lines first. Darken the final lines for visibility. Mark drill hole spots with a center punch. These marks help drill in the right place.
Cutting And Shaping The Guide
Cutting and shaping the drill guide is a crucial step. It ensures the guide fits well and works smoothly. Precise cuts and clean shapes help maintain the right angle during drilling.
Use sharp tools for clean edges. Rough cuts can cause the guide to slip or misalign. Take your time and measure twice before cutting.
Preparing The Material For Cutting
Choose a sturdy material like hardwood or thick plastic. Mark the dimensions clearly with a pencil or marker. Use a ruler or square to keep lines straight. Double-check measurements to avoid mistakes.
Cutting The Guide To Size
Use a saw or rotary tool for cutting. Follow the marked lines carefully. Cut slowly to avoid splintering or cracking. Smooth any rough edges with sandpaper or a file.
Shaping The Guide For Accuracy
Shape the guide to fit the drill and workpiece. Create a slot or hole for the drill bit to pass through. Ensure the angle is exactly 90 degrees. Use a square to check the angle often during shaping.
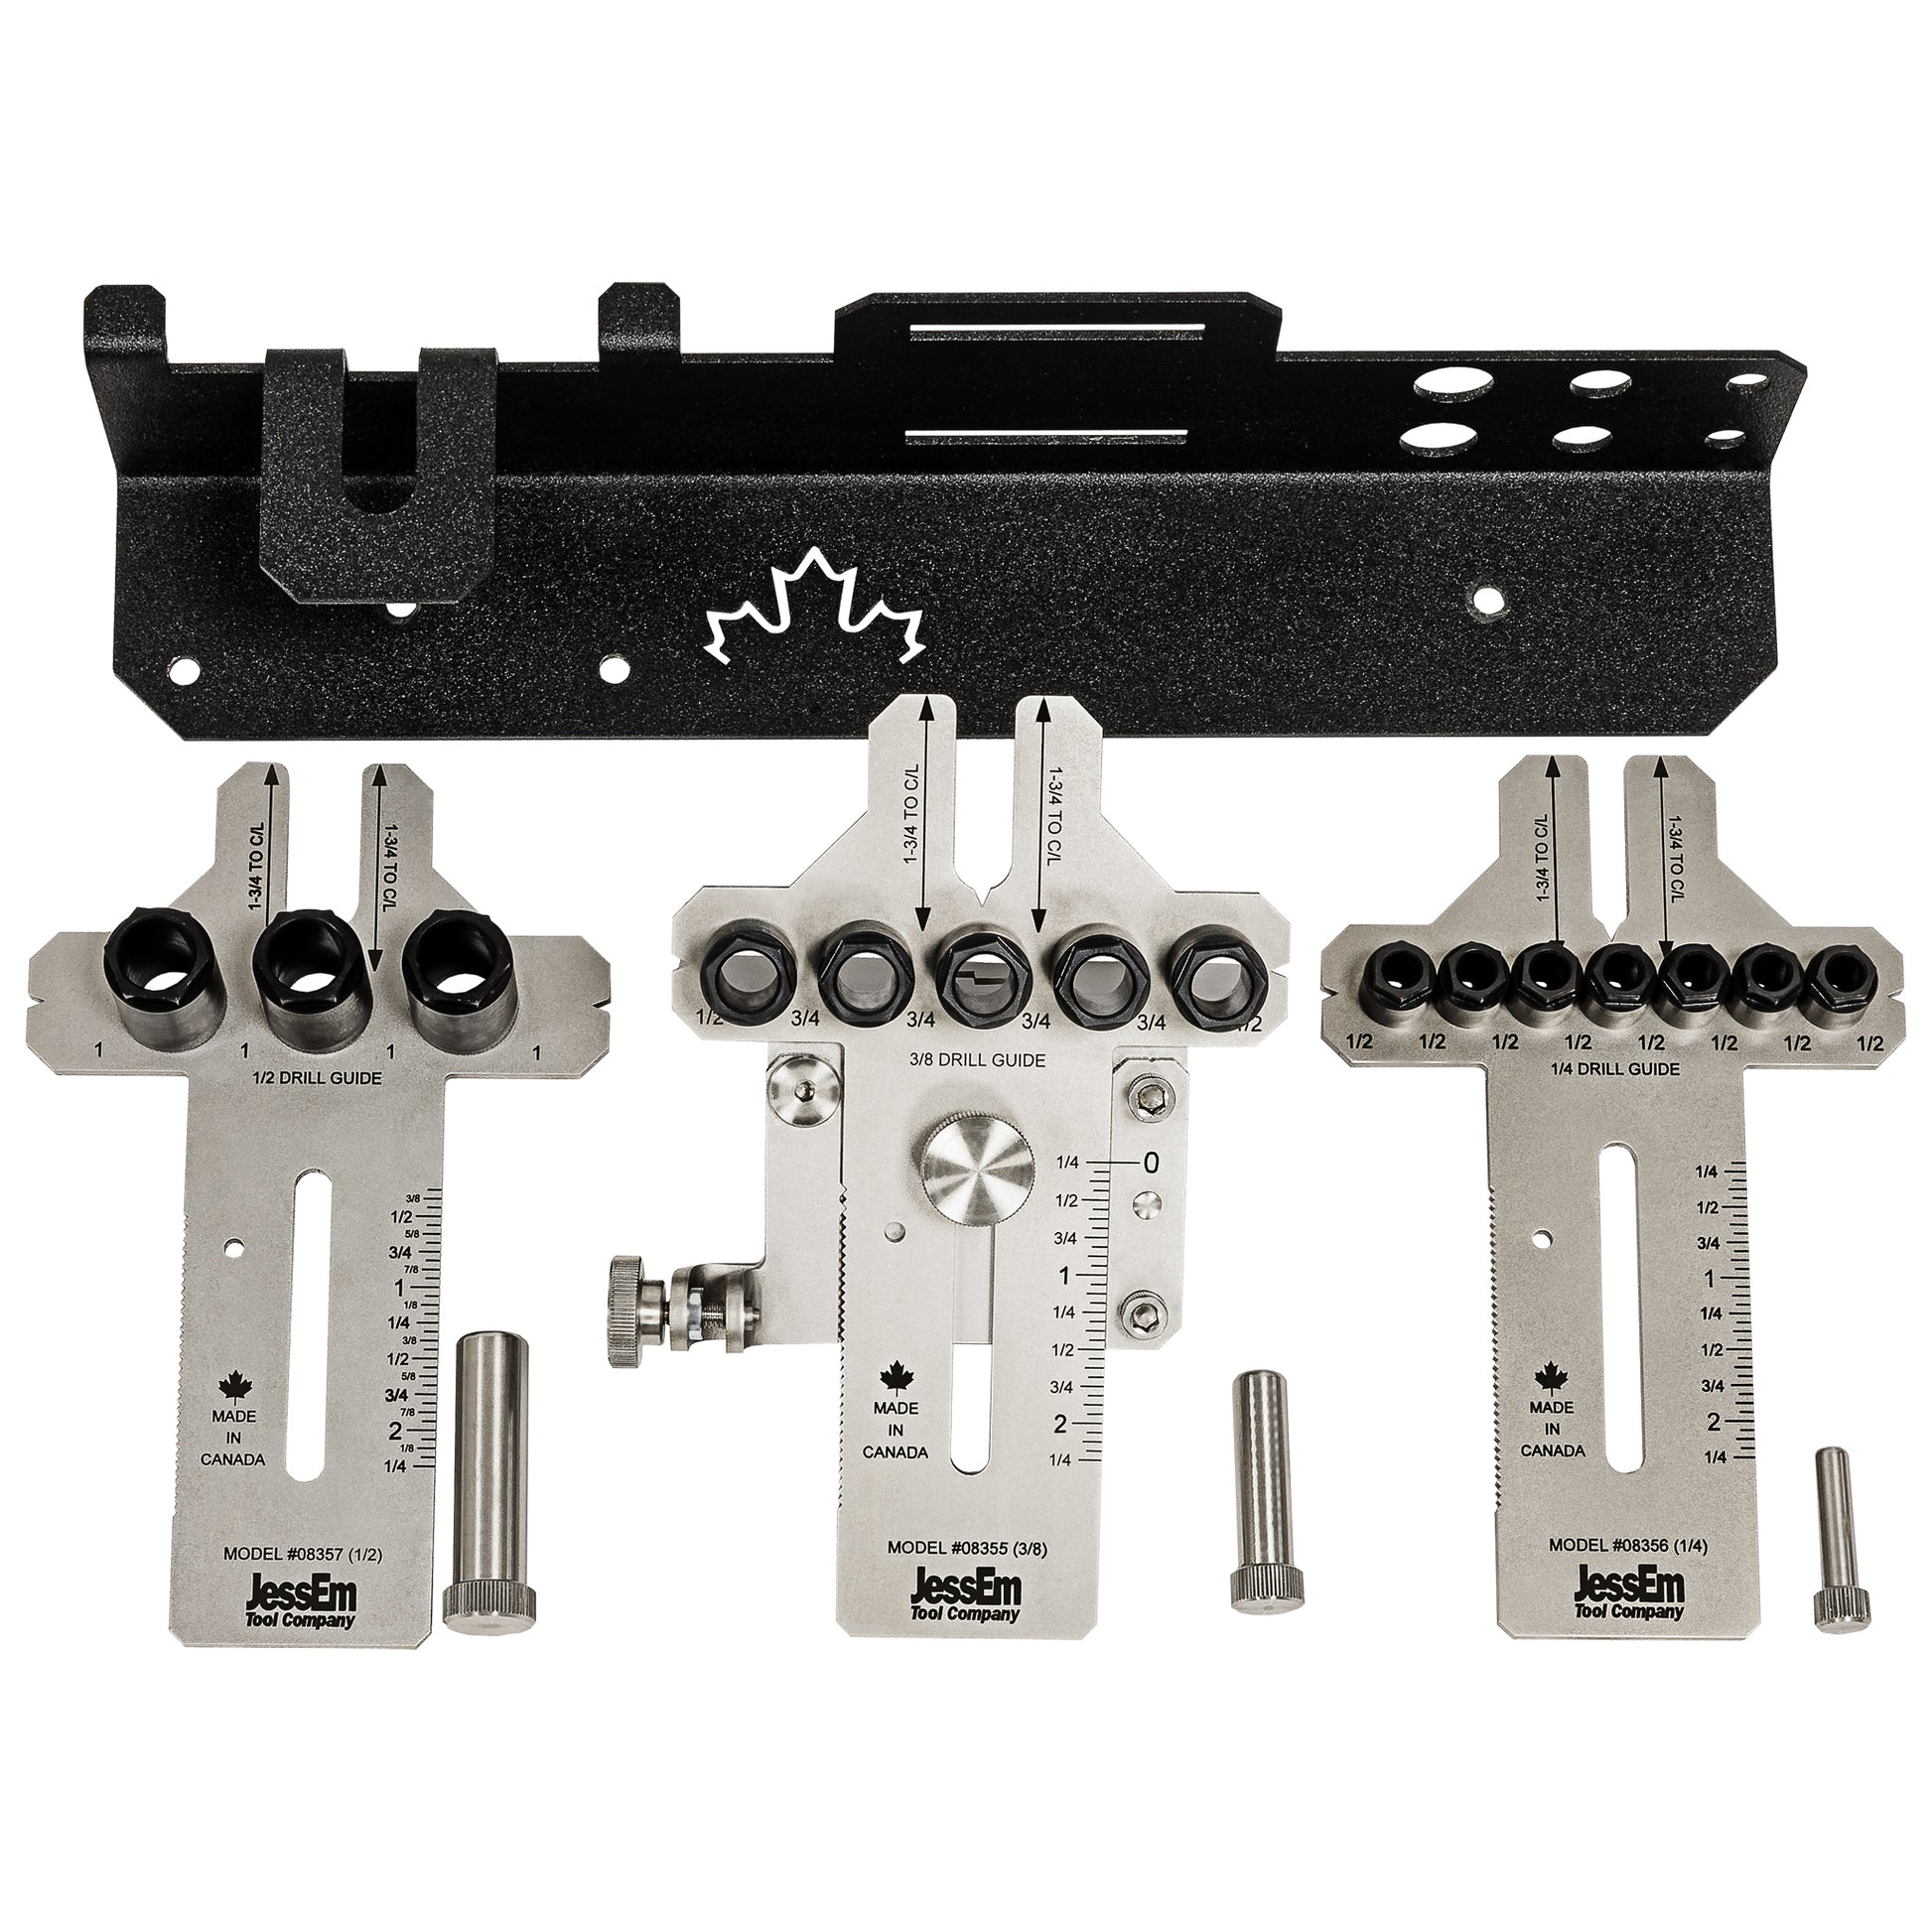
Credit: jessem.com
Assembling The Guide
Assembling the right angle drill guide is a key step. It brings all parts together for smooth drilling. Follow clear steps to build a sturdy and accurate guide.
Preparing The Base And Support
Start with a flat wooden base. Drill holes for screws carefully. Attach the support piece at a right angle to the base. Check the angle using a square tool.
Attaching The Drill Holder
Fix the drill holder on the support piece. Use screws that fit tightly. The holder must hold the drill firmly. Make sure it allows the drill bit to move straight.
Securing The Guide With Screws
Use wood screws to secure all parts firmly. Tighten screws evenly to avoid any movement. Test the guide by moving the drill holder. It should stay steady without wobbling.
Final Adjustments And Testing
Check all angles with a carpenter’s square. Adjust screws if the guide is off. Test drilling on a scrap piece of wood. Confirm the holes are straight and clean.
Attaching The Guide To The Drill
Attaching the guide to the drill is a key step. It ensures the drill stays steady and accurate. A well-attached guide helps make perfect right angles every time. Follow simple steps for a secure fit.
Prepare The Drill And Guide
Start by cleaning the drill’s body and chuck. Dirt or dust can affect the guide’s grip. Make sure the guide parts are ready and fit well. Check for any rough edges or loose parts.
Align The Guide Properly
Place the guide near the drill’s chuck. The guide should sit flush against the drill. Ensure the angle part points where you want to drill. Proper alignment makes drilling easier and more precise.
Secure The Guide With Screws Or Clamps
Use screws or clamps to hold the guide in place. Tighten screws evenly to avoid shifting. Do not over-tighten; it can damage the drill or guide. Clamps must hold the guide firmly but gently.
Test The Stability Before Use
Shake the drill lightly to check the guide’s hold. The guide should not move or wobble. Test drilling on scrap wood to check the angle. Adjust the guide if you see any movement.
Testing The Right Angle Accuracy
Testing the right angle accuracy is crucial after building your drill guide. It ensures your drill will make precise and clean cuts. Without this step, your project might suffer from errors and misaligned holes. Taking time to test helps you avoid costly mistakes.
Preparing A Test Surface
Choose a flat piece of wood for testing. It should be smooth and free of warps. Mark a clear straight line on the wood using a ruler. This line will guide your drilling and help check the angle.
Drilling The Test Hole
Attach your right angle drill guide securely to the drill. Align the drill bit with the marked line on the wood. Slowly drill a hole through the wood, keeping the drill steady. Do not rush this step for the best results.
Measuring The Drill Angle
Use a carpenter’s square or protractor to check the hole angle. Place the tool against the wood surface and the hole edge. The goal is to see a 90-degree angle. Any difference shows how much adjustment is needed.
Adjusting For Accuracy
If the angle is off, loosen the guide clamps slightly. Adjust the drill guide position by small amounts. Tighten the clamps again and test the hole angle. Repeat this process until the drill hits a perfect right angle.
Tips For Safe And Precise Drilling
Safe and precise drilling is key to any woodworking or DIY project. Using a right angle drill guide helps keep the drill steady and accurate. This section shares tips to help you drill correctly without mistakes or injuries.
These tips focus on safety and accuracy. They help you avoid slipping, wrong angles, and damaged materials. Follow these steps to get clean holes and protect yourself.
Use Proper Safety Gear
Wear safety glasses to protect your eyes from dust and debris. Use ear protection if the drill is loud. Gloves can protect your hands but make sure they fit well. Avoid loose clothing or jewelry that can get caught in the drill.
Secure Your Workpiece
Clamp the material firmly to a stable surface. This stops it from moving while drilling. Moving workpieces cause uneven holes and increase injury risk. Make sure clamps do not block your drill path.
Check Drill Bit And Guide Alignment
Always inspect the drill bit before starting. Use sharp bits for clean holes and less effort. Attach the bit correctly to the drill and guide. Align the guide square to the workpiece for perfect right angles.
Start With A Pilot Hole
Drill a small pilot hole first. This guides the larger drill bit and reduces slipping. A pilot hole helps keep the drill steady and precise. It also reduces pressure and prevents damage to the material.
Drill At A Slow, Steady Speed
Use a slow drill speed for better control. Rushing causes mistakes and rough holes. Keep steady pressure, but do not force the drill. Let the drill bit do the work. Slow and steady drilling improves accuracy and safety.
Keep The Drill Perpendicular
Hold the drill firmly to keep it straight. The right angle guide helps but check often. Drilling at an angle causes uneven holes and weak joints. Use your eyes and hands to maintain the right position.
Maintaining Your Drill Guide
Maintaining your right angle drill guide keeps it working well for a long time. Regular care helps avoid problems during drilling. Simple steps protect your tool and improve its accuracy.
Cleaning After Each Use
Remove dust and debris from the guide after every job. Use a soft brush or cloth to clean all parts. Avoid water or harsh chemicals that may cause rust.
Checking For Loose Screws
Check all screws and fasteners often. Tighten any loose parts to keep the guide steady. Loose screws can cause errors while drilling.
Lubricating Moving Parts
Apply light oil to any moving parts to keep them smooth. Do this every few uses or if parts feel stiff. Proper lubrication reduces wear and tear.
Storing In A Dry Place
Store your drill guide in a dry, safe spot. Moisture can cause rust and damage the metal. Use a case or box to protect it from dust and bumps.
Frequently Asked Questions
What Tools Are Needed To Make A Right Angle Drill Guide?
You need a drill, metal or wood pieces, screws, clamps, and a square. These tools help create precise 90-degree angles for drilling.
How Do I Ensure Accuracy In My Drill Guide?
Use a reliable square tool to align parts perfectly. Double-check measurements before drilling to maintain precise right angles.
Can I Use Wood To Build A Right Angle Drill Guide?
Yes, wood is a common material. It’s easy to cut, shape, and assemble for a sturdy and effective drill guide.
What Are The Benefits Of Using A Right Angle Drill Guide?
It improves drilling accuracy, ensures consistent right angles, and makes drilling in tight spaces easier and safer.
Conclusion
Making a right angle drill guide helps you drill accurately in tight spots. It saves time and keeps your work neat. You only need a few simple tools to build one at home. Practice a bit to get the best results.
This guide will improve your DIY projects and repairs. Keep it handy for any angled drilling job. Try making your own and see the difference it makes.