
Are your plant pots lacking proper drainage? You might not realize it, but drilling holes can make a huge difference for your plants’ health.
Without good drainage, water can build up and harm your plants’ roots. Luckily, drilling holes in your pots is easier than you think. In this guide, you’ll discover simple steps to create perfect drainage holes safely and effectively. Keep reading, and you’ll learn how to give your plants the care they truly need—right from your own home.
Credit: www.warporweft.com
Choosing The Right Pot
Choosing the right pot is important before drilling holes. The pot affects plant health and growth. Picking the right type makes drilling easier and safer. Consider the material, size, and drainage needs carefully.
Material Options
Pots come in many materials like plastic, clay, ceramic, and metal. Plastic pots are light and easy to drill. Clay pots can break but allow good air flow. Ceramic pots look nice but need careful drilling. Metal pots require special tools and care.
Size Considerations
Choose a pot size that fits your plant’s roots. Small pots need fewer holes. Large pots need more or bigger holes to drain water well. Too small holes can block water flow. Make sure the pot has space for roots to grow.
Drainage Needs
Drainage holes stop water from pooling at the bottom. Standing water harms roots and causes rot. Some pots have no holes and need drilling. Some plants need more drainage than others. Think about your plant’s watering needs before drilling.
Tools Required
Drilling holes in plant pots needs the right tools. The correct tools make the job safer and easier. Knowing what to use helps you avoid cracking or breaking the pot.
Here are the main tools you need to drill holes in pots effectively.
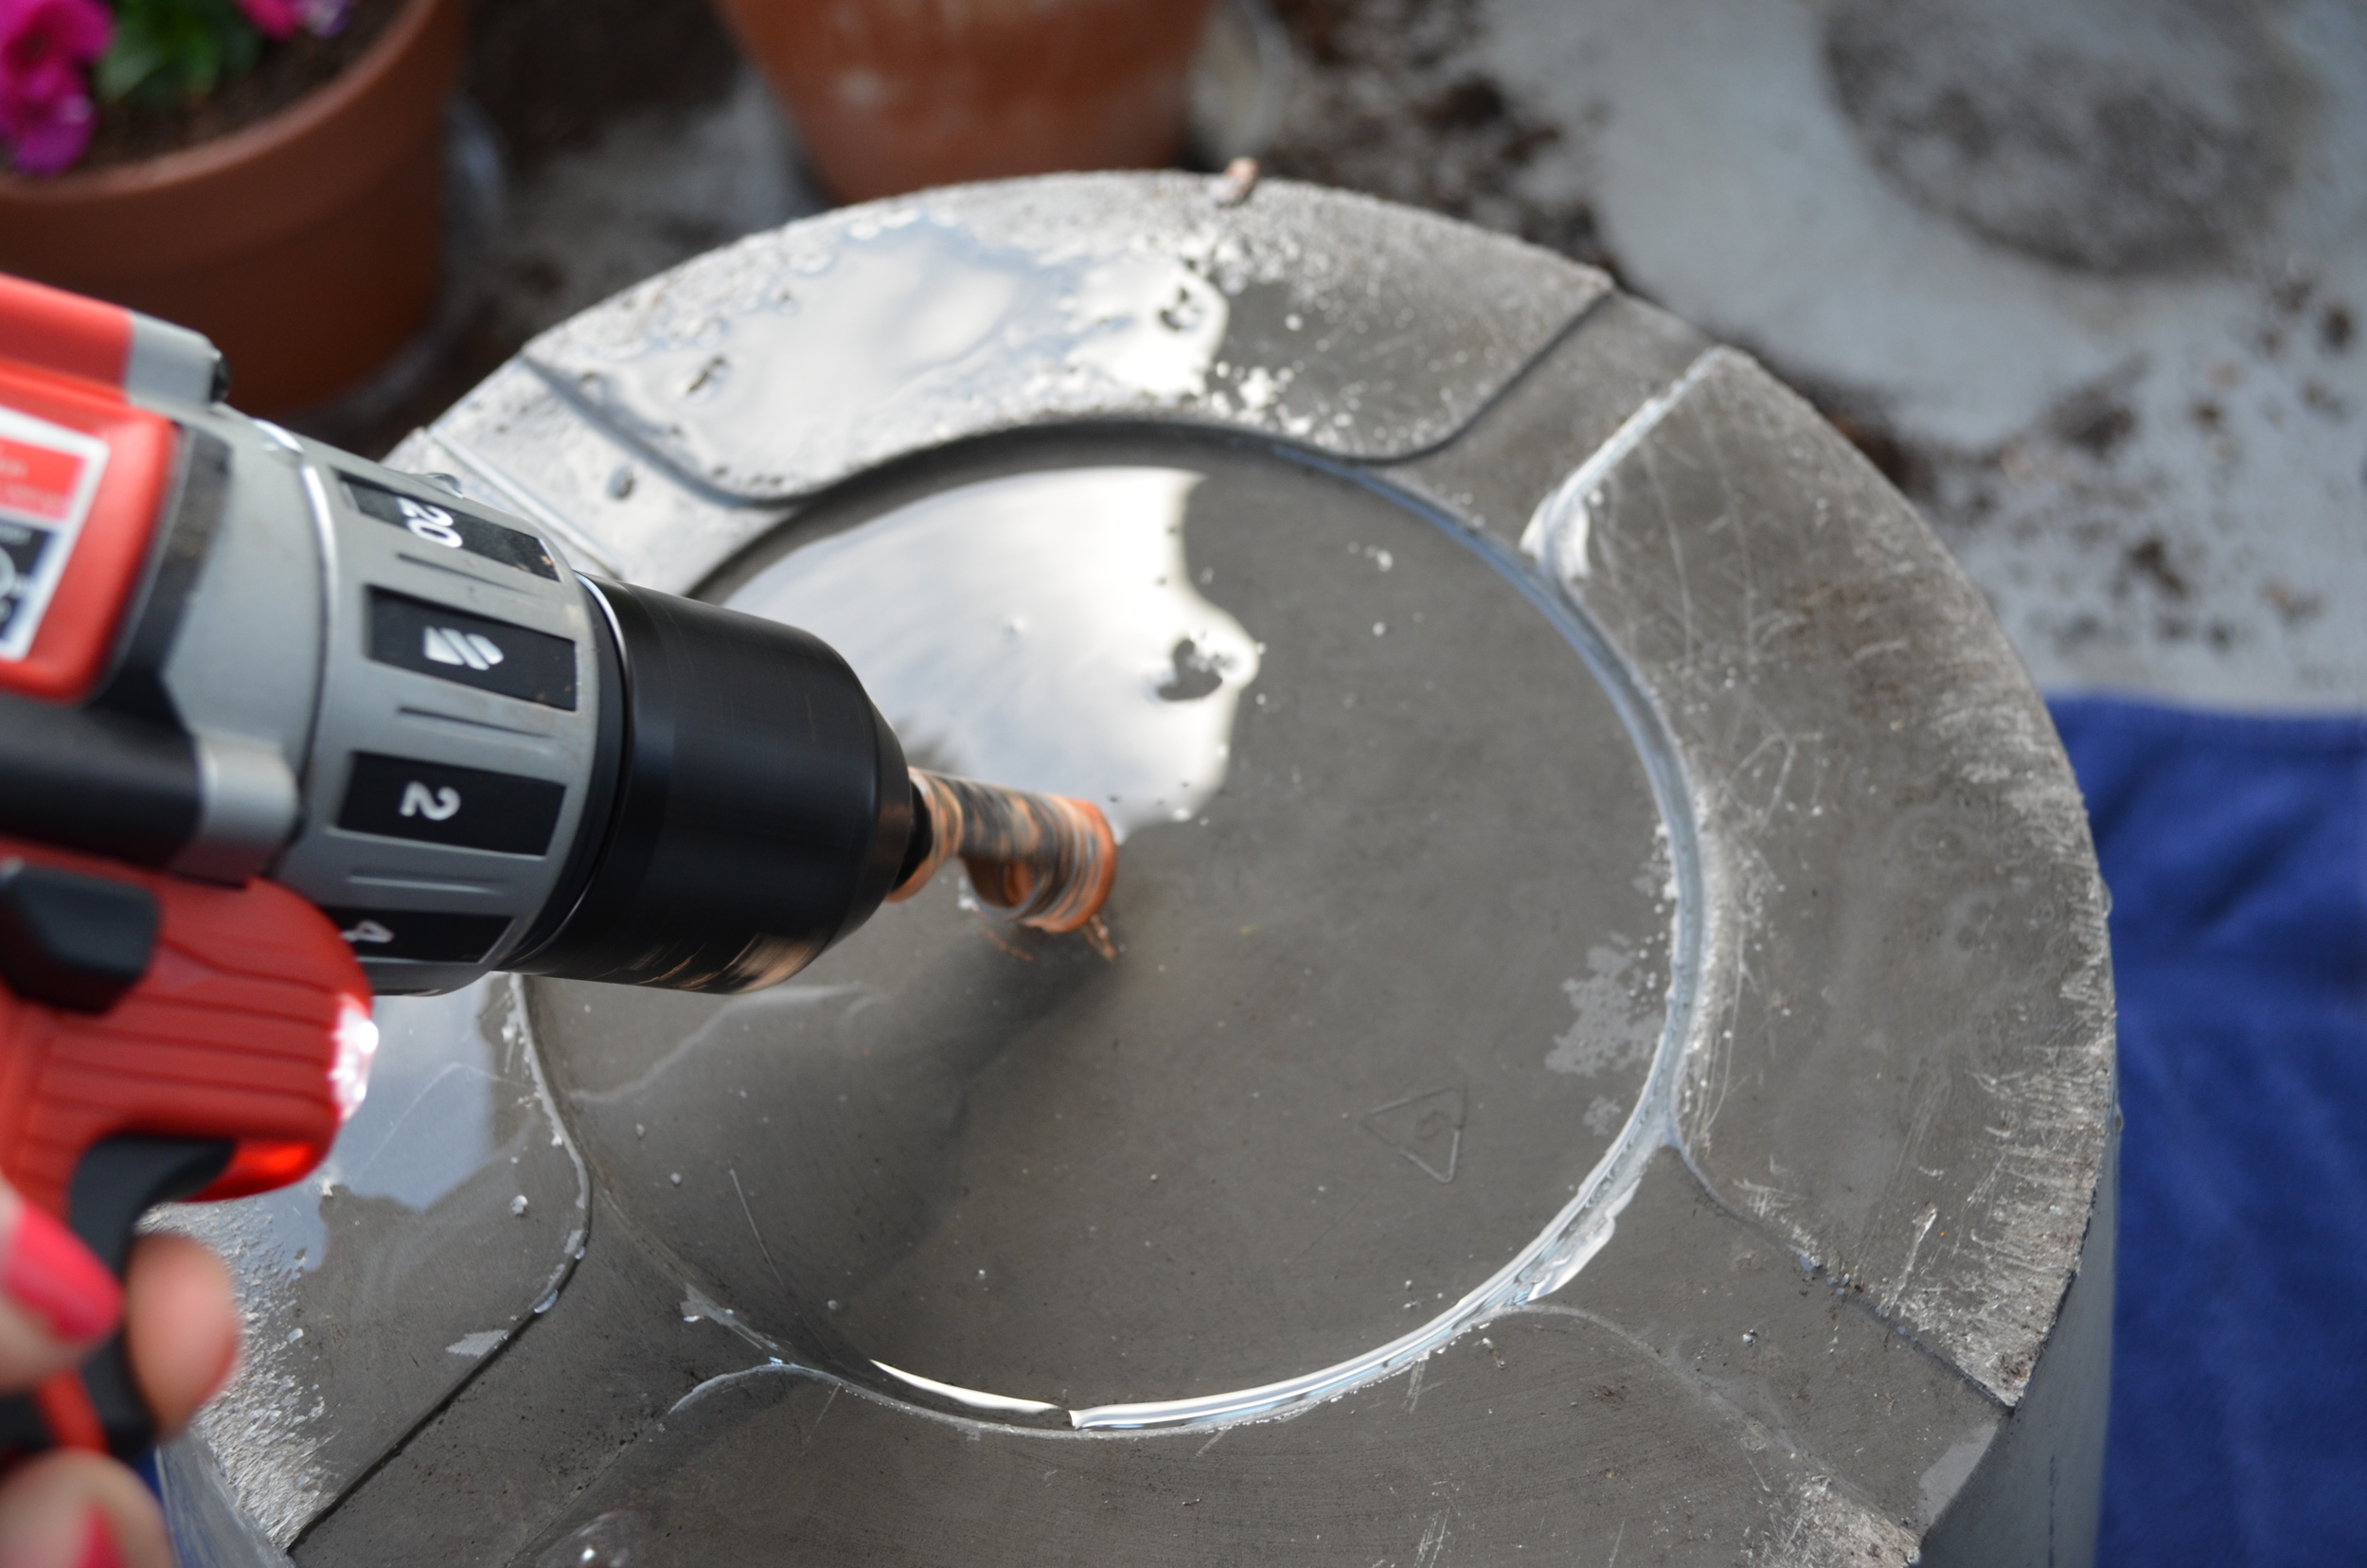
Drill Types
A corded drill works well for steady power. It keeps a constant speed. A cordless drill offers more freedom to move. Both types can drill through ceramic, plastic, or clay pots.
Choose a drill with variable speed settings. This control helps prevent damage to the pot.
Drill Bits For Pots
Use a masonry bit for ceramic and clay pots. These bits are strong and cut through hard materials easily. For plastic pots, a regular twist bit will work fine.
Diamond-tipped bits are best for very tough pots. They last longer and drill smoothly. Pick the right bit size for the hole you want.
Safety Gear
Wear safety glasses to protect your eyes from dust and shards. Use gloves to avoid cuts from sharp edges. A dust mask helps if the pot creates a lot of dust.
Secure the pot firmly before drilling. This prevents slips and accidents.
Preparing The Pot
Preparing the pot is an important first step before drilling holes. It helps make the process safer and cleaner. A well-prepared pot also ensures the holes are in the right place. This step saves time and prevents damage to the pot.
Cleaning The Surface
Start by cleaning the pot’s surface. Remove dirt, dust, and any debris. Use a damp cloth to wipe it down. A clean surface helps the drill bit stay steady. It also prevents slipping while drilling.
Marking Drill Spots
Next, mark the spots where you want the holes. Use a pencil or a marker with light pressure. Place the marks evenly for good drainage. Clear marks guide the drill bit straight down. This prevents cracks and mistakes.
Stabilizing The Pot
Keep the pot steady before drilling. Place it on a flat, stable surface. Use a towel or non-slip mat under the pot. Hold the pot firmly or clamp it gently. Stability helps the drill bit stay on track and avoids accidents.
Drilling Techniques
Drilling holes in plant pots needs care and the right method. Using the correct drilling techniques makes the job easier. It also protects your pots from damage. This section covers key tips for drilling safely and cleanly.
Slow And Steady
Start drilling at a low speed. Move the drill bit slowly into the pot surface. This reduces heat and stress on the pot. Fast drilling can cause cracks or breaks. Patience helps create a clean hole.
Avoiding Cracks
Use a support under the pot to stop cracks. Place a piece of wood or cloth beneath it. Do not press too hard with the drill. Let the drill bit do the work gently. Cracks often happen from too much pressure or sudden force.
Cooling The Drill Bit
Keep the drill bit cool to prevent damage. Stop drilling every few seconds. Dip the bit in water or spray it lightly. This cools the metal and stops overheating. A cool drill bit lasts longer and works better.
Creating Multiple Holes
Creating multiple holes in a plant pot helps water drain better. This stops water from pooling and harming plant roots. You can drill several holes to improve air flow and keep soil healthy. Proper hole placement matters for good drainage and pot strength.
Spacing Holes
Space holes evenly around the pot bottom. This spreads water flow across the soil. Avoid placing holes too close. It can make the pot weak or crack. A good rule is to put holes 1 to 2 inches apart. Check the pot size to decide the number of holes.
Ensuring Even Drainage
Even drainage means water leaves the pot at the same rate. Drill holes in a pattern that covers the pot bottom. This stops water from gathering in one spot. Use a small drill bit first. Then widen holes if needed. This keeps water moving and roots safe.
Post-drilling Care
After drilling holes in your plant pots, taking care of them is very important. Proper post-drilling care helps keep the pot safe to use. It also makes sure your plants get the right amount of water and air.
Removing Debris
Clear away all dust and tiny pieces left from drilling. Use a soft brush or cloth to wipe the pot clean. Debris can block the holes and stop water from flowing. A clean pot helps your plants stay healthy.
Smoothing Edges
Check the edges around the holes. They might be sharp or rough. Use sandpaper or a file to smooth them gently. This prevents cuts when handling the pot and stops damage to plant roots.
Testing Drainage
Fill the pot with water to check how well it drains. Water should flow freely through the holes. Good drainage stops water from sitting in the pot. This protects your plants from root rot and other problems.
Alternative Drainage Solutions
Not all plant pots come with drainage holes. Drilling holes might not be an option for some pots. Alternative drainage solutions help prevent water buildup. They keep plants healthy by avoiding soggy roots.
Using Pot Feet
Pot feet lift the pot off the ground. This creates space for water to drain out. Air can flow under the pot too. It stops water from sitting at the bottom. Pot feet come in different sizes and materials. They are easy to place under any pot.
Adding A Layer Of Pebbles
Place small pebbles at the bottom of the pot. This creates a space for excess water to collect. Water stays away from the roots. Pebbles improve airflow inside the pot. Use clean and smooth stones for best results. This simple step helps keep plants dry and healthy.
Credit: www.youtube.com

Credit: ctrlcurate.com
Frequently Asked Questions
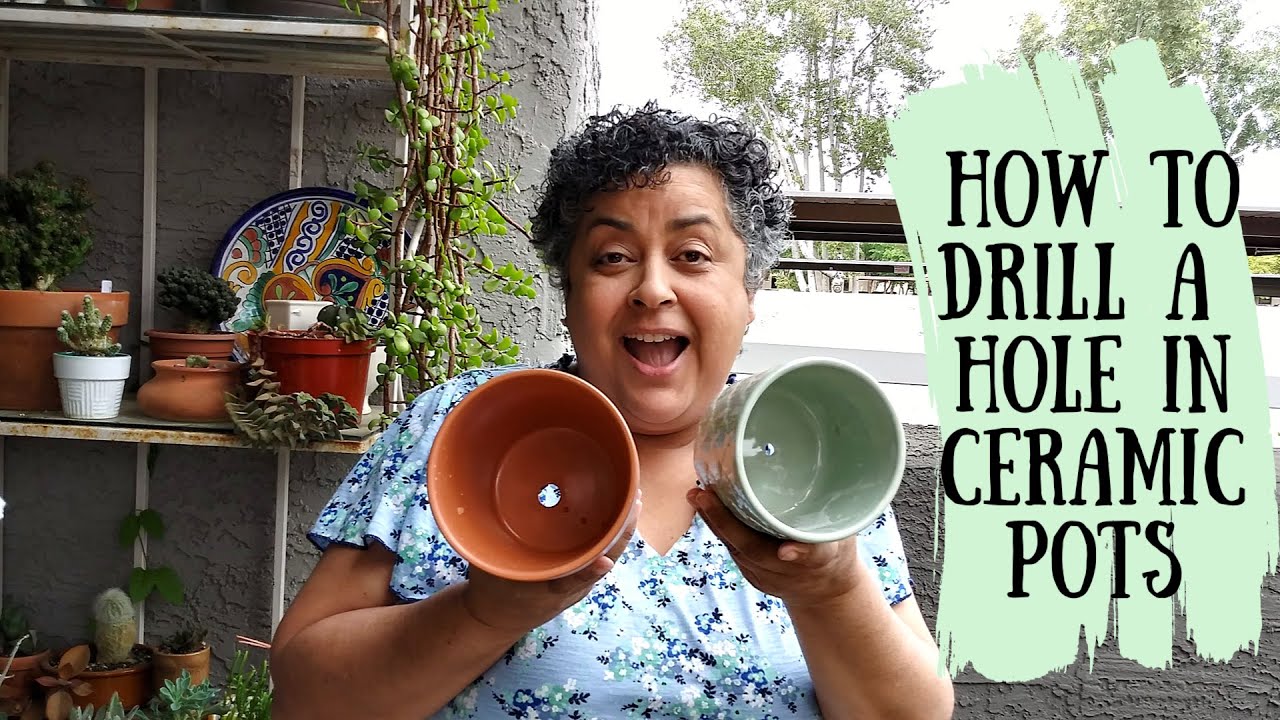
How Do I Drill Holes In Ceramic Plant Pots?
Use a diamond-tipped drill bit and water to keep it cool. Drill slowly to avoid cracking. Start with a small hole, then enlarge it carefully.
What Tools Are Best For Drilling Plant Pots?
A drill with a diamond or masonry bit works best. Use a slow speed and steady pressure. Safety goggles and gloves are recommended for protection.
Can I Drill Holes In Plastic Plant Pots?
Yes, use a standard drill bit suitable for plastic. Drill at low speed to avoid cracking or melting the pot material.
Why Should I Drill Drainage Holes In Plant Pots?
Drainage holes prevent waterlogging and root rot. They ensure excess water escapes, promoting healthy plant growth and preventing soil saturation.
Conclusion
Drilling holes in plant pots helps water drain well. This keeps plants healthy and roots strong. Use the right tools and take your time. Always wear safety gear to protect yourself. Small holes work best for most plants. Now, your pots will help plants grow better.
Try these steps on your next gardening project. Enjoy healthy plants and a happy garden!