
If you’ve ever needed to hang something heavy or create a secure anchor point, eye hooks are your go-to solution. But drilling in eye hooks the wrong way can lead to weak support or even damage to your walls or wood.
You want a strong hold that lasts, and that’s exactly what you’ll learn here. By following simple, clear steps, you’ll gain the confidence to drill eye hooks quickly and safely. Keep reading, and discover how to get the job done right the first time—so your projects stay secure and your space stays safe.
Credit: www.manmadediy.com
Tools And Materials Needed
Before you start drilling in eye hooks, gather the right tools and materials. This step makes the job easier and safer. Using proper tools helps you work faster and get good results.
Prepare everything you need. This guide covers the key items for the task.
Choosing The Right Eye Hooks
Pick eye hooks that match your project needs. Check size and weight limits. Use stainless steel for outdoor use to avoid rust. For light tasks, small hooks work well. Heavy loads need thicker, stronger hooks.
Selecting The Proper Drill Bit
Use a drill bit that fits the eye hook’s screw size. Wood screws need a bit slightly smaller than the screw. This keeps the hook tight and secure. For metal surfaces, use a metal drill bit. Always match the bit material to the surface.
Additional Tools To Prepare
Have a power drill or hand drill ready. Use a pencil to mark the spot. A measuring tape helps with accurate placement. Keep safety glasses to protect your eyes. A screwdriver can help tighten the hook if needed.

Credit: www.instructables.com
Choosing The Installation Location
Choosing the right spot for your eye hooks is important for a strong hold. Picking the correct location helps the hook stay secure and safe. This step makes sure your project lasts longer and works well.
Assessing Wall Or Surface Type
Check the material of the wall or surface before drilling. Wood, drywall, concrete, or brick all need different tools and methods. Wood is easy to drill, but drywall may need anchors. Concrete and brick require special drill bits. Knowing the surface type stops damage and ensures the hook holds tight.
Measuring And Marking The Spot
Measure carefully to place the eye hook in the right spot. Use a tape measure and pencil for accuracy. Mark the exact point where you will drill. Double-check measurements to avoid mistakes. Proper marking saves time and keeps your project neat.
Preparing The Drill And Surface
Preparing the drill and surface is a key step before installing eye hooks. It ensures the hooks go in smoothly and hold firmly. Proper preparation makes the job safer and easier. It also protects the material from splitting or damage. Follow these simple steps to get ready for drilling.
Setting Up The Drill
Choose a drill with variable speed control. Use a drill bit slightly smaller than the eye hook’s shaft. This helps create a snug fit. Insert the drill bit firmly into the chuck. Tighten the chuck to avoid slipping. Check the drill’s battery or power source. A full charge or steady power supply ensures smooth drilling.
Wear safety goggles to protect your eyes. Hold the drill firmly with both hands. Keep the drill straight to avoid angled holes. A steady hand means better control and cleaner holes.
Pre-drilling Pilot Holes
Mark the spot for the eye hook with a pencil. This guides the drill bit to the right place. Start drilling slowly to create a small pilot hole. The pilot hole makes it easier to screw in the eye hook. It also prevents the wood or surface from splitting.
Drill to a depth slightly shorter than the eye hook’s length. Remove the drill bit and clear any debris from the hole. A clean hole helps the eye hook screw in smoothly. Repeat for all eye hooks before installation.

Credit: www.youtube.com
Installing Eye Hooks Securely
Installing eye hooks securely is important for safety and durability. Proper installation keeps the hook strong and able to hold weight without slipping. Follow simple steps to make sure the eye hook stays tight and stable in the surface.
Inserting The Eye Hook By Hand
Start by placing the tip of the eye hook on the drilled hole. Turn the hook slowly in a clockwise direction. Use your hand to screw it in as far as you can. Stop when the hook feels tight and does not move easily. This method works best for small hooks and soft materials like wood.
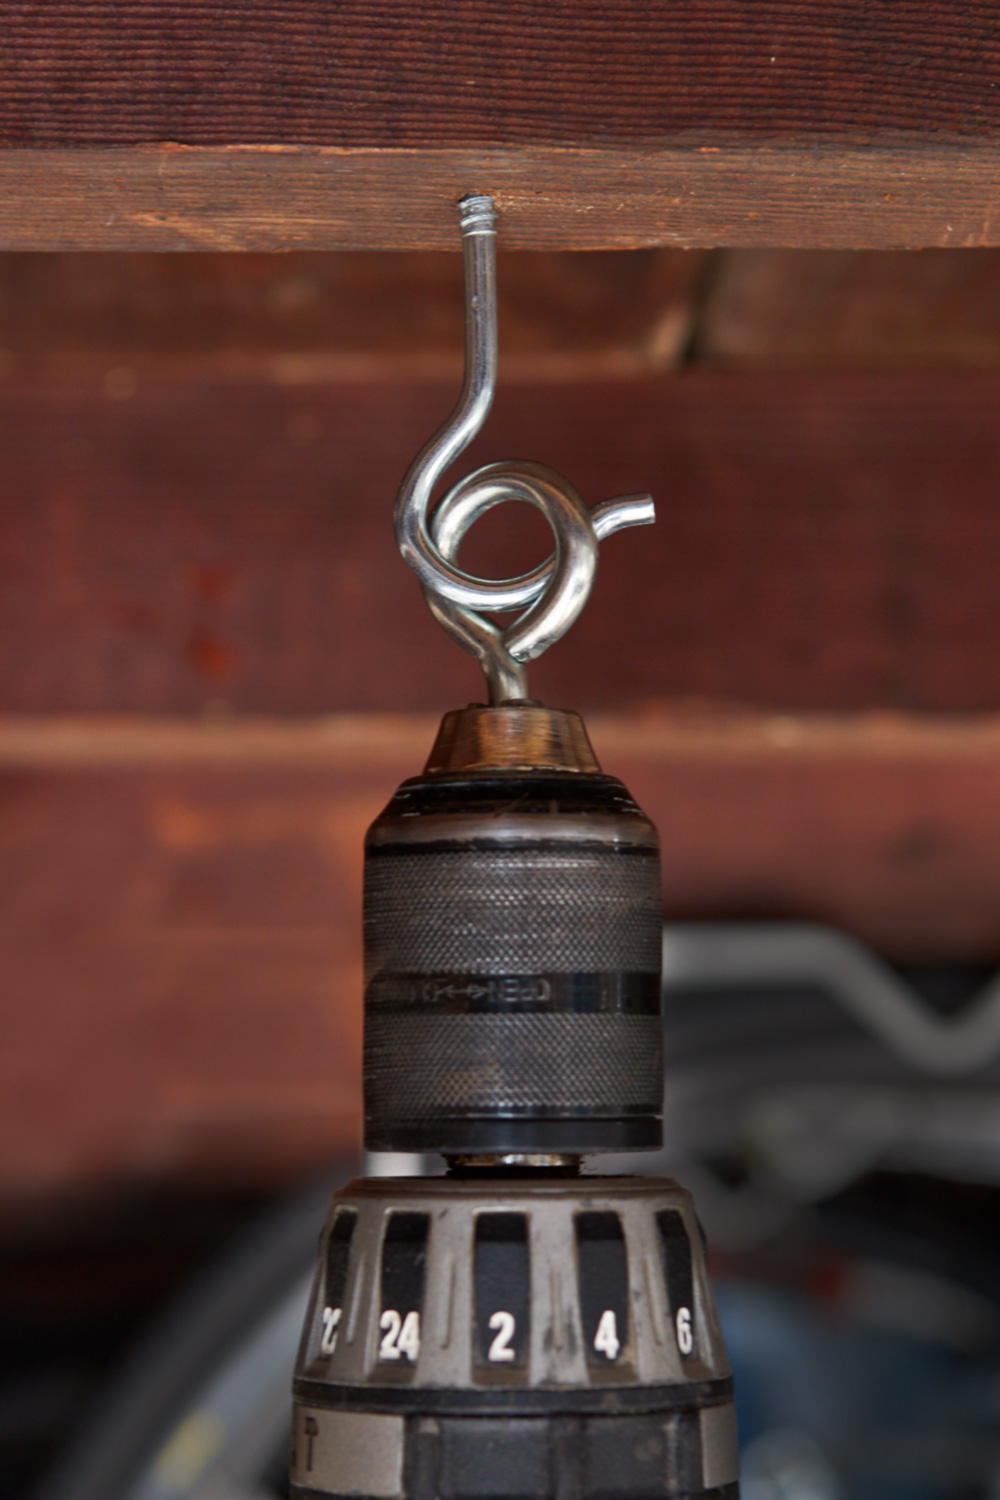
Using Tools To Tighten The Hook
For larger hooks or hard surfaces, use tools to finish the job. Insert a screwdriver or a rod through the eye of the hook. This gives better grip and more power to turn the hook. Twist the hook until it is fully secure and does not wobble. Avoid over-tightening to prevent damage to the material or hook.
Testing The Installation
Testing the installation of eye hooks is a crucial step. It ensures the hooks hold securely and perform well. Skipping this check can lead to accidents or damage. Take time to evaluate the strength and stability of each eye hook.
Checking Stability And Strength
Start by gently pulling on the eye hook. Apply steady pressure to test its hold in the material. It should not wiggle or move. Check for any cracks or splits around the hole. Use your hands or a small tool to test the hook’s firmness. A stable eye hook stays firmly in place under pressure.
Adjusting If Necessary
If the eye hook feels loose, do not ignore it. Remove the hook and inspect the hole. You might need a larger hook or a different drill bit size. Fill the hole with wood filler or putty if it’s too big. Let it dry before reinstalling the hook. Tighten the hook carefully, avoiding overtightening that could damage the material.
Safety Tips And Best Practices
Drilling in eye hooks requires care and attention. Safety is very important to avoid injuries and mistakes. Following safety tips and best practices helps you finish the job smoothly and safely. Always prepare well before starting the drilling process. Use the right tools and protect yourself properly.
Protective Gear Recommendations
Wear safety glasses to protect your eyes from dust and debris. Use gloves to protect your hands from sharp edges and slipping tools. Ear protection is useful if you drill for a long time or use loud drills. Wear a dust mask to avoid breathing in fine particles. Choose sturdy shoes to protect your feet in case tools fall.
Avoiding Common Mistakes
Mark the spot clearly before drilling to ensure accuracy. Use the correct drill bit size to match the eye hook. Drill slowly and steadily to prevent cracking or slipping. Do not force the drill; let it work at its own speed. Check the surface for wires or pipes before drilling to avoid damage. Tighten the eye hook by hand first, then finish gently with a tool. Stop drilling if you feel resistance or hear strange sounds.
Frequently Asked Questions
How Do You Drill A Hole For Eye Hooks?
Mark the spot, choose the right drill bit size, and drill a pilot hole. This helps the eye hook screw in easily and securely.
What Drill Bit Size Is Best For Eye Hooks?
Use a drill bit slightly smaller than the eye hook’s shaft. This ensures a snug fit and prevents wood splitting.
Can I Drill Eye Hooks Into Drywall?
Drywall alone won’t support eye hooks well. Use wall anchors or drill into studs for strong, reliable support.
How Deep Should The Hole Be For Eye Hooks?
Drill a hole slightly shorter than the eye hook’s length. This allows the hook to bite firmly into the material.
Conclusion
Drilling in eye hooks is easier with the right steps. Start by marking the spot clearly. Use a drill bit smaller than the hook’s shaft. Drill slowly to avoid splitting the wood. Insert the eye hook and turn it by hand or with a tool.
Check that it fits tightly and stands firm. With care and patience, your eye hooks will hold well. This simple process saves time and effort. Try it yourself and see the difference.