
If you own a Craftsman cordless drill, you know how important the battery charger is to keep your tool ready for action. But what if your charger isn’t working right?
Knowing how to check your Craftsman cordless drill battery charger can save you time and frustration. In this guide, you’ll learn simple steps to test your charger and spot any issues before they slow down your projects. Keep reading to make sure your drill stays powered up and ready whenever you need it.

Credit: www.youtube.com
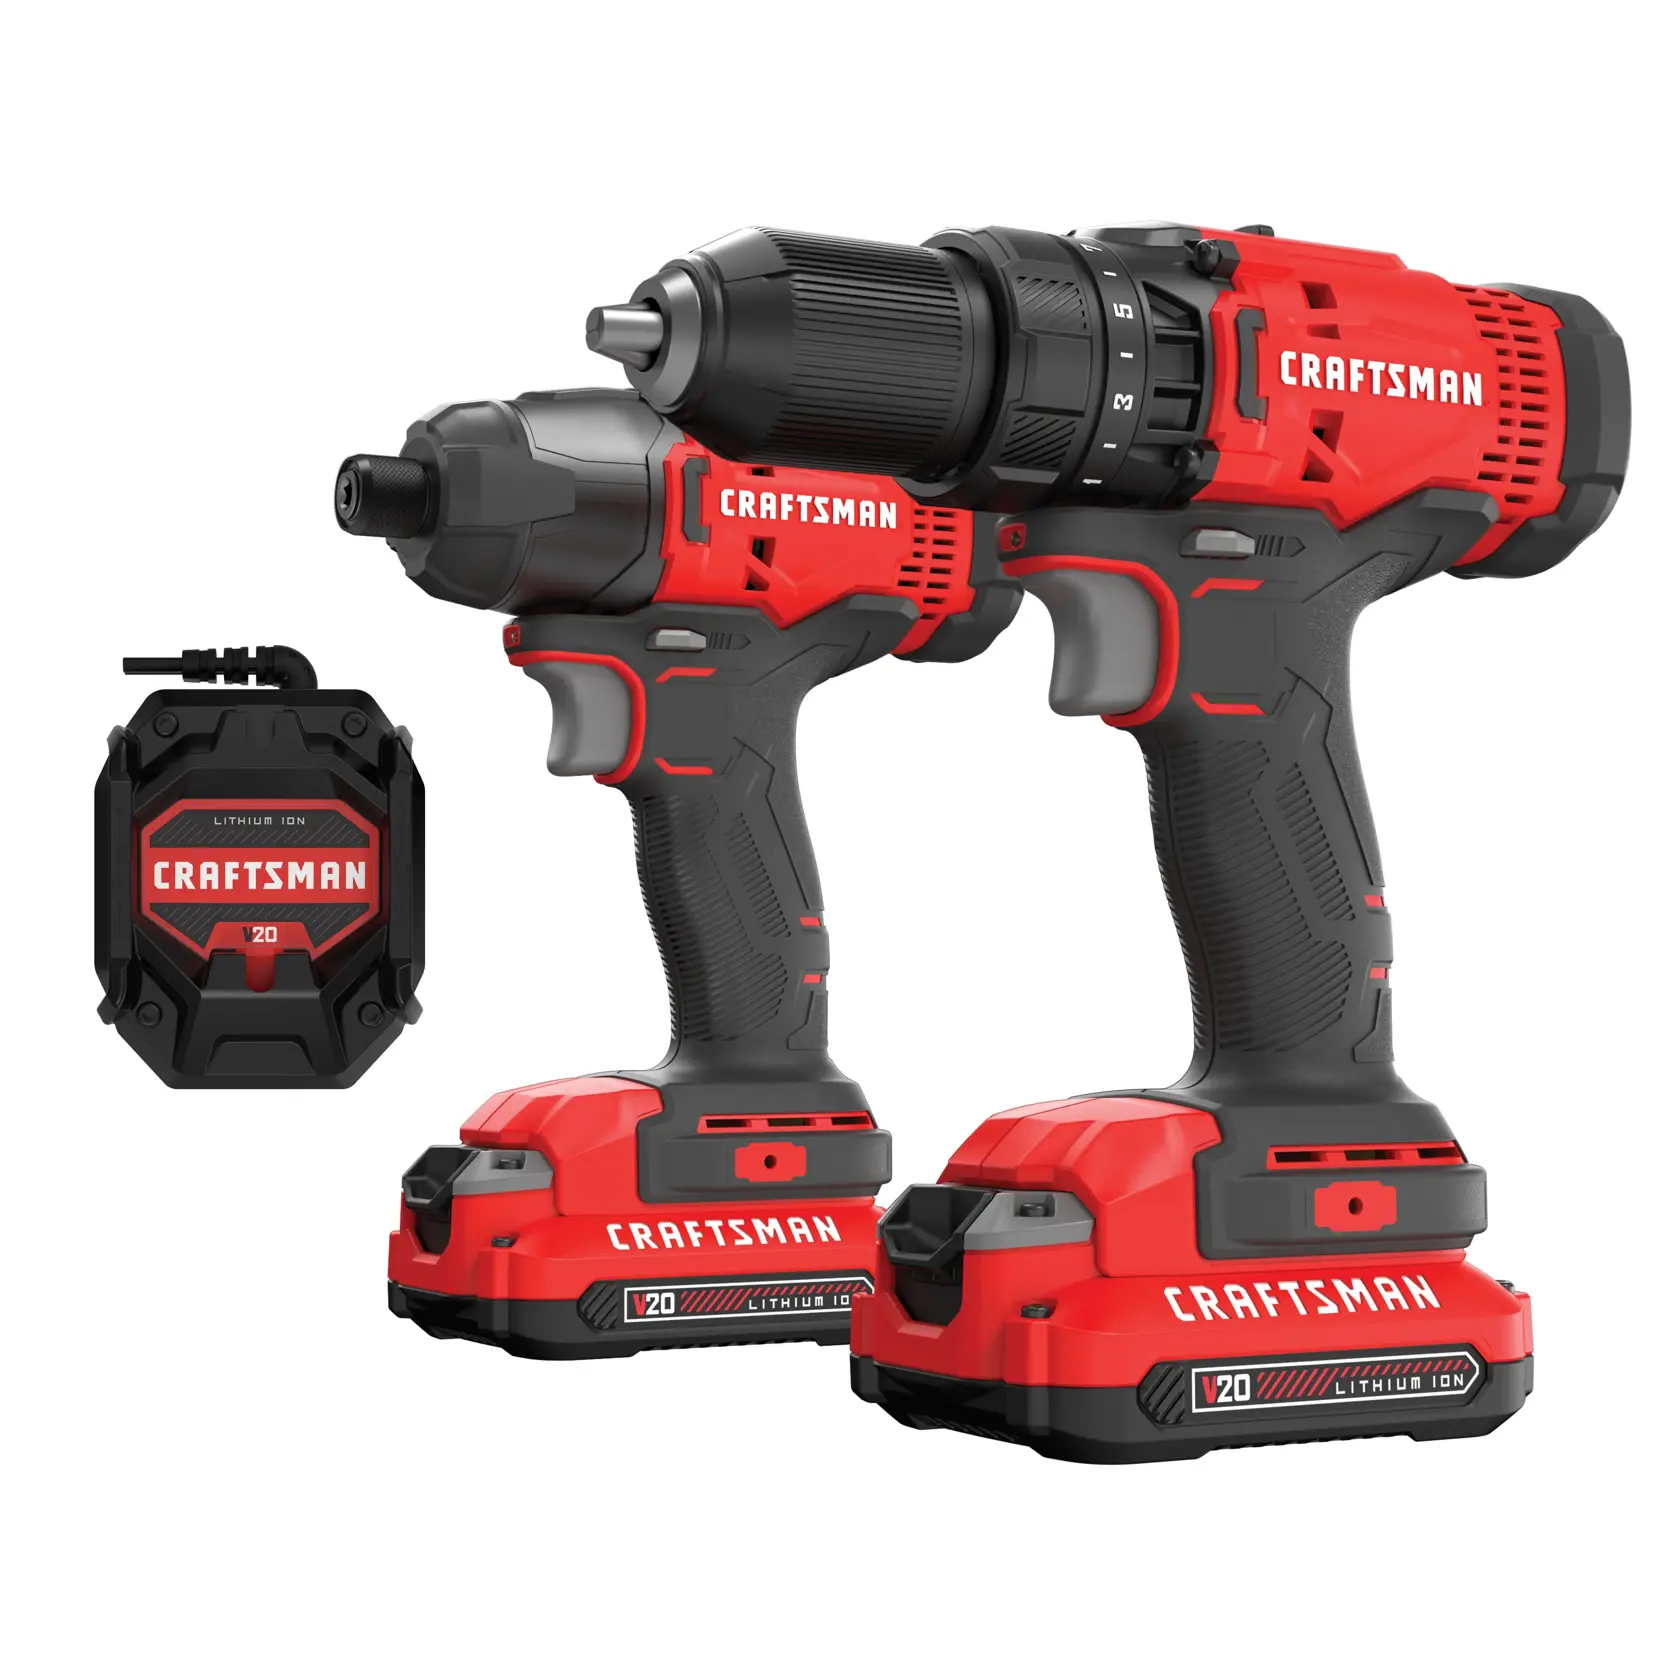
Identifying Your Charger Model
Identifying your Craftsman cordless drill battery charger is important for proper use. Knowing the exact charger model helps you avoid damage to your battery. It also ensures efficient charging and long battery life. This section guides you through the steps to find your charger model and match it correctly with your battery.
Locating Model Numbers
The model number is usually on the charger’s label. Check the back or bottom of the charger for a sticker or stamp. The model number often starts with letters followed by numbers. Write down this number for easy reference. It helps you find the right charger manual or replacement parts.
Matching Charger And Battery Types
Each charger fits specific battery types. Look for information on the charger label about compatible battery models. The battery pack also has a model number on its side. Compare both model numbers to confirm they match. Using the correct charger type prevents battery damage and extends its life.
Credit: www.craftsman.com
Safety Precautions Before Testing
Before testing a Craftsman cordless drill battery charger, safety is very important. The charger and battery hold electricity that can cause shocks or damage. Taking safety steps helps avoid accidents and keeps you safe during the process.
Always check the charger and battery carefully before starting any tests. Use the right safety gear to protect your hands and eyes. Being cautious prevents injury and ensures a smooth testing experience.
Inspecting For Visible Damage
Look closely at the charger and battery for cracks, burns, or broken parts. Damaged cords or plugs can cause electric shocks. Do not test the charger if you see any damage. Replace damaged parts before proceeding.
Check the battery terminals for corrosion or dirt. Clean terminals improve connection and testing accuracy. Avoid testing if the battery looks swollen or leaking.
Using Proper Protective Gear
Wear safety glasses to protect your eyes from sparks or debris. Use insulated gloves to avoid electric shocks. Do not test the charger without these protective tools.
Work in a dry area to prevent electric hazards. Avoid metal jewelry like rings or bracelets during testing. Protect yourself first to ensure safe handling of electrical devices.
Tools Needed For Testing
Testing your Craftsman cordless drill battery charger needs the right tools. These tools help you check if the charger works properly. Having the correct equipment makes the process easy and accurate. Below are the main tools needed for testing your charger’s battery performance.
Multimeter Basics
A multimeter measures electrical values like voltage and current. It is essential for testing battery chargers. You can use it to check if the charger gives the correct voltage. Most multimeters have a dial to select the test type. Set the multimeter to measure DC voltage for battery chargers. Connect the probes to the charger’s output terminals carefully. Read the value on the screen to see if it matches the charger’s rating. A working charger should show a steady voltage close to the label’s number.
Additional Equipment
Besides a multimeter, some other tools help test the charger fully. A battery holder or adapter keeps the battery stable during testing. This prevents false readings caused by loose contacts. A small screwdriver can open the charger case if needed. Insulated gloves protect your hands when working with electricity. A flashlight helps see small parts clearly in dim places. These tools make the testing process safer and more reliable.
Step-by-step Charger Testing
Testing your Craftsman cordless drill battery charger is simple. It helps you know if the charger works well or needs repair. Follow these clear steps to check the charger safely and accurately.
Preparing The Charger
First, unplug the charger from the wall. Remove the battery from the charger. Check the charger for visible damage or dirt. Clean the contacts gently if needed. Place the charger on a flat surface. Get your multimeter ready for the next step.
Measuring Output Voltage
Set your multimeter to measure DC voltage. Connect the black probe to the charger’s negative terminal. Touch the red probe to the positive terminal. Plug the charger back into the wall. Watch the multimeter display for voltage reading. Write down the voltage shown for comparison.
Interpreting Multimeter Readings
Check the charger’s label for the correct voltage. Compare the multimeter reading to the label value. A close match means the charger works well. A much lower reading signals a problem. No reading at all shows a broken charger. Take action based on these results.
Signs Of A Faulty Charger
Knowing the signs of a faulty Craftsman cordless drill battery charger saves time and money. Early detection helps avoid damage to the battery and drill. Watch for clear signs that show the charger may need repair or replacement.
No Power Indicator
The charger usually has a light that shows it is working. If this light does not turn on, the charger may not get power. Check the outlet and cord first. If they are fine, the charger might be broken.
Inconsistent Charging
The battery should charge steadily and fully. If the battery charges slowly or stops charging suddenly, the charger could be faulty. Sometimes the light blinks or changes colors without reason. This signals a problem with the charger.
Overheating Issues
A charger that gets very hot during use can be unsafe. Overheating can damage the battery and charger parts. It also shows the charger is not working properly. Stop using it if it feels too hot to touch.
Credit: www.ebay.com
Troubleshooting Common Problems
Sometimes, a Craftsman cordless drill battery charger may not work properly. This can stop your drill from charging and cause frustration. Troubleshooting common problems helps fix issues quickly. Simple steps often solve the problem without needing a new charger.
Resetting The Charger
Resetting the charger can clear minor errors. Unplug the charger from the power outlet first. Wait for about 30 seconds before plugging it back in. This resets the internal circuit of the charger. Try charging the battery again after the reset. This step often restores normal charger function.
Cleaning Charger Contacts
Dirty contacts can block proper charging. Use a dry cloth or a soft brush to clean the charger contacts. Make sure to remove any dust, dirt, or corrosion. Check the battery terminals too and clean them gently. Clean contacts improve the connection between charger and battery. This can fix charging problems easily.
When To Replace Your Charger
Knowing when to replace your Craftsman cordless drill battery charger helps keep your tools working well. A charger may stop working correctly after long use or damage. Signs like slow charging, no charging, or overheating suggest it might be time for a new charger. Acting fast prevents damage to your battery and drill.
Cost Vs. Repair Considerations
Compare the cost of a new charger with repair prices. Repairs may cost close to buying a new charger. A new charger comes with a warranty and lasts longer. Repairs might not fix all issues and can fail again soon. If your charger is old or very damaged, replacement is often cheaper and safer.
Finding Compatible Replacements
Choose a charger made for your Craftsman cordless drill model. Using the wrong charger can harm your battery or drill. Check the model number on your old charger or drill. Buy from trusted brands or authorized sellers. Read product descriptions carefully to ensure compatibility. Proper chargers give better performance and protect your tools.
Frequently Asked Questions
How Do I Know If My Craftsman Charger Is Working?
Check the charger’s LED indicator light. A steady or blinking light usually means it is charging. No light may indicate a faulty charger or power issue.
Can I Use Any Charger For My Craftsman Drill Battery?
It’s best to use the original Craftsman charger. Using incompatible chargers can damage the battery or reduce its lifespan.
How Long Does It Take To Fully Charge The Battery?
Charging time varies but typically takes 1 to 3 hours. Refer to the charger manual for exact charging duration.
What Should I Do If The Charger Doesn’t Charge The Battery?
Inspect the charger and battery for damage. Clean the contacts and try a different power outlet. Replace faulty parts if needed.
Conclusion
Checking your Craftsman cordless drill battery charger is easy and important. Always start by inspecting the charger for visible damage. Next, plug it into a working outlet and see if the indicator light turns on. Test the charger with a fully drained battery to confirm it charges correctly.
Remember to keep the charger clean and dry to avoid problems. Regular checks help your drill stay ready for any task. Taking these simple steps saves time and prevents surprises on the job. Stay safe and keep your tools in good shape!