
If you’re tackling drywall sanding, using a cordless drill with a sand disc can make the job faster and easier. But if you’re not sure how to use this tool correctly, you might end up with uneven surfaces or wasted effort.
In this guide, you’ll learn simple, step-by-step tips to get smooth, professional results every time. By the end, you’ll feel confident handling your cordless drill for drywall sanding like a pro—and save yourself hours of hard work. Keep reading to unlock these easy tricks that will transform your sanding process.

Credit: www.walmart.com
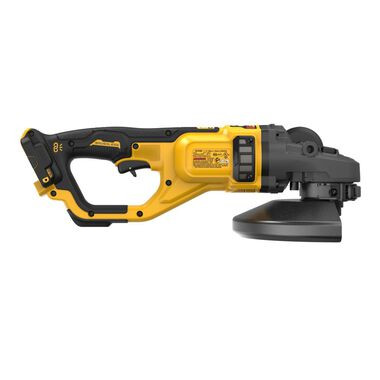
Choosing The Right Cordless Drill
Choosing the right cordless drill for sanding drywall is key. The right tool makes the job easier and faster. This guide explains what to look for in a drill. Focus on battery life, power, speed settings, and comfort. These features help you work smoothly and avoid fatigue.
Battery Life And Power
Battery life matters for long sanding sessions. A strong battery keeps the drill running without stops. Look for lithium-ion batteries. They last longer and recharge quickly. Power is also important. A drill with enough power handles sanding discs easily. It prevents the motor from slowing down or stopping.
Drill Speed Settings
Drill speed affects sanding quality. Variable speed lets you control the tool better. Slow speeds work well for gentle sanding. Higher speeds remove more material fast. Choose a drill with multiple speed options. This flexibility helps with different drywall surfaces and sanding discs.
Ergonomics And Weight
Comfort is key during sanding jobs. A lightweight drill reduces arm strain. Look for ergonomic designs with soft grips. This makes holding the drill easier. A balanced tool feels stable in your hand. Good ergonomics help you work longer without tiredness.
Selecting The Proper Sanding Disc
Selecting the proper sanding disc is crucial for smooth drywall work. The right disc improves sanding quality and saves time. It also protects the drywall surface from damage. Choosing the correct disc depends on grit size, attachment type, and durability. Understanding these factors helps you pick the best sanding disc for your cordless drill.
Grit Sizes For Drywall
Sanding discs come in different grit sizes. Low grit numbers mean coarse discs. Coarse discs remove more material but leave rough surfaces. High grit numbers mean fine discs. Fine discs smooth the surface and finish the job. For drywall, start with 80 or 100 grit to remove joints. Finish with 150 or 180 grit for a smooth look.
Attachment Types
Sanding discs attach to your drill in various ways. Hook and loop discs stick on and off easily. Adhesive discs glue directly to the sanding pad. Hook and loop discs save time during disc changes. Adhesive discs hold tight but take longer to replace. Choose the attachment type based on your sanding needs and drill setup.
Durability And Material
Sanding discs vary in material and durability. Aluminum oxide discs last longer on drywall surfaces. Silicon carbide discs are sharper but wear faster. Durable discs reduce the need to replace often. Check the disc material to match your sanding project. A strong disc ensures consistent performance and saves money.
Preparing Your Workspace
Preparing your workspace is the first step to using a cordless drill for sanding drywall. A neat and safe area helps you work faster and avoid accidents. Taking time to set up your space makes sanding easier and cleaner.
Clearing The Area
Remove all furniture and items near the wall. Keep the floor clear to avoid tripping hazards. Use drop cloths or plastic sheets to cover floors and objects. This protects them from dust and scratches. A tidy workspace gives you more room to move freely.
Protective Gear
Wear safety glasses to protect your eyes from dust. Use a dust mask or respirator to avoid breathing fine particles. Gloves protect your hands from rough surfaces and tool vibrations. Dress in old clothes that cover your arms and legs. Safety gear reduces the risk of injury and health problems.
Dust Control Methods
Use a vacuum with a dust collection attachment on your drill. Place a fan near a window to blow dust outside. Wet sanding can help reduce airborne dust but needs careful handling. Seal off doorways with plastic sheeting to keep dust contained. These steps keep your home clean and air safe to breathe.
Credit: www.ebay.com
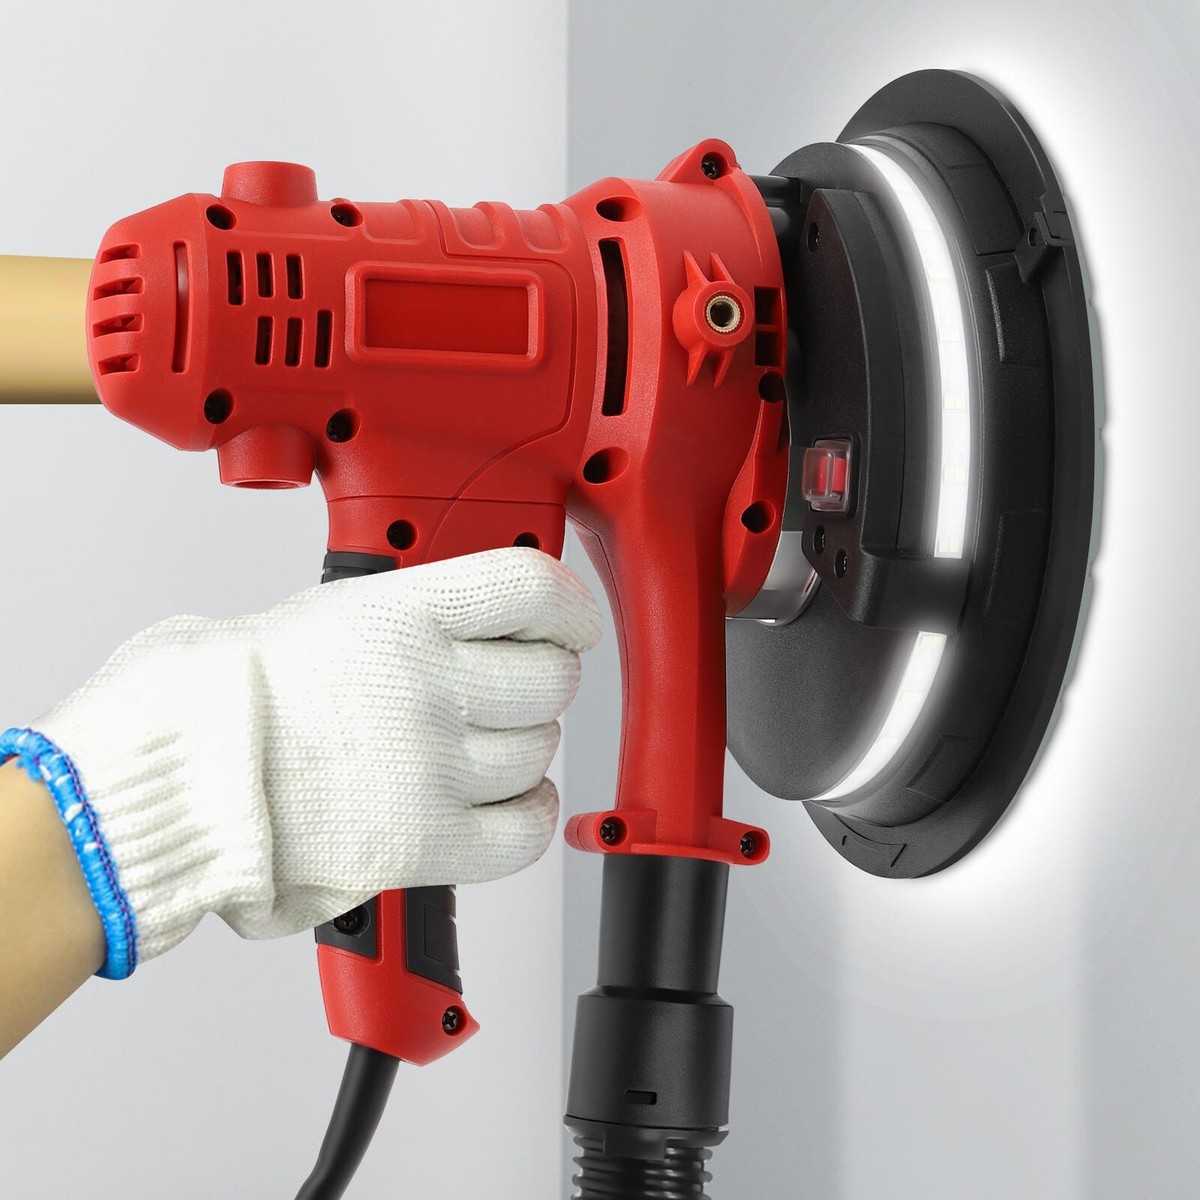
Attaching The Sanding Disc
Attaching the sanding disc to your cordless drill is a simple but important step. It ensures smooth sanding on drywall surfaces. Proper attachment prevents the disc from slipping or coming off while you work.
Follow these steps carefully to attach the sanding disc securely and safely. This will help you get the best results from your sanding job.
Removing The Chuck
Start by loosening the chuck on your cordless drill. Turn it counterclockwise to open the jaws. Remove any tool or bit inside the chuck. This creates space for the sanding disc attachment.
Keep the chuck open wide enough to fit the sanding disc’s backing pad. This makes the next steps easier and faster.
Securing The Disc
Place the sanding disc onto the backing pad of the drill attachment. Make sure the disc’s holes line up with the backing pad’s holes. This alignment helps dust to escape during sanding.
Press the disc firmly to ensure it sticks well. If your disc uses a hook-and-loop system, press it evenly to avoid wrinkles.
Close the chuck by turning it clockwise. Tighten it firmly but do not over-tighten. A secure chuck keeps the disc stable during use.
Testing Attachment Stability
Hold the drill firmly and turn it on at low speed. Check if the sanding disc spins evenly. Watch for any wobbling or slipping.
Stop the drill and adjust the chuck if needed. A stable disc improves sanding quality and protects your drill.
Operating The Drill For Sanding
Operating a cordless drill for sanding drywall needs care and control. This step shapes your sanding results and protects the drywall surface. You must understand the right speed, pressure, and movement for smooth sanding without damage.
Optimal Speed Settings
Choose a low to medium speed on your cordless drill. High speed can cause uneven sanding and damage the drywall. Start slow and increase speed only if needed. A steady, moderate speed keeps the sanding disc effective and safe.
Pressure Techniques
Apply light, even pressure on the sanding disc. Pressing too hard can scratch or gouge the drywall. Let the drill’s weight do most of the work. Move gently and avoid pushing down aggressively to keep the surface smooth.
Movement Patterns
Use slow, circular motions to sand the drywall. Move the drill evenly across the surface. Avoid staying too long in one spot to prevent uneven areas. Keep the motion consistent for a fine, uniform finish.
Safety Tips For Drywall Sanding
Safety is important when sanding drywall with a cordless drill. Dust and debris can harm your eyes and lungs. Tools can also get hot or slip from your hand. Follow these safety tips to protect yourself and work well.
Eye And Respiratory Protection
Wear safety goggles to shield your eyes from dust. Drywall dust can cause irritation or injury. Use a dust mask or respirator to avoid breathing harmful particles. Clean air helps you stay healthy during sanding.
Avoiding Overheating
Do not let your drill get too hot. Overheating can damage the tool and cause burns. Take breaks often to cool the drill. Use the correct speed setting for sanding discs to reduce heat build-up.
Safe Handling Practices
Hold the drill firmly with both hands. Keep a steady grip to prevent slips. Start sanding slowly to control the tool. Keep the work area clean and free of obstacles. Stay aware of your surroundings to avoid accidents.
Maintaining Your Tools
Maintaining your cordless drill and sand discs is key to keeping them working well. Proper care helps your tools last longer and perform better. Simple steps keep your drill safe from damage. A clean, charged, and stored drill saves time and money.
Cleaning The Drill And Discs
After each use, wipe the drill with a dry cloth. Remove dust and debris from vents and moving parts. Clean sand discs by tapping them gently to remove dust. Avoid using water on discs to prevent damage. Keeping tools clean stops dirt from causing wear.
Battery Care
Charge batteries fully before using the drill. Avoid letting the battery drain completely often. Store batteries in a cool, dry place to keep them healthy. Remove the battery from the drill if not used for weeks. Proper battery care extends the life of your tools.
Storage Recommendations
Store your drill and discs in a dry, safe spot. Use a case or toolbox to avoid dust and moisture. Keep discs flat to stop warping or bending. Avoid leaving the drill in extreme temperatures. Good storage keeps tools ready for the next job.
Credit: clinicadentalrociomontero.com
Frequently Asked Questions
How Do I Attach A Sanding Disc To A Cordless Drill?
Attach the sanding disc using a compatible backing pad or adapter. Secure it tightly to prevent slipping during use. Ensure the drill speed matches the sanding disc’s requirements for optimal performance and safety.
What Drill Speed Is Best For Sanding Drywall?
Use a low to medium drill speed, around 1,000 to 2,000 RPM. This prevents over-sanding and avoids damaging the drywall surface. Adjust speed based on sanding disc type and drywall condition.
Can I Use Any Sanding Disc With A Cordless Drill?
No, use sanding discs designed for drill use with proper backing pads. Ensure disc size and grit match drywall sanding needs. Using wrong discs may reduce efficiency and cause damage.
How To Avoid Dust While Sanding Drywall With A Drill?
Wear a dust mask and use a sanding disc with dust extraction. Work in a well-ventilated area and clean up dust frequently. Consider using a vacuum attachment if available.
Conclusion
Using a cordless drill with a sanding disc makes drywall work easier and faster. Choose the right drill speed for smooth sanding. Keep the disc flat against the wall to avoid damage. Take breaks to check your progress and prevent over-sanding.
Clean dust often for better results and safety. Practice a bit to feel comfortable handling the drill. With care and patience, you will finish your drywall sanding well. Simple steps lead to great results every time.