Are you ready to take your woodworking skills to the next level? Knowing how to drill a hole in wood is one of the most useful and basic tasks you’ll ever need.
Whether you’re building furniture, hanging shelves, or creating a DIY project, getting this right makes all the difference. But drilling the perfect hole isn’t just about pushing a drill—there are simple tricks that can save you time, avoid mistakes, and give you clean, precise results every time.
Keep reading, and you’ll discover exactly how to drill a hole in wood like a pro, even if you’ve never picked up a drill before.

Credit: www.instructables.com
Choosing The Right Drill
Choosing the right drill is the first step in drilling a hole in wood. The drill you pick affects the ease and quality of your work. A good drill fits your hand well and is not too heavy. It should have enough power for the size of the hole you want to make. Safety matters too. Using the correct drill reduces the chance of mistakes or accidents.
Types Of Drills For Wood
Cordless drills are popular for wood projects. They run on batteries, so you can use them anywhere. They are light and easy to handle. Corded drills have more power and run continuously. They are better for bigger jobs. Drill drivers combine drilling and screwdriving. These are useful for furniture or cabinet work. Each type has its place depending on the task.
Selecting Drill Bits
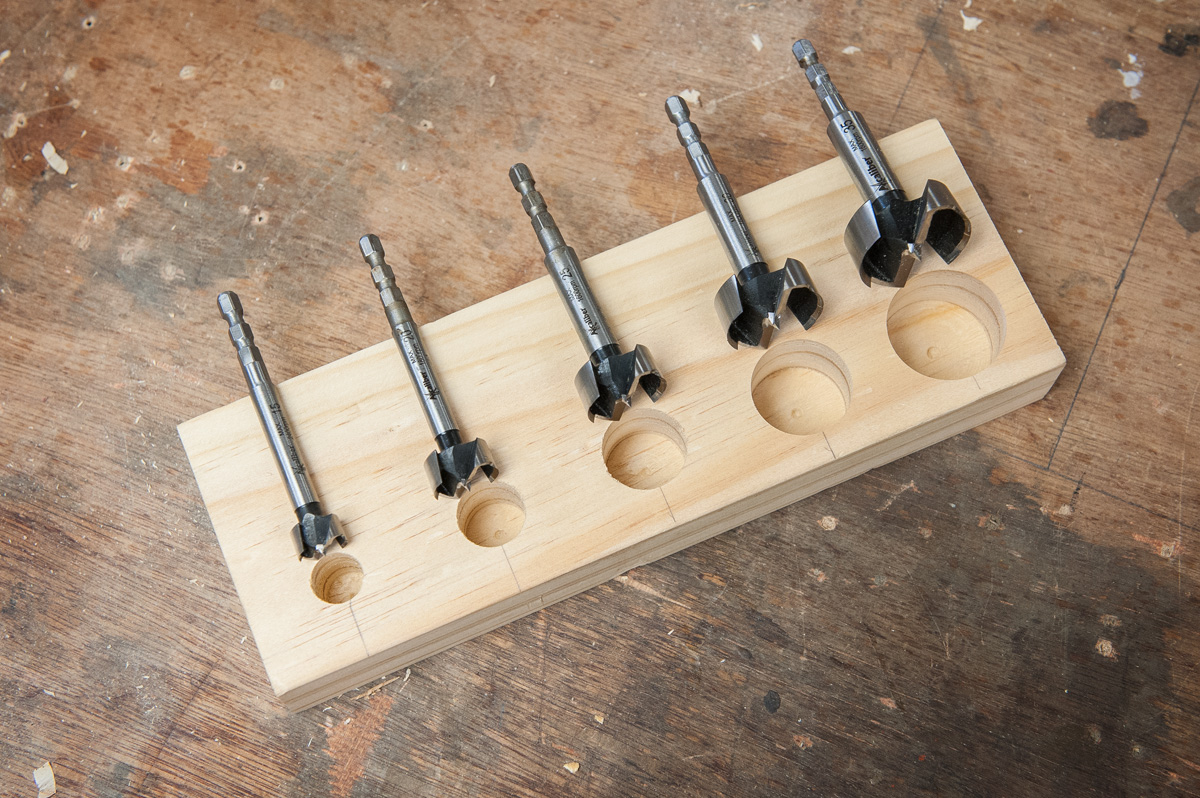
Drill bits make the hole in the wood. Choose bits made for wood to get clean holes. Spade bits are good for large holes. They cut quickly but need careful handling. Twist bits are common and work well for small holes. Brad point bits have a sharp tip that stops slipping. Always match the bit size to the hole you need. Using the right bit saves time and effort.
Preparing Your Workspace
Preparing your workspace is the first step to drill a hole in wood safely and accurately. A clean and organized area helps you work faster and avoid mistakes. It also keeps you safe from accidents and damage to your tools or material.
Before you start, clear the workspace of any clutter or loose items. Make sure the surface is stable and strong enough to hold the wood piece. Good lighting is important to see your marks and drill bit clearly. A well-prepared workspace sets the stage for a smooth drilling process.
Securing The Wood
Hold the wood firmly to prevent slipping during drilling. Use clamps or a vise to keep the wood stable. Check that the wood does not move when you press the drill. Securing the wood improves precision and keeps the drill bit from wandering. Never hold the wood with your hand while drilling.
Safety Precautions
Wear safety goggles to protect your eyes from wood chips. Use ear protection if the drill is loud. Keep your fingers away from the drill bit and moving parts. Avoid loose clothing or jewelry that can catch in the drill. Always unplug the drill before changing bits or making adjustments. Safety keeps your work safe and injury-free.
Marking The Drill Spot
Marking the drill spot is an important first step before drilling wood. It helps you drill in the right place. This step prevents mistakes and keeps your work neat. Taking time to mark the spot carefully saves effort and wood later.
Proper marking ensures the hole is straight and clean. It also helps guide the drill bit. You will need a few simple tools to mark the drill spot accurately. Let’s explore how to measure and mark correctly, and how to use a center punch.
Measuring And Marking
Start by measuring the exact spot for the hole. Use a ruler or tape measure for accuracy. Mark the spot with a sharp pencil or a fine marker. Make a small dot to keep the mark clear and precise.
Double-check the measurements before moving on. Measure from edges or other reference points. This step helps avoid drilling in the wrong place. Keep your marks light but visible to avoid confusion.
Using A Center Punch
A center punch makes a small dent on the wood. This dent guides the drill bit and stops it from slipping. Place the punch on the marked spot. Tap it gently with a hammer to create a shallow indentation.
This simple step improves drilling accuracy. It keeps the drill bit steady as you start. Using a center punch is especially helpful on smooth or hard wood. It makes drilling easier and cleaner.
Credit: www.axminstertools.com
Setting Drill Speed And Depth
Setting the right drill speed and depth is key to drilling clean holes in wood. Too fast or too slow can damage the wood or the drill bit. Drilling too deep can ruin your project. Proper control keeps the hole neat and precise.
Adjusting Drill Settings
Choose a drill speed based on wood type and drill bit size. Softwood needs faster speeds. Hardwoods require slower speeds to avoid burning. Use the drill’s speed control to set the right pace. Start slow and increase speed if needed.
Check the drill’s manual for speed settings. Smaller drill bits work best at higher speeds. Larger bits need slower speeds to stay sharp. Keep the drill steady and apply gentle pressure while drilling.
Using Depth Stops
Depth stops help control how deep you drill. They prevent drilling too far and damaging the material. Use a depth collar on the drill bit. Tighten it at the desired depth before drilling.
Mark the drill bit with tape to show the depth limit. Stop drilling when the mark reaches the wood surface. This keeps your hole consistent and prevents mistakes. Depth stops save time and improve accuracy.
Drilling Techniques
Drilling techniques are important for making clean and accurate holes in wood. Using the right method helps avoid mistakes and damage. It also keeps your work safe and efficient. Understanding key steps makes drilling easier and better.
Starting The Hole
Hold the drill firmly before you start. Place the drill bit where you want the hole. Use a slow speed to make a small guide hole. This keeps the drill from slipping. Press gently but steadily to begin the hole.
Maintaining Drill Stability
Keep the drill straight and steady while drilling. Use both hands for better control. Avoid pushing too hard; let the drill do the work. Keep the drill bit perpendicular to the wood surface. This ensures a clean and straight hole.
Clearing Wood Chips
Stop drilling often to remove wood chips. Pull the drill bit out carefully to clear debris. This prevents the bit from getting stuck. Use a brush or cloth to clean the hole. Clear holes help the drill cut faster and smoother.

Credit: www.youtube.com
Finishing Touches
After drilling a hole in wood, the work is not done yet. Finishing touches make the hole smooth and clean. This helps the hole look neat and prevents splinters. Taking time on these steps improves your project’s quality and safety.
Sanding The Hole Edges
Start by sanding the edges of the hole. Use fine-grit sandpaper or a sanding sponge. Move the sandpaper gently around the hole’s edge. This removes rough spots and splinters. Sand until the edges feel smooth to touch. Smooth edges help paint or finish stick better.
Cleaning Up
After sanding, clean the area around the hole. Use a brush or cloth to remove sawdust and debris. Dust can ruin paint or glue adhesion. Cleaning also makes your work look tidy. Make sure the hole is free of any loose wood bits.
Common Mistakes To Avoid
Drilling a hole in wood seems simple. Yet, many make mistakes that cause problems. These errors lead to poor results and wasted time. Avoiding common mistakes helps you drill clean, accurate holes. It also keeps your tools safe and your project strong.
Using The Wrong Drill Bit
Not all drill bits work well with wood. Metal bits can tear wood fibers. Wood drill bits have sharp tips for clean holes. Choose the right bit size for your hole. This prevents splitting or rough edges.
Skipping A Pilot Hole
Drilling directly with a large bit can crack wood. A small pilot hole guides the bigger drill bit. It makes drilling easier and protects the wood. Always start with a small drill bit first.
Applying Too Much Pressure
Pushing hard does not make the hole faster. It can break the drill bit or damage wood. Let the drill do the work. Use steady, even pressure for smooth drilling.
Drilling At The Wrong Speed
Wood needs moderate drill speed. Too fast burns the wood and dulls bits. Too slow wastes time and causes rough holes. Adjust speed based on wood type and bit size.
Not Securing The Wood
Wood that moves causes uneven holes and accidents. Use clamps or a vise to hold wood steady. This keeps the wood safe and the hole precise.
Frequently Asked Questions
What Tools Do I Need To Drill A Hole In Wood?
You need a drill, drill bits, a clamp, and safety goggles. Choose the right drill bit size for the hole. Secure the wood with a clamp to avoid movement during drilling.
How Do I Prevent Wood From Splitting When Drilling?
Use a pilot hole smaller than the main drill bit. Drill slowly and apply steady pressure. Avoid drilling too close to the edge of the wood.
What Drill Bit Is Best For Wood Holes?
Spade bits, brad point bits, and twist bits work best for wood. Spade bits are ideal for larger holes. Brad point bits create clean, precise holes.
How Deep Should I Drill Into Wood?
Drill according to your project needs, usually the screw length plus a few millimeters. Use a depth stop or tape on the drill bit for accuracy.
Conclusion
Drilling a hole in wood is simple with the right tools. Choose the proper drill bit and mark your spot clearly. Keep the drill steady and apply gentle pressure. Take your time to avoid mistakes or damage. Clean the hole after drilling for the best finish.
Practice helps improve your skill and confidence. Now, you can handle wood projects more easily and safely. Give it a try and see the results yourself.