

Installing chair rail can transform a room’s look, but what if you don’t have a nail gun? This guide walks you through simple, effective methods to attach chair rail securely using hand tools and adhesive. Whether you’re a beginner or experienced DIYer, you’ll find practical tips to achieve a professional finish without power tools.
Key Takeaways
- Method Flexibility: You can install chair rail using nails, adhesive, or a combination of both, without needing a nail gun.
- Preparation Matters: Proper measuring and marking ensure a straight, level installation.
- Tools Needed: Basic hand tools like a hammer, screwdriver, level, and adhesive are essential for this project.
- Adhesive Choice: Use high-quality construction adhesive for a strong, lasting bond.
- Fastening Tips: Small nails or finishing nails can be driven manually for extra security.
- Finishing Touches: Caulk, paint, or stain the chair rail to match your decor and hide any imperfections.
Introduction
If you want to add a classic touch to your room, installing a chair rail is a great choice. It protects walls from furniture scratches and adds visual interest. Usually, people use a nail gun to attach chair rail quickly and easily. But what if you don’t have one? No worries! You can install chair rail without a nail gun using simple hand tools and some adhesive. This guide will show you how to do it step-by-step, so even beginners can get professional results.
Tools and Materials Needed
- Measuring tape – for accurate measurements
- Level – to ensure your chair rail is straight
- Pencil – for marking measurements
- Hand saw or miter box – for cutting the chair rail to length
- Hammer and finishing nails or small nails – for manual nailing
- Drill (optional) – for pilot holes
- Construction adhesive – for bonding the chair rail
- Caulk and paint or stain – for finishing touches
- Clamps or painter’s tape – optional, to hold pieces in place while adhesive sets
Step 1: Measure and Mark
Measure the Wall Height
Decide where you want to install the chair rail. Typically, it’s about one-third up from the floor. Use your measuring tape to mark the desired height around the room.
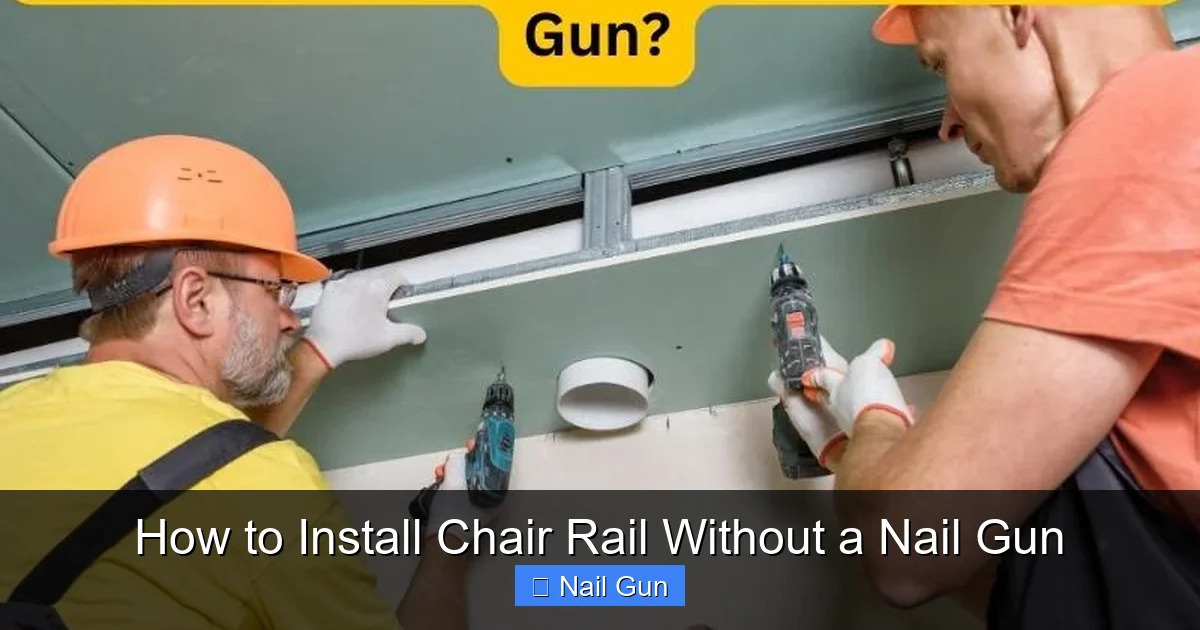
Visual guide about How to Install Chair Rail Without a Nail Gun
Image source: ownthetools.com

Visual guide about How to Install Chair Rail Without a Nail Gun
Image source: nailershub.com
Mark the Wall
Use a pencil and level to draw a straight line around the wall at your chosen height. This line will serve as your guide for attaching the chair rail.
Tip: Double-check your measurements and ensure the line is level all around for a professional look.
Step 2: Cut the Chair Rail to Length
Measure and Mark Pieces
Measure the length of each wall segment and mark the chair rail accordingly. Add a little extra for mitered corners or overlaps.
Cut the Pieces
Use a hand saw or miter box to cut your chair rail pieces to size. For corners, cut 45-degree angles so the pieces fit snugly together.
Tip: Label each piece to keep track of where they go during assembly.
Step 3: Apply Adhesive to the Chair Rail
Choose the Right Adhesive
Use a high-quality construction adhesive suitable for wall and wood surfaces. Read the manufacturer’s instructions.
Apply the Adhesive
Run a bead of adhesive along the back of each piece of chair rail. Focus on the center and edges for maximum hold.
Practical tip: Work in sections if your room is large, so the adhesive doesn’t dry before installation.
Step 4: Position and Secure the Chair Rail
Position the Piece
Press the chair rail firmly onto the wall along your marked line. Use your level to double-check it’s straight.
Hold in Place
Use clamps, painter’s tape, or even small nails driven lightly to hold the piece while the adhesive cures. If using nails, drive them in gently at an angle, then remove or countersink them later.
Tip: For better adhesion, you can lightly tap the piece with a rubber mallet to ensure contact with the wall.
Step 5: Attach Additional Pieces
Fit Corners and Joints
For corners, cut the ends at 45-degree angles to create neat joints. Fit the pieces tightly together, ensuring a seamless appearance.
Secure All Sections
Repeat the adhesive application and positioning process for each piece. Use small nails for added security if desired, driving them manually with a hammer.
Step 6: Let the Adhesive Cure
Follow the adhesive manufacturer’s drying time recommendations, usually 24 hours. Keep the pieces in place during this period.
Tip: Avoid touching or moving the chair rail during curing to prevent shifting.
Step 7: Finishing Touches
Fill Nail Holes and Joints
Use wood filler or spackle to cover small nail holes and gaps at joints. Sand smooth once dry.
Paint or Stain
Apply primer if needed, then paint or stain your chair rail to match your decor. For a polished look, finish with a clear polyurethane coat if staining.
Caulk the Edges
Run a bead of caulk along the top and bottom edges of the chair rail to hide gaps and give a clean look.
Practical Tips and Troubleshooting
- Uneven Walls: Use shims or additional adhesive to compensate for wall imperfections.
- Secure Without Nails: Rely on strong adhesive and clamps for a nail-free installation.
- Ensuring Level: Always double-check with a level during each step to prevent crooked lines.
- Adhesive Failure: If the chair rail doesn’t stick well, clean the surface and reapply adhesive or add small nails for extra security.
Conclusion
Installing chair rail without a nail gun is entirely doable with the right tools and patience. By measuring carefully, using quality adhesive, and securing pieces properly, you can achieve a professional look without power tools. Now, enjoy your beautifully enhanced room with your DIY chair rail!
🎥 Related Video: The Right Way to Install Chair Molding
📺 Today’s Homeowner with Danny Lipford
The addition of chair rail molding is an easy and fairly inexpensive way to dress up a room.