
Removing nails from a surface after using a nail gun can be tricky, but with the right tools and techniques, you can do it safely and without damage. In this guide, you’ll learn the essential steps to remove nail gun nails effectively, troubleshoot common issues, and ensure your project stays in top shape.
Key Takeaways
- Use the right tools: A pry bar, hammer, or nail puller is essential for removing stubborn nails.
- Safety first: Always wear safety goggles and gloves to protect yourself from flying debris.
- Assess the nail: Determine if the nail is flush, countersunk, or protruding to choose the best removal method.
- Work gently: Apply steady force to avoid damaging the surrounding material.
- Remove nails carefully: For embedded nails, use specific tools like a nail puller or pliers.
- Troubleshoot common issues: Learn how to handle bent or rusted nails for a smooth removal process.
- Prevent damage: Use protective padding or tap gently when prying to avoid scars or cracks.
Introduction
If you’ve ever used a nail gun, you know how quick and efficient it is. But what happens after your project is done, and you need to remove those nails? Removing nail gun nails can be straightforward, but it requires care to avoid damaging your material or hurting yourself. In this comprehensive guide, you’ll learn the best techniques, tools, and tips to remove nails safely and effectively.
Tools Needed for Removing Nail Gun Nails
Before diving into the removal process, gather these essential tools:
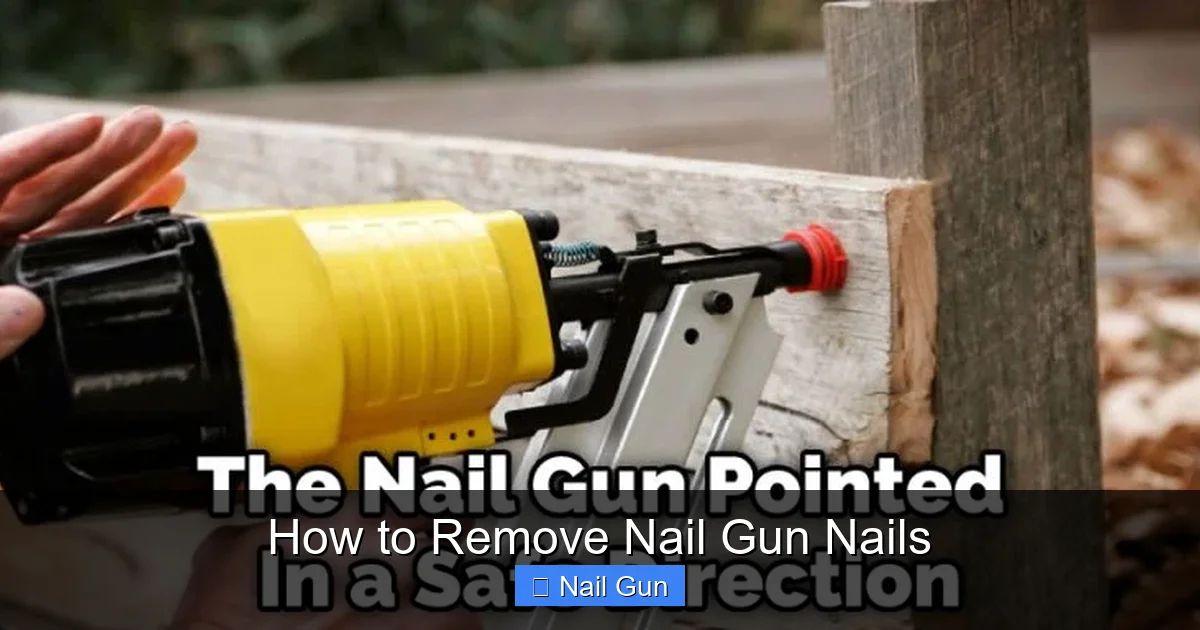
Visual guide about How to Remove Nail Gun Nails
Image source: woodfixes.com
- Pry bar or crowbar: For prying out larger or protruding nails.
- Hammer: To gently tap or loosen nails.
- Nail puller or cat’s paw: Specialized for extracting embedded nails.
- Needle-nose pliers: For gripping and pulling small or bent nails.
- Flathead screwdriver: To help pry or lift nails.
- Safety gear: Safety goggles and gloves to protect yourself during removal.
Step-by-Step Guide to Remove Nail Gun Nails
Step 1: Prepare Your Workspace
Clear the area around the nailed surface. Ensure good lighting and a clean workspace. Wear safety goggles and gloves to protect yourself from flying debris or accidental pinches.
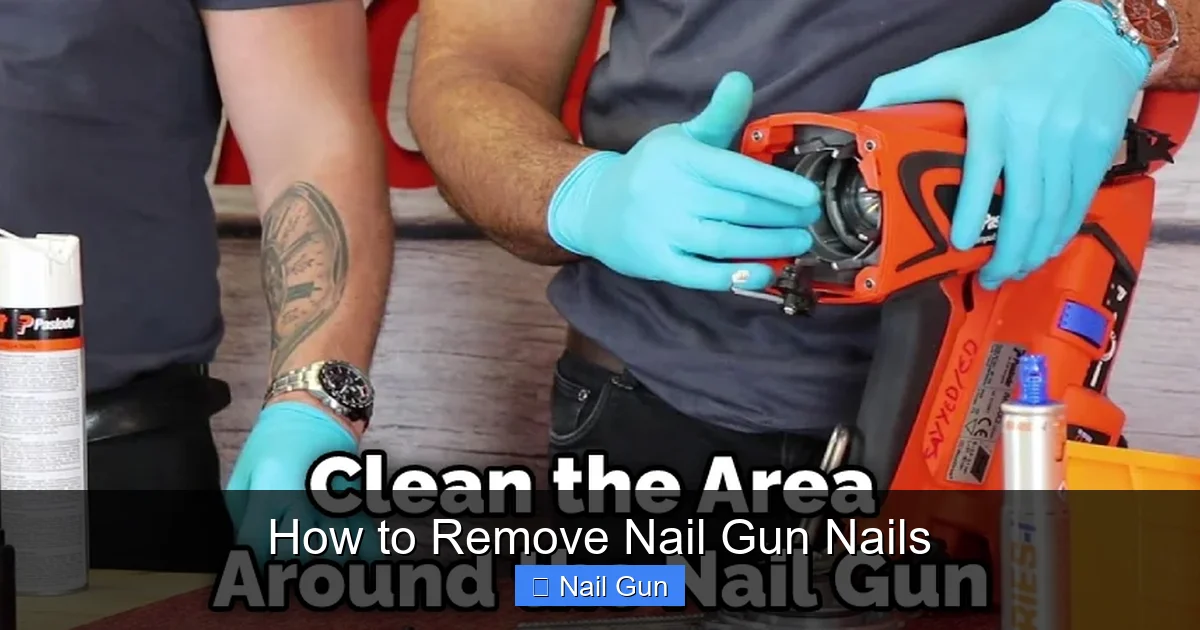
Visual guide about How to Remove Nail Gun Nails
Image source: woodfixes.com
Step 2: Assess the Nails
Examine the nails to determine their position:
- Are they flush with the surface?
- Are they protruding?
- Are they embedded deeply?
This assessment helps you choose the right removal technique.
Step 3: Remove Protruding Nails
Using Pliers or a Nail Puller
Grip the nail head firmly with needle-nose pliers or a nail puller. Wiggle gently to loosen, then pull straight out. If the nail is stubborn, tap the handle of the tool with a hammer to gain leverage.
Step 4: Extract Embedded or Flush Nails
Using a Pry Bar or Crowbar
Place the pry bar or crowbar under the nail head. Gently lift and pry upward. Work slowly to avoid damaging the material underneath.
Using a Hammer and Chisel or Flathead Screwdriver
If the nail is flush, insert the flathead screwdriver or chisel under the nail head. Tap gently with a hammer to lift the nail. Once loosened, grasp and remove with pliers.
Step 5: Remove Bent or Rusted Nails
For nails that are bent or rusted, use needle-nose pliers to grip and straighten them before pulling. If rusted, apply penetrating oil like WD-40 and wait a few minutes to loosen the corrosion.
Step 6: Handle Difficult Nails
If the nail refuses to move, try these tips:
- Apply more penetrating oil and wait.
- Use a larger pry bar for more leverage.
- Tap around the nail to loosen it.
- If necessary, cut the nail with a hacksaw or bolt cutter.
Additional Tips for Safe and Damage-Free Removal
- Work gently: Avoid forcing or prying too aggressively, which can crack or splinter the material.
- Protect the surface: Place scrap wood or padding under your tools to prevent scratches or dents.
- Use the right tool for the job: For stubborn nails, specialized tools like a nail puller or cat’s paw are more effective.
- Maintain your tools: Keep tools clean and sharp for better grip and control.
Troubleshooting Common Problems
Handling Bent or Rusted Nails
Use penetrating oil and patience. If the nail is too rusted or bent, cutting it with a hacksaw may be your best option.
Dealing with Hidden or Embedded Nails
Sometimes nails are deeply embedded or hidden. Use a flashlight to spot them. Carefully work around the area to avoid damaging surrounding material.
Removing Nails Without Damaging the Surface
Place a thin piece of wood or cardboard between the tool and the surface. This acts as a buffer and prevents scratches or dents.
Conclusion
Removing nail gun nails doesn’t have to be intimidating. With the right tools, patience, and techniques, you can do it safely and without damaging your project. Remember to assess the nail’s position, work gently, and protect your surfaces. Whether you’re repairing, remodeling, or cleaning up, these tips will help you complete your task efficiently.
Always prioritize safety and take your time. With practice, nail removal becomes a straightforward part of your DIY toolkit.
🎥 Related Video: The Ultimate Guide to Using a Manual Steel Nail Gun
📺 Amazing Ideaz
The Ultimate Guide to Using a Manual Steel Nail Gun Welcome to “The Ultimate Guide to Using a Manual Steel Nail Gun”! In this …