
Adjusting the nail depth on your nail gun is essential for achieving professional-looking finishes. In this guide, you’ll learn the simple steps to set the correct nail depth, troubleshoot common issues, and ensure your projects come out perfect every time. Whether you’re a DIYer or a professional, mastering this adjustment will improve your results and save you time.
Key Takeaways
- Proper understanding of nail gun components: Knowing the parts involved helps in making accurate adjustments.
- Locate the depth adjustment mechanism: Most nail guns have a dial or a screw for setting nail depth.
- Adjust the depth carefully: Turn the dial or screw in small increments to avoid over or under-driving nails.
- Test on scrap material: Always test your adjustment on a piece of scrap before working on your actual project.
- Regular maintenance: Keep your nail gun clean to ensure smooth adjustment and operation.
- Troubleshoot common issues: Learn how to fix problems like nails not setting properly or over-driving nails.
Introduction
If you’ve ever used a nail gun, you know how important it is to control how deep the nails go into the material. Too shallow, and the nails won’t hold properly. Too deep, and the surface could be damaged or look unprofessional. Luckily, adjusting nail depth is straightforward once you know what to do. In this guide, we’ll walk through every step to help you master this skill. Whether you’re installing trim, framing, or doing delicate finish work, setting the right nail depth makes a big difference.
Understanding Your Nail Gun
Before adjusting the nail depth, it’s helpful to understand the main parts of your nail gun related to this setting:
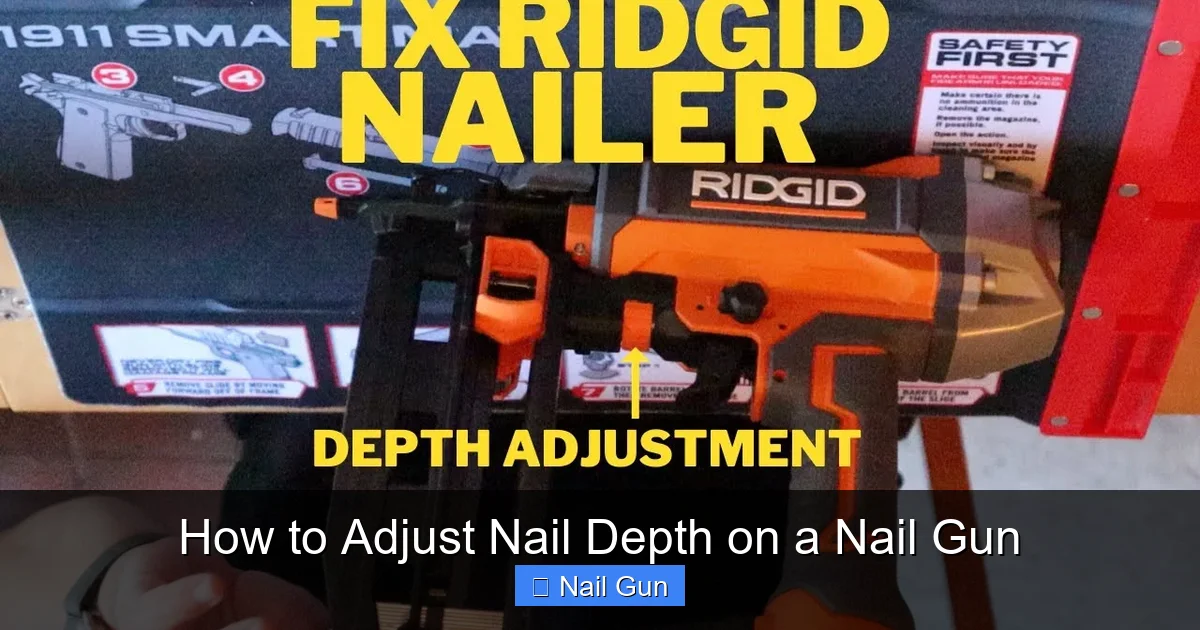
Visual guide about How to Adjust Nail Depth on a Nail Gun
Image source: i.ytimg.com
- Depth adjustment dial or screw: Usually located near the nose of the tool, this controls how far the nail is driven.
- Nail magazine: Holds the nails and feeds them into the firing chamber.
- Firing mechanism: The part that drives the nail when you press the trigger.
Different brands and models may have slightly different mechanisms, but the basic concept remains the same.
Step 1: Safety First
Always unplug or remove the battery from your nail gun before making adjustments. Safety is paramount to avoid accidental firing or injury. Make sure the tool is not connected to power and that no nails are loaded before proceeding.
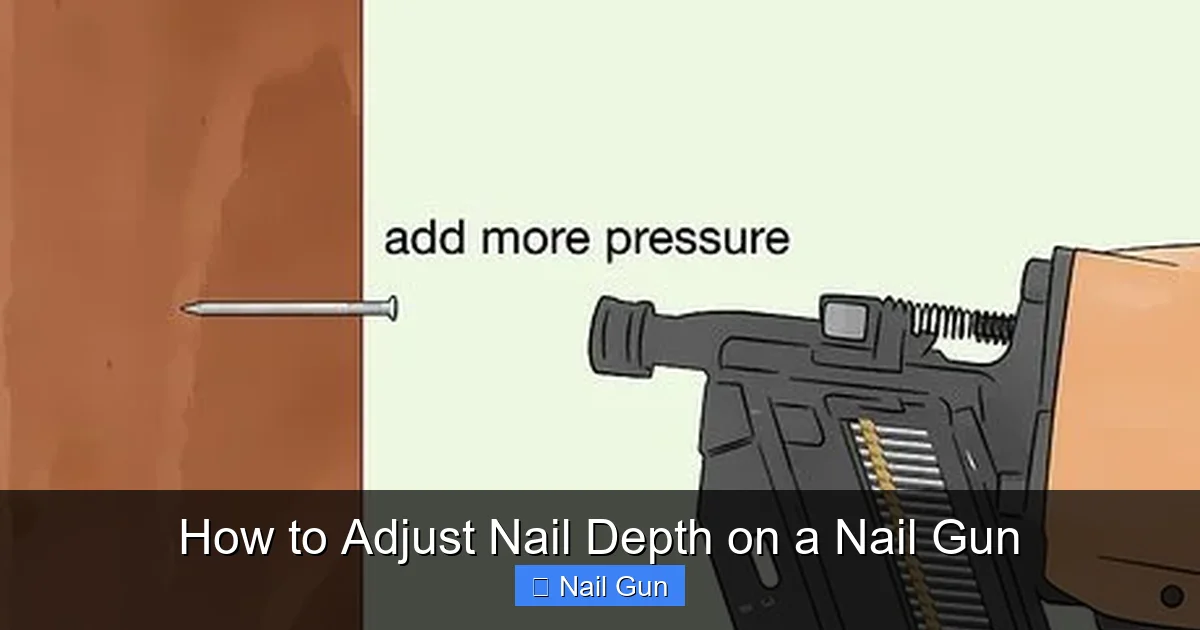
Visual guide about How to Adjust Nail Depth on a Nail Gun
Image source: wikihow.com
Step 2: Locate the Depth Adjustment Mechanism
Identify the adjustment dial or screw
Most nail guns have a dedicated dial, wheel, or screw near the nose or side of the tool. Look for markings like “+” and “–” or numbers indicating depth levels. If you’re unsure, consult your user manual.
Step 3: Preparing for Adjustment
Set the tool on a stable surface
Place your nail gun on a workbench or a stable surface. This helps prevent accidental movement during adjustment.
Gather your tools
Generally, no special tools are needed—just your hands. Some models may require a screwdriver for certain screws.
Step 4: Making the Adjustment
Turn the dial or screw
Use your fingers to turn the adjustment dial clockwise to set nails deeper or counterclockwise to set them shallower. Make small adjustments—just a quarter turn at a time.
Note the direction
Check your manual for specific instructions, but typically:
- Turning clockwise increases nail depth (drives nails further in).
- Turning counterclockwise decreases nail depth (less penetration).
Be cautious with adjustments
Over-adjusting can lead to nails being driven too deep or not deep enough. Small, incremental changes work best.
Step 5: Testing the Adjustment
Test on scrap material
Always test your setting on a piece of scrap wood similar to your project. Firing a few nails will show if the depth is correct.
Check the nail finish
The nail tip should be just below the surface or flush, depending on your project needs. Adjust further if necessary.
Repeat if needed
Make small changes, test again, and continue until the desired nail depth is achieved.
Step 6: Fine-Tuning and Final Checks
Once you find the perfect setting, make a few more test shots to confirm consistency. Keep in mind:
- If nails are over-driving and damaging the surface, decrease the depth.
- If nails are not holding well or sticking out, increase the depth slightly.
Document your setting if needed for future reference.
Practical Tips for Adjusting Nail Depth
- Use a consistent testing method: Always test on similar material for reliable results.
- Adjust gradually: Small adjustments prevent overcorrection.
- Clean your nail gun regularly: Dirt or debris can affect the adjustment mechanism.
- Consult your manual: Different models have specific instructions or features.
- Be mindful of different materials: Softer woods may need shallower settings than harder woods.
Troubleshooting Common Issues
Nails not setting properly
If nails are not going in enough or are sticking out, adjust the depth setting to make the nails go deeper. Check for jams or debris that might block the mechanism.
Nails over-driving the material
If nails are sinking too deep and damaging the surface, decrease the depth setting slightly and test again.
Inconsistent nail penetration
Ensure the adjustment dial is locked in place. Clean and maintain your nail gun regularly to keep the mechanism functioning smoothly.
Conclusion
Adjusting the nail depth on your nail gun is a simple yet crucial step to get professional results. By understanding your tool, making small adjustments, and testing thoroughly, you can ensure nails are driven just right every time. Regular maintenance and troubleshooting will keep your nail gun performing at its best, saving you time and improving your projects’ quality.
Final Tips
- Always wear safety gear when working with power tools.
- Practice on scrap material before working on your actual project.
- Keep your nail gun clean and well-maintained for consistent performance.
- Refer to your specific model’s manual for detailed instructions.
🎥 Related Video: How to adjust the power of nailer
📺 Maker Technology 📡