
Attaching an air compressor hose to a nail gun is essential for safe and efficient operation. This guide walks you through each step, from choosing the right fittings to ensuring a secure connection. Whether you’re a DIY enthusiast or a professional, mastering this process will improve your nailing tasks and prevent air leaks or accidents.
Key Takeaways
- Ensure compatibility: Use the correct fittings that match both your air compressor hose and nail gun.
- Turn off power and release pressure: Always disconnect and depressurize the system before attaching the hose.
- Inspect fittings: Check for damage or debris that could cause leaks or connection issues.
- Secure the connection: Attach fittings firmly to prevent air leaks during operation.
- Test for leaks: After attaching, run the nail gun briefly to ensure there are no air leaks.
- Use the right tools: Utilize appropriate wrenches and tools to tighten fittings without over-tightening.
How to Attach Air Compressor Hose to Nail Gun
Connecting your air compressor hose to a nail gun might seem straightforward, but doing it correctly is crucial for safety, efficiency, and the longevity of your tools. A proper connection ensures consistent air pressure, prevents leaks, and helps you complete your projects smoothly. In this comprehensive guide, we’ll walk you through each step, from understanding the components involved to troubleshooting common issues.
Understanding the Components
Before diving into the connection process, it’s helpful to understand the key components:
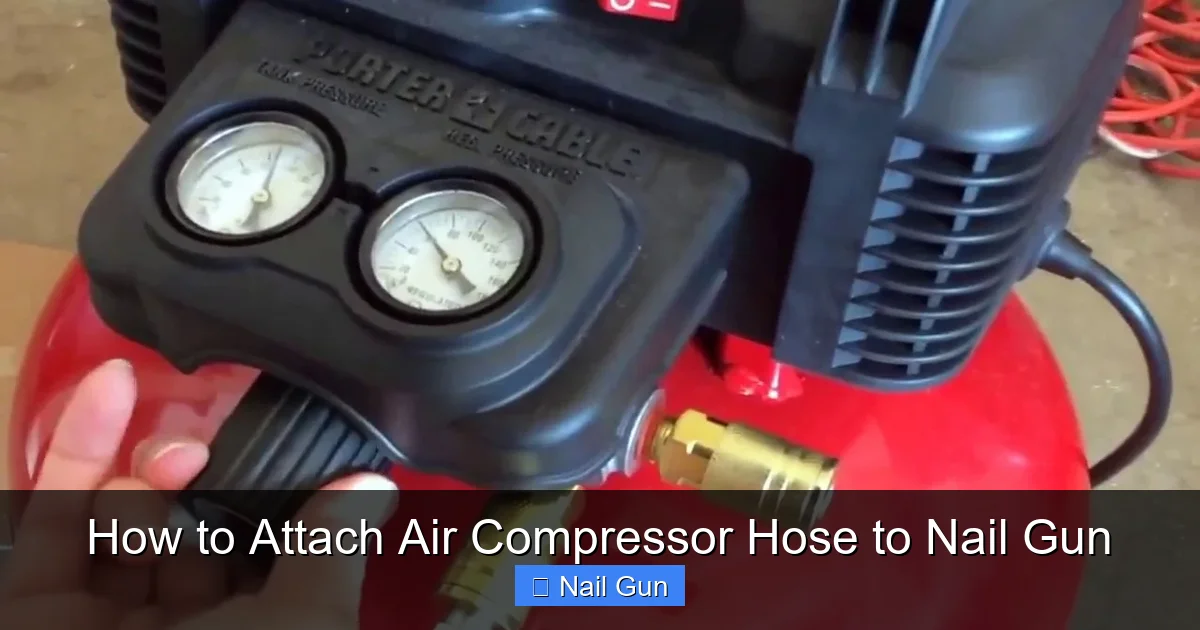
Visual guide about How to Attach Air Compressor Hose to Nail Gun
Image source: i.ytimg.com
- Air Compressor Hose: Flexible tube that delivers compressed air from your compressor to the nail gun.
- Nail Gun (Pneumatic): The tool that uses compressed air to drive nails.
- Fittings and Couplers: Connectors that join the hose to the nail gun and the compressor.
- Quick-Connect Fittings: Popular for easy attachment and detachment.
- Threaded Fittings: Require screwing onto compatible ports.
Step 1: Prepare Your Workspace and Tools
Safety First
Always wear safety glasses and gloves when working with pneumatic tools. Ensure your compressor is turned off and unplugged, if applicable, before starting.
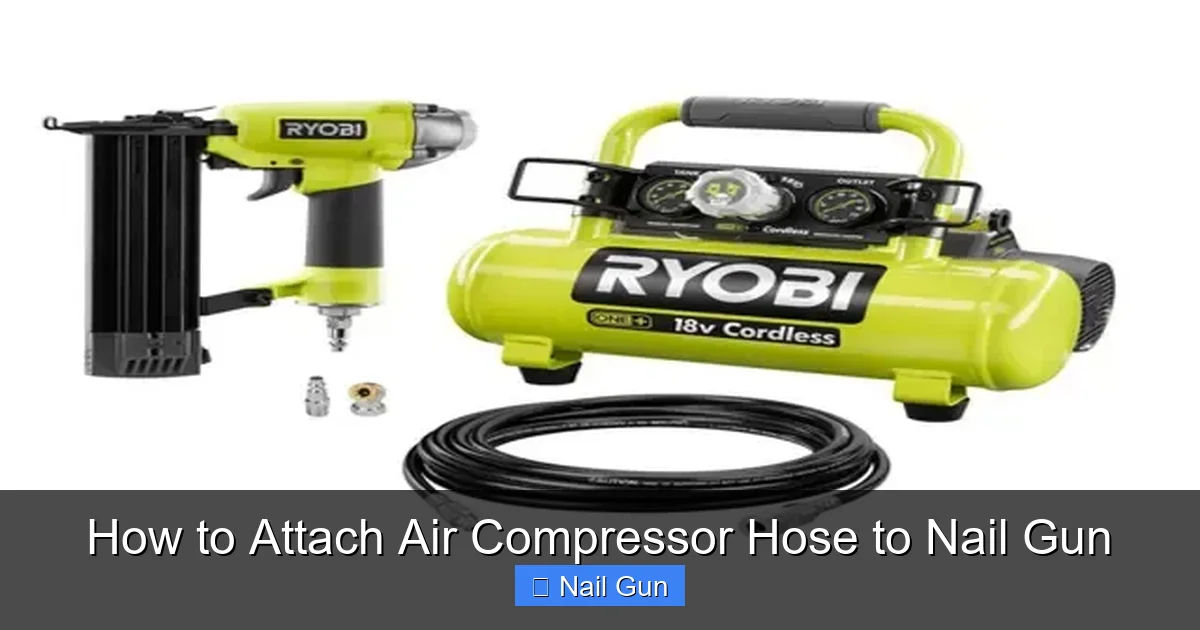
Visual guide about How to Attach Air Compressor Hose to Nail Gun
Image source: ourhometools.com
Gather Your Tools
- Adjustable wrench or pliers
- Correct fittings and couplers for your equipment
- Cleaning cloth or compressed air for cleaning fittings
- Lubricant (if recommended by manufacturer)
Step 2: Turn Off and Depressurize Your Systems
Turn Off the Compressor
Switch off your air compressor and unplug it from the power source. This prevents accidental activation.
Release Air Pressure
Open the drain valve or release valve on your compressor. This releases any built-up air pressure and ensures safety during connection.
Disconnect Existing Hoses (if applicable)
If your compressor or nail gun already has hoses attached, carefully disconnect them, checking for any residual pressure.
Step 3: Inspect and Prepare Fittings
Check for Damage
Examine both the hose fittings and the nail gun’s inlet port for cracks, debris, or corrosion. Replace damaged parts before proceeding.
Clean the Fittings
Wipe fittings with a clean cloth or blow compressed air to remove dust and debris. Clean connections ensure a tight seal.
Apply Lubricant (if recommended)
Some fittings benefit from a light coat of pneumatic lubricant to facilitate easier attachment and prevent corrosion.
Step 4: Attach the Fittings to the Hose and Nail Gun
Connect the Fittings to the Hose
- Insert the quick-connect or threaded fitting onto the end of the air compressor hose.
- Use an adjustable wrench to tighten the fitting securely, but avoid over-tightening which can damage the fittings.
Attach the Fitting to the Nail Gun
- If your nail gun has a quick-connect fitting, simply push the hose’s coupler into the gun’s inlet until it clicks into place.
- If using threaded fittings, screw the fitting onto the nail gun’s inlet port by hand, then tighten with a wrench.
Ensure a Secure Connection
Make sure all fittings are snug and properly seated. Loose connections can cause leaks and reduce pressure.
Step 5: Test the Connection
Turn on the Compressor
Plug in and power on your compressor. Allow it to build pressure to the recommended level.
Check for Leaks
- Listen for hissing sounds indicating leaks.
- Spray a soapy water solution on fittings; bubbles will form if there’s a leak.
Secure or Re-tighten Connections
If leaks are detected, turn off the compressor, depressurize, and tighten fittings as needed. Repeat the test until no leaks are visible or audible.
Step 6: Use Your Nail Gun Safely and Effectively
Now that your hose is securely attached, you can start nailing projects. Always wear safety equipment, follow manufacturer instructions, and never bypass safety features.
Additional Tips for a Smooth Connection Process
- Match fittings: Use fittings with the same thread size and type as your compressor and nail gun ports.
- Keep fittings clean: Dirty fittings are a common cause of leaks and connection issues.
- Use quick-connects: They make attaching and detaching hoses quick and convenient.
- Regular maintenance: Periodically check fittings and hoses for wear and tear.
Troubleshooting Common Issues
Air Leaks at Connection Points
Ensure fittings are tight and seated properly. Replace damaged fittings if leaks persist.
Difficulty Attaching Fittings
Check thread compatibility and cleanliness. Use appropriate tools for tightening.
Low Air Pressure
Verify all connections are secure and no leaks are present. Inspect hoses for damage or blockages.
Hose Disconnects During Use
Use fittings with locking mechanisms or ensure quick-connects are fully engaged.
Conclusion
Attaching an air compressor hose to a nail gun is a simple yet vital step for safe and effective pneumatic nailing. By following these steps—preparing your tools, ensuring compatibility, securely connecting fittings, and testing for leaks—you’ll ensure a smooth workflow and prolong the life of your tools. Remember, safety always comes first. Take your time, double-check connections, and enjoy your DIY or professional projects with confidence.
🎥 Related Video: How to Hook Up an Air Compressor Hose #shorts
📺 Z23
How do I Hook Up Hose to Air Compressor How to hook up hose to an air compressor or air tank. To hook a hose to an air …