
If your nail gun isn’t firing properly or has stopped working, don’t worry. This comprehensive guide will walk you through diagnosing problems, performing repairs, and maintaining your nail gun to ensure it operates smoothly again. Whether you’re a DIYer or a professional, you’ll find practical tips to fix your nailer safely and effectively.
Key Takeaways
- Identify the problem: Determine whether your nail gun isn’t firing, jams, or has air leaks to target the fix accurately.
- Safety first: Always disconnect power sources and wear protective gear before attempting repairs.
- Clear jams carefully: Remove jammed nails gently to avoid damage and ensure smooth operation.
- Inspect parts: Check for worn or broken parts like seals, o-rings, or the driver blade, and replace as needed.
- Maintain your nail gun: Regular cleaning and lubrication extend its lifespan and prevent common issues.
- Troubleshoot air leaks: Tighten fittings or replace damaged hoses to restore proper pressure.
How to Fix a Nail Gun
If your nail gun isn’t working as it should, don’t panic. Many issues are simple to fix with some basic tools and a little patience. In this guide, we’ll teach you how to troubleshoot common problems, perform repairs, and keep your nailer in top shape. Whether it’s a pneumatic, electric, or gas-powered nail gun, these steps will help you get it back to firing nails properly.
Understanding Your Nail Gun
Before diving into repairs, it’s important to understand the type of nail gun you own. The most common types are:
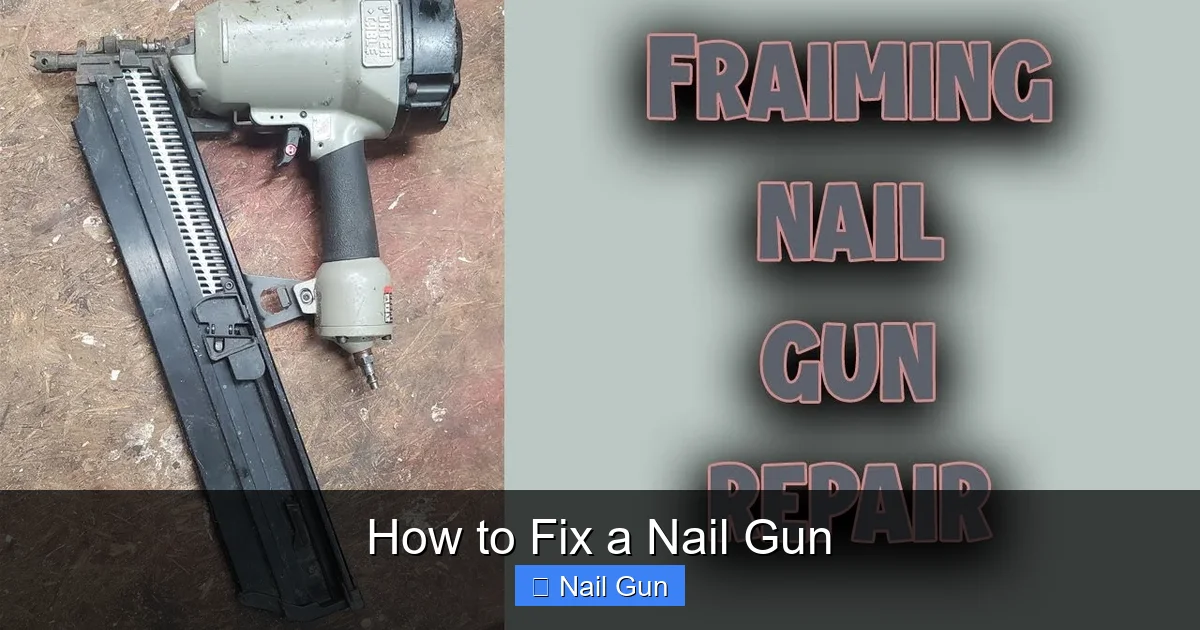
Visual guide about How to Fix a Nail Gun
Image source: i.ytimg.com
- Pneumatic nail guns: Powered by compressed air.
- Electric nail guns: Use electric motors, either corded or cordless.
- Gas-powered nail guns: Use a small fuel cell combined with battery or corded power.
Each type has different internal parts and potential problems. Always consult your user manual for specific instructions and safety precautions.
Tools and Materials Needed
- Screwdrivers (Phillips and flat-head)
- Wrenches or socket set
- Replacement parts (o-rings, seals, driver blades, etc.)
- Lubricant/oil recommended by the manufacturer
- Compressed air (optional)
- Cleaning brushes
- Safety gloves and eye protection
Step 1: Safety First
Always unplug or disconnect the power source before starting any repair. For pneumatic models, disconnect the air hose. For gas and electric models, turn off and unplug. Wear safety goggles and gloves to protect yourself from accidental injuries.
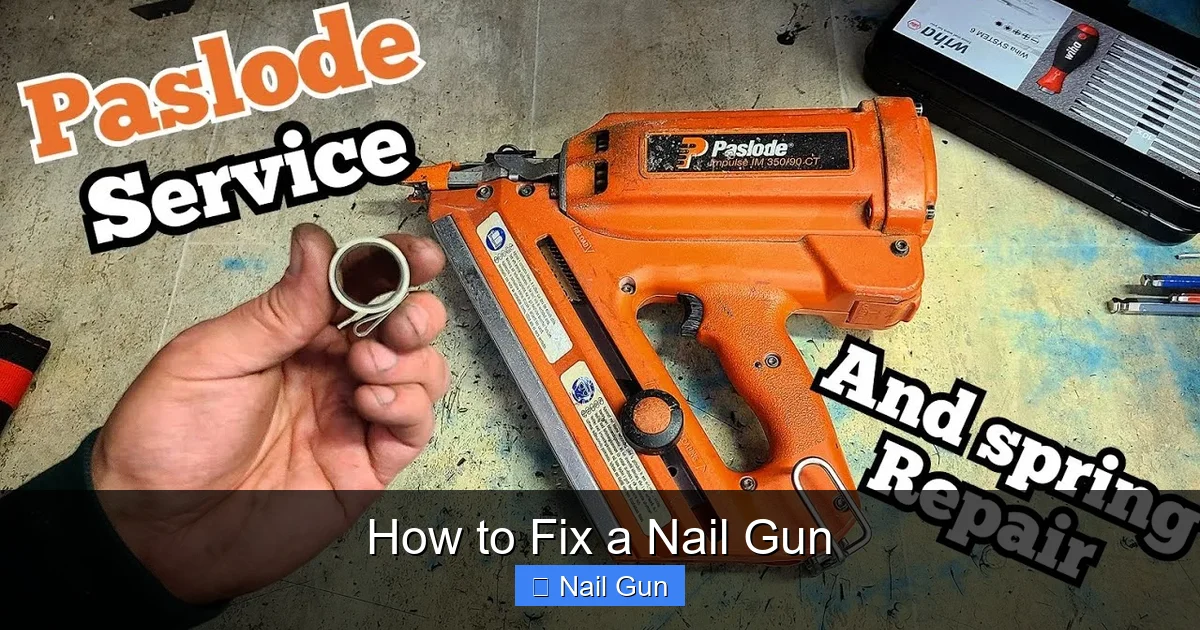
Visual guide about How to Fix a Nail Gun
Image source: i.ytimg.com
Step 2: Diagnose the Problem
Determine what’s wrong with your nail gun. Common issues include:
- Nail gun not firing: Could be an air leak, jam, or worn driver blade.
- Nails jammed: Nails may be stuck in the magazine or nose.
- Air leaks: Loss of pressure causes weak firing or no firing.
- Misfiring or inconsistent firing: Worn parts or dirt buildup.
Identifying the issue helps decide the necessary repairs.
Step 3: Fixing Common Problems
Jammed Nails
This is one of the most frequent issues. Here’s how to clear a jam:
- Disconnect power: Unplug or disconnect the air hose.
- Remove the nail magazine: Usually, there are screws or clips holding it in place.
- Clear the jam: Carefully remove nails or any debris blocking the path. Use pliers if needed.
- Check for damage: Inspect the nails and magazine for bends or damage.
- Reassemble: Put everything back together and test the gun.
Addressing Air Leaks
Air leaks can cause weak or no firing. Here’s how to fix them:
- Inspect fittings and hoses: Look for cracks, loose fittings, or damage.
- Tighten fittings: Use a wrench to tighten loose fittings carefully.
- Replace damaged hoses or seals: If hoses or seals are cracked or worn, replace them with new parts.
- Test for leaks: Spray soapy water on fittings and hoses; bubbles indicate leaks.
Replacing Worn or Broken Parts
Over time, parts wear out. Common replacements include:
- Driver blade: If it’s bent or worn, replace it to improve nail driving.
- Seals and o-rings: Replace to prevent leaks and maintain pressure.
- Trigger mechanism: Repair or replace if it’s sticking or unresponsive.
Refer to your user manual for specific part numbers and installation instructions.
Step 4: Maintenance Tips
Prevent future issues with regular maintenance:
- Clean the nail gun: Use compressed air and brushes to remove dust and debris.
- Lubricate: Apply a few drops of pneumatic oil into the air inlet before each use.
- Check parts regularly: Replace worn parts before they cause bigger problems.
- Store properly: Keep your nail gun in a dry, clean place.
Step 5: Final Testing
Once repairs are complete, reconnect the power or air source. Test your nail gun on scrap wood. Ensure it fires nails smoothly and consistently. If issues persist, revisit the troubleshooting steps or consult a professional.
Troubleshooting Additional Issues
- Nail gun fires multiple nails at once: Check the driver blade and magazine for blockages or damage.
- Nails not penetrating deeply: Adjust the air pressure or check the driver blade for wear.
- Unresponsive trigger: Clean or replace the trigger assembly.
Conclusion
Fixing a nail gun might seem daunting at first, but with patience and the right tools, you can repair most common problems yourself. Regular maintenance and troubleshooting ensure your nailer remains reliable for all your projects. Remember, safety always comes first—never attempt repairs with the device connected or pressurized. With these steps, your nail gun will be back in action, helping you complete your projects efficiently and safely.