
Installing crown moulding without a nail gun is entirely doable with the right tools and techniques. In this guide, you’ll learn step-by-step methods to securely install crown moulding using alternative fasteners, adhesives, and careful measurements, ensuring a beautiful finish even without a nail gun.
Key Takeaways
- Preparation is key: Measure and cut your crown moulding accurately before starting.
- Use alternative fasteners: Consider finishing nails, screws, or construction adhesive as substitutes for a nail gun.
- Proper tools matter: A good hammer, nail set, caulk gun, and clamps can make the job easier.
- Work in sections: Install small sections at a time to ensure precision and control.
- Finish carefully: Fill nail holes and caulk gaps for a seamless look.
- Patience pays off: Take your time to measure, cut, and install for professional results.
How to Install Crown Moulding Without a Nail Gun
Installing crown moulding can add elegance and character to your home. Usually, a nail gun makes the process faster and easier. But what if you don’t have one? Don’t worry! With the right tools, patience, and some helpful tips, you can successfully install crown moulding without a nail gun. In this guide, we’ll walk through each step to help you achieve professional-looking results.
Tools and Materials Needed
- Crown moulding
- Measuring tape and pencil
- Miter saw or hand saw
- Finishing nails or screws
- Hammer
- Nail set or punch
- Construction adhesive or wood glue
- Caulk and caulk gun
- Putty or wood filler
- Clamps or spring clamps
- Level or laser level
- Step ladder or scaffolding
- Safety glasses and hearing protection
Step 1: Planning and Measurement
Measure Your Space
Start by measuring the length of each wall where you want to install the crown moulding. Use a tape measure and note down each measurement. Add a little extra for cutting errors or adjustments.
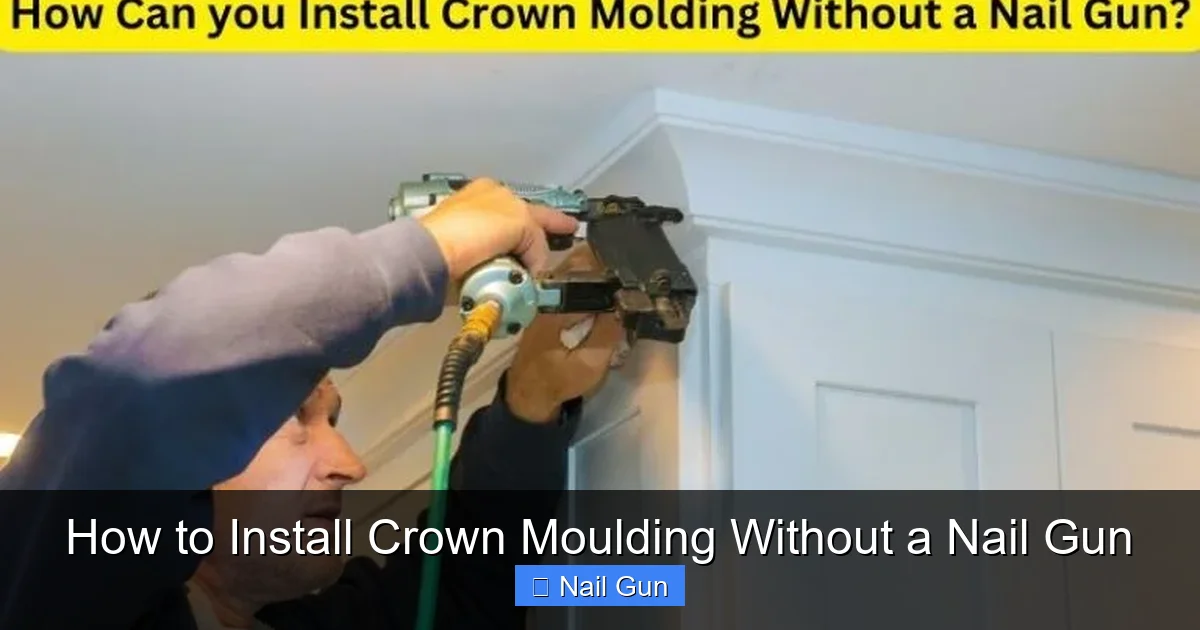
Visual guide about How to Install Crown Moulding Without a Nail Gun
Image source: ownthetools.com
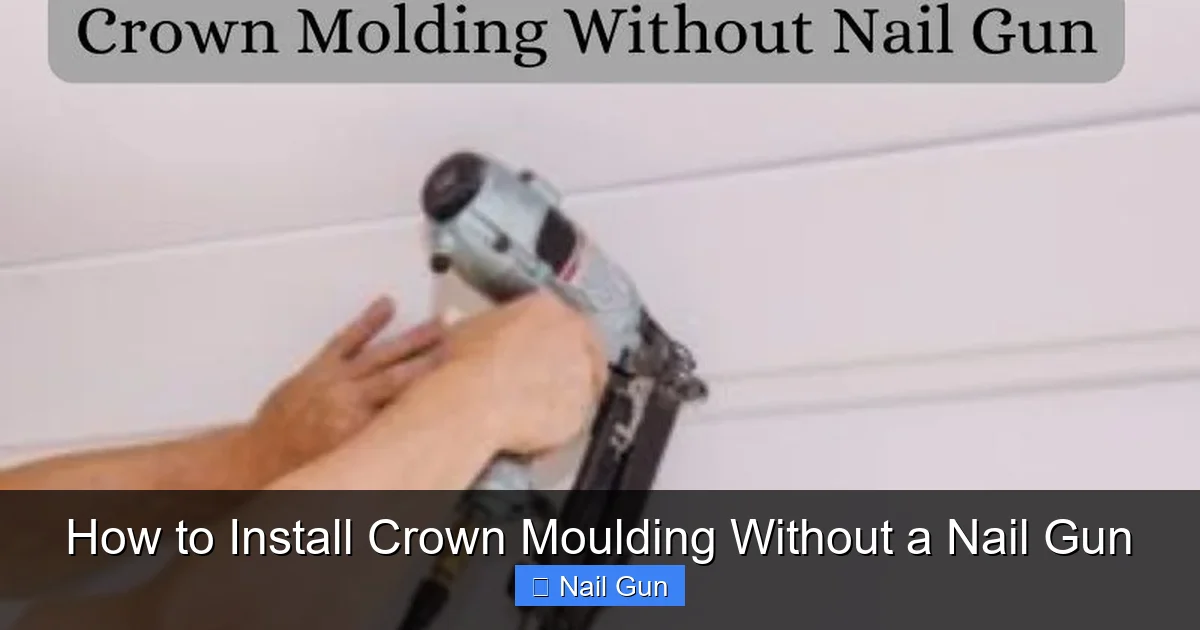
Visual guide about How to Install Crown Moulding Without a Nail Gun
Image source: ownthetools.com
Plan Your Cuts
Sketch a simple diagram of the room and plan your cuts. Crown moulding angles are typically 45 degrees for corners. Mark where each piece will go, and remember to account for the miter cuts.
Step 2: Cutting the Crown Moulding
Set Your Saw
If you have a miter saw, set it to 45 degrees for corner cuts. For outside corners, cut the moulding at 45 degrees in one direction; for inside corners, cut at 45 degrees in the opposite direction.
Make Accurate Cuts
Cut each piece carefully, ensuring the angles match your room’s corners. Always double-check your measurements before cutting. Use scrap pieces to test your cuts if needed.
Step 3: Preparing for Installation
Find the Wall Studs
Use a stud finder to locate wall studs. Mark their positions lightly with a pencil. Securing your moulding to studs ensures strength and durability.
Test Fit Each Piece
Hold the cut moulding against the wall and ceiling to check fit. Make any necessary adjustments before proceeding.
Step 4: Attaching the Moulding
Apply Construction Adhesive
Run a bead of construction adhesive or wood glue along the back of each moulding piece. This provides an initial hold and helps fill gaps.
Use Finishing Nails or Screws
With a hammer, gently tap in finishing nails or screws through the moulding into the wall studs. Place nails at regular intervals (every 16-24 inches). For added security, you can pre-drill holes for screws to prevent splitting.
Alternative Fastening Methods
If you prefer not to use nails or screws, consider heavy-duty construction adhesive alone. However, for best results, combining glue with mechanical fasteners is recommended for stability.
Step 5: Securing and Adjusting
Use Clamps or Spring Clamps
If you’re using adhesive alone, clamp the moulding against the wall until the glue dries. Clamps hold the pieces tightly for a few hours, ensuring a strong bond.
Check Alignment
Use a level to ensure the crown moulding is straight and properly aligned. Adjust as needed before the adhesive sets.
Step 6: Finishing Touches
Fill Nail Holes and Gaps
Once the nails are hammered in and the adhesive has dried, fill nail holes with wood filler or putty. Smooth with a putty knife and let dry.
Caulk Gaps and Joints
Apply caulk along seams, joints, and where the moulding meets the ceiling and walls. Use a damp finger or caulk tool to smooth the caulk for a seamless finish.
Paint or Finish
Finally, paint or stain your crown moulding to match your decor. Use a quality brush or roller for an even coat.
Tips for Success
- Double-check measurements: Accurate measurements reduce waste and errors.
- Work in sections: Install small sections at a time to maintain control.
- Use quality adhesive: A strong construction adhesive ensures long-lasting results.
- Be patient: Allow ample drying time for glue and filler.
Troubleshooting Common Issues
- Poor adhesion: Ensure surfaces are clean, dry, and free of dust before applying adhesive. Clamping helps if needed.
- Nail or screw holes visible: Fill with wood filler and sand smooth before painting.
- Misaligned moulding: Use a level during installation and make small adjustments quickly.
Conclusion
Installing crown moulding without a nail gun is entirely achievable with patience and proper technique. By measuring carefully, using the right fasteners or adhesives, and taking your time, you can create a professional-looking finish that enhances your space. Don’t rush—your effort will pay off with a beautiful, custom touch to your home.
Additional Resources
- Check out videos on crown moulding installation for visual guidance.
- Practice on scrap pieces before working on your actual moulding.
- Visit your local hardware store for specific adhesive recommendations.