
Installing floor trim without a nail gun is achievable with the right tools and techniques. This guide walks you through each step, providing tips for a professional look using nails, adhesive, and basic hand tools. Whether you’re a beginner or experienced DIYer, you’ll learn how to get the job done efficiently and neatly.
Key Takeaways
- Use finishing nails and a hammer: Hand-nailing provides control and precision when installing trim without a nail gun.
- Apply construction adhesive: Adhesive helps secure trim in place, reducing the need for nails and preventing gaps.
- Pre-drill nail holes: Drilling pilot holes prevents wood splitting and makes nailing easier.
- Measure and cut accurately: Precise measurements and cuts ensure a professional finish and minimal gaps.
- Use painter’s caulk or wood filler: Fill nail holes and gaps for a seamless look after installation.
- Work carefully and take your time: Patience results in a cleaner, more polished finish without a nail gun.
Introduction
If you’re tackling a home renovation or just updating your space, installing floor trim adds a beautiful finished look to your flooring. While many people rely on nail guns for quick and easy installation, you can achieve great results without one. In this guide, you’ll learn how to install floor trim using simple tools like a hammer, nails, adhesive, and a few handy tips. Whether you’re a DIY newbie or experienced handyman, this step-by-step approach helps you get professional-looking results without a nail gun.
Tools and Materials Needed
- Measuring tape
- Pencil
- Hand saw or miter saw
- Finishing nails (1 ¼ inch or appropriate length)
- Hammer
- Construction adhesive (optional but recommended)
- Drill with small drill bit (for pilot holes)
- Wood filler or painter’s caulk
- Putty knife
- Level or straight edge
- Clamps (optional)
- Safety glasses and gloves
Step 1: Measure and Plan
Accurate measurements are key
Start by measuring the length of each wall where you want to install the trim. Use a measuring tape and mark your cuts on the trim pieces with a pencil. Remember to add a little extra length for miter cuts at corners and joints.
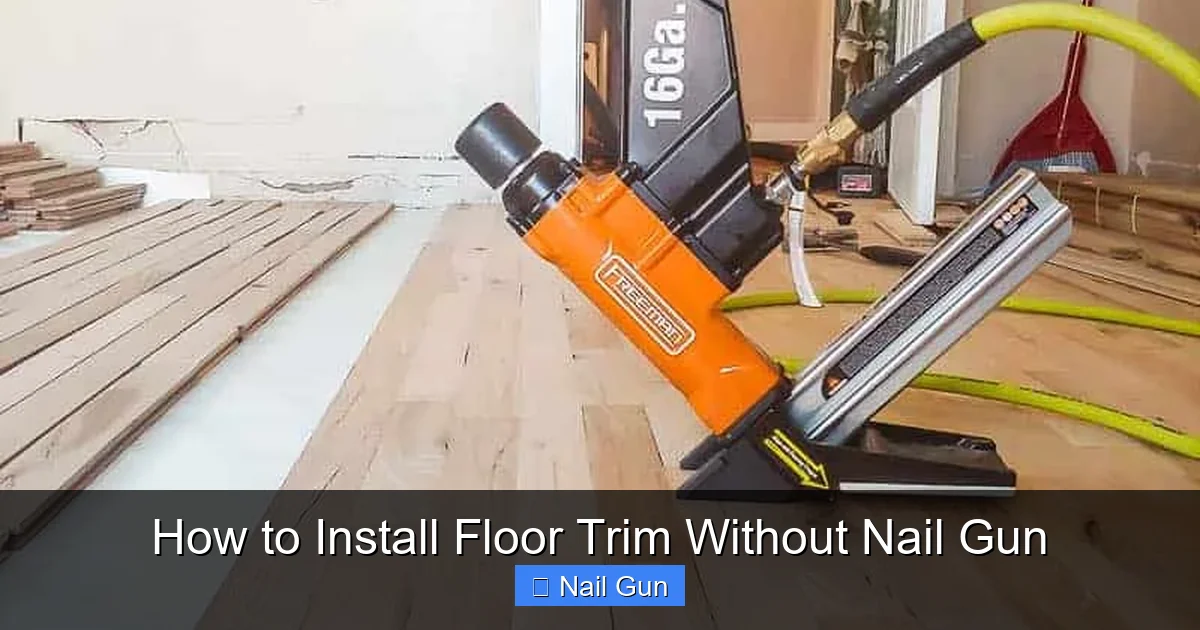
Visual guide about How to Install Floor Trim Without Nail Gun
Image source: makingmanzanita.com
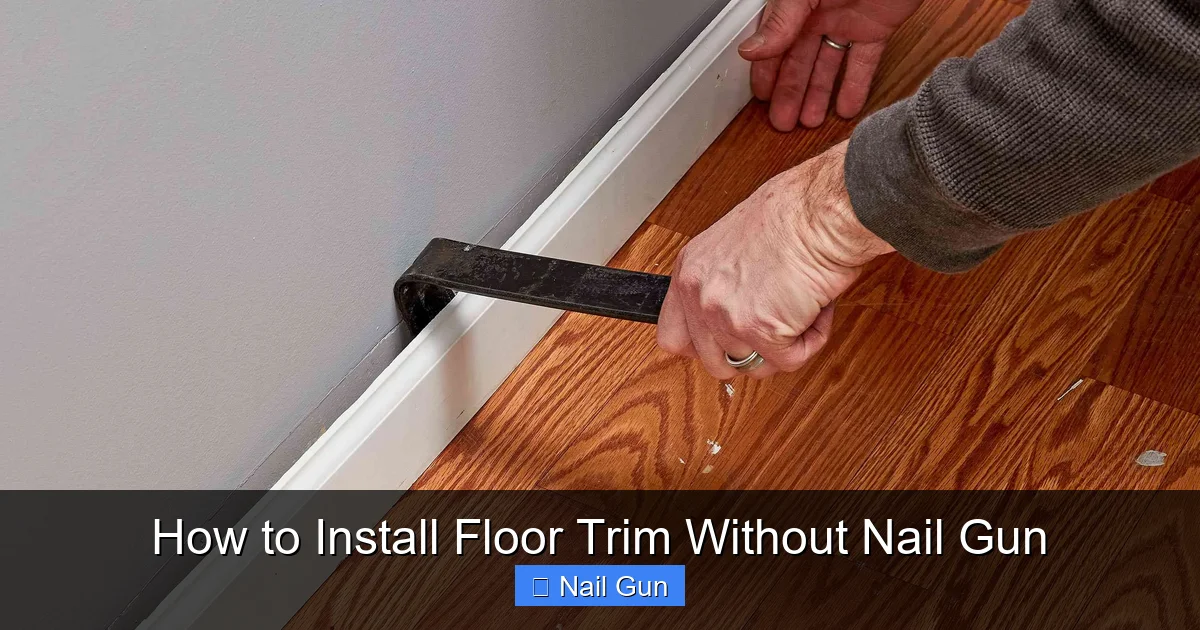
Visual guide about How to Install Floor Trim Without Nail Gun
Image source: thespruce.com
Plan your layout
Decide whether you’ll install the trim in one continuous piece or in sections. For clean corners, miter the ends at 45-degree angles. Mark all your measurements carefully before cutting.
Step 2: Cut the Trim
Cutting with precision
Use a hand saw or miter saw to cut the trim pieces to length. For corners, cut at a 45-degree angle for a tight fit. Always double-check your measurements before cutting to avoid mistakes.
Tip: If you’re unsure about your cuts, practice on scrap wood first.
Step 3: Prepare the Wall and Trim
Clean and mark
Ensure the wall surface is clean and free of dust or debris. Hold the trim up to the wall and mark where nails will go, typically every 16-24 inches, avoiding joints and corners.
Pre-drill pilot holes
Using a drill with a small bit, drill pilot holes at your markings on the trim. This helps prevent splitting and makes nailing easier.
Step 4: Apply Adhesive (Optional but Recommended)
Choose the right adhesive
Apply a construction adhesive suitable for wood and your wall type. Squeeze a thin bead along the back of the trim or at the contact points with the wall.
Position the trim
Press the trim firmly against the wall, ensuring it aligns perfectly. Use clamps or extra hands to hold it in place while the adhesive sets.
Step 5: Nail the Trim in Place
Hand nailing technique
Using a hammer, carefully drive finishing nails through the pilot holes. Tap gently to avoid damaging the wood. Place nails about every 16-24 inches along the length of the trim.
Secure the corners and joints
Make sure corners are tight and flush. Adjust as needed before the adhesive fully cures.
Step 6: Fill Nail Holes and Gaps
Use wood filler or painter’s caulk
Fill all nail holes and small gaps with wood filler or painter’s caulk. Use a putty knife to smooth the surface. Allow the filler to dry according to the manufacturer’s instructions.
Sand and finish
If necessary, lightly sand filled areas for a seamless look. You can paint or stain the trim to match your decor.
Step 7: Final Touches and Cleanup
- Inspect the trim for any gaps or uneven spots and fix as needed.
- Wipe down the trim to remove dust or excess filler.
- Reattach any baseboards or moldings if removed.
- Enjoy your beautifully finished floor trim!
Practical Tips for Success
- Use a level or straight edge: Ensures your trim is perfectly aligned and straight.
- Work slowly and carefully: Rushing can lead to uneven cuts or missed nails.
- Practice your nailing technique: Before working on the actual trim, practice on scrap wood to get comfortable with hammering.
- Choose the right nails: Finishing nails are less visible and give a cleaner look.
- Take your time at corners: Miter cuts and precise fitting make a big difference in the final appearance.
Troubleshooting Common Issues
- Wood splitting: Always pre-drill pilot holes and use the correct nail size.
- Nails bending or not going in: Check the hammer’s force and angle. Use a nail set to drive nails below the surface if needed.
- Gaps between trim and wall: Use shims or adjust placement before the adhesive sets.
- Uneven cuts: Measure twice, cut once. Use a miter box if necessary for accurate angles.
Conclusion
Installing floor trim without a nail gun is simple, cost-effective, and rewarding. With patience, the right tools, and careful techniques, you can achieve a professional finish. Remember to measure accurately, pre-drill, and take your time with each step. Your home will look polished and inviting thanks to your handiwork.
Happy DIYing!
Enjoy your newly finished floors and the satisfaction of completing a project without a nail gun. For best results, always use quality materials and follow safety guidelines. Happy decorating!