
Loading a Bostitch framing nail gun is easy once you understand the process. In this guide, you’ll learn step-by-step how to safely load nails, troubleshoot common issues, and keep your tool in top shape. Whether you’re a beginner or experienced user, these tips will help you work efficiently and safely.
Key Takeaways
- Step-by-step: Easy to follow instructions
Introduction
If you’re working on a construction project or a DIY home renovation, a Bostitch framing nail gun can save you time and effort. Properly loading your nail gun is essential for safe and efficient operation. Whether you’re new to framing nail guns or just need a refresher, this guide will walk you through the entire process of how to load a Bostitch framing nail gun. By following these simple steps, you’ll ensure your tool works smoothly and safely every time.
Understanding Your Bostitch Framing Nail Gun
Before we dive into the loading process, it’s helpful to understand the basic parts of a Bostitch framing nail gun. Most models have a magazine, a latch or cover, a nose piece, and a trigger. The magazine holds the nails and feeds them into the firing chamber. Knowing these parts helps you follow the correct loading procedure.
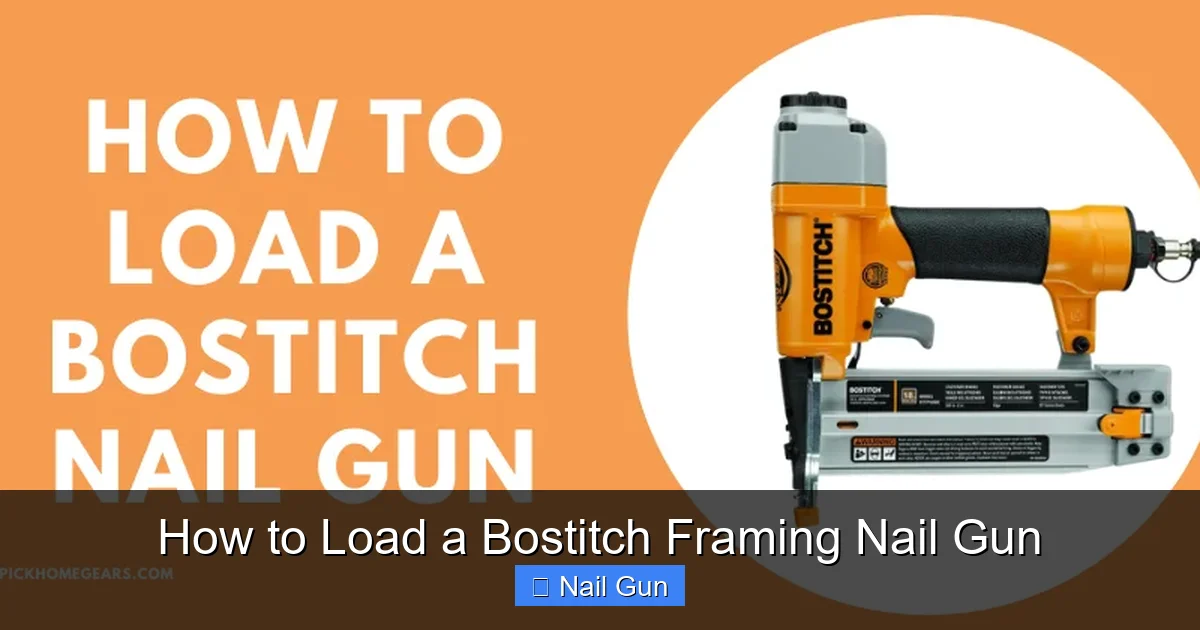
Visual guide about How to Load a Bostitch Framing Nail Gun
Image source: i.pinimg.com
Always refer to your specific model’s user manual for detailed instructions and compatible nail sizes. Using the wrong nails can cause jams, damage, or even safety hazards.
Preparing to Load Your Bostitch Framing Nail Gun
Step 1: Safety Precautions
Safety is paramount. Before you start, make sure the nail gun is unplugged or disconnected from the power source. If your model is pneumatic, disconnect the air hose. For battery-powered models, remove the battery. This prevents accidental firing that could cause injuries.
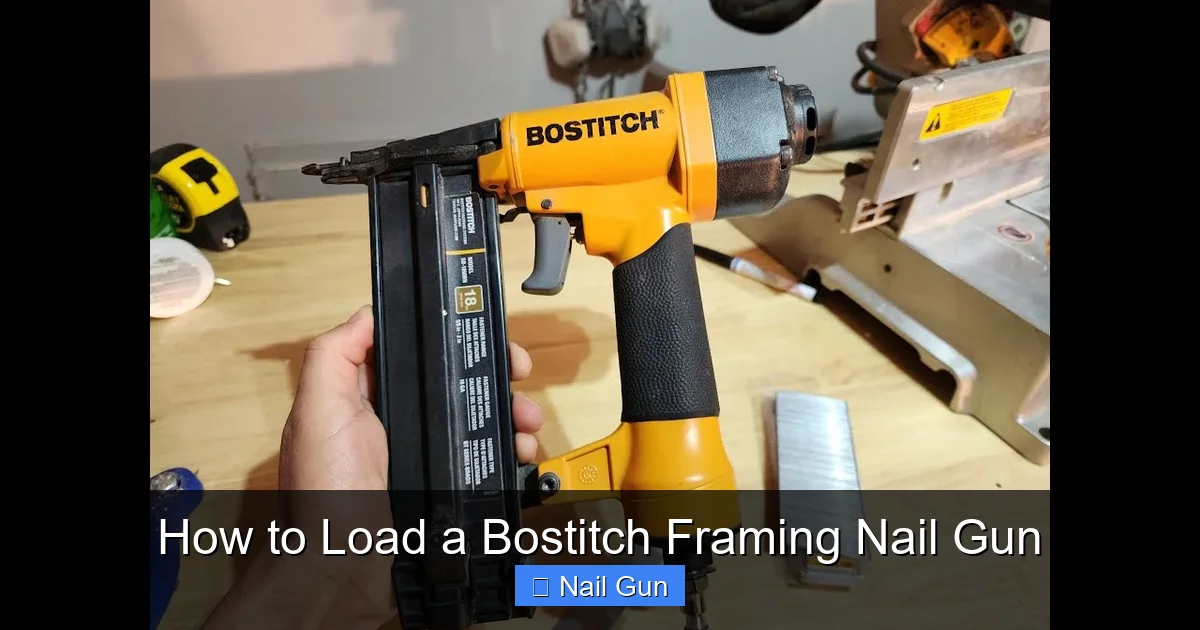
Visual guide about How to Load a Bostitch Framing Nail Gun
Image source: i.ytimg.com
Wear safety goggles and gloves if necessary. Clear your workspace of obstructions, and have your nails ready and within reach.
Step 2: Gather the Correct Nails
Use nails that are compatible with your Bostitch framing nail gun. Typically, framing nail guns use nails between 2 inches and 3.5 inches long, with a specific gauge (usually 0.113 or similar). Check your manual or the label on the tool for exact specifications.
Ensure the nails are of good quality and free from defects. Using the correct nails ensures smooth operation and reduces jams.
How to Load a Bostitch Framing Nail Gun
Step 1: Open the Magazine
Locate the magazine latch or cover. This is usually a small lever or button near the magazine. Depending on your model, you might need to slide or flip open a cover or pull down a latch.
Tip: Consult your user manual if you’re unsure where the magazine latch is. Many models have a simple side or top opening.
Step 2: Remove Any Jammed Nails or Debris
If your gun has been used before, check for any jams or leftover nails. Clear out any debris or damaged nails to prevent future jams.
Use pliers or a small tool to gently remove stuck nails if needed, taking care not to damage the magazine or internal parts.
Step 3: Load the Nails into the Magazine
Hold the nails with the pointed end facing forward and align them with the magazine’s guide rails. Most Bostitch framing nail guns have a specific orientation — nails should sit flat and be aligned with the magazine’s track.
Insert the nails into the magazine, ensuring they are snug and properly seated. The nails should slide easily along the guide rails without resistance.
Practical Tip: Load the nails from the open end of the magazine, making sure the nails are flush against the magazine’s back wall.
Step 4: Close the Magazine Securely
Once the nails are loaded, close the magazine cover or latch firmly. Make sure it clicks into place or is securely latched. An improperly closed magazine can cause misfires or jams.
Double-check that the nails are properly seated and that the magazine is sealed shut.
Final Checks and Testing
Step 1: Reconnect Power and Safety Features
Reconnect the power source, whether plugging in the tool, reattaching the battery, or reconnecting the air hose. Turn on the tool and ensure safety features are engaged.
Most models have a safety nose or trigger lock. Verify these are functioning properly.
Step 2: Test Fire on Scrap Material
Always test your nail gun on scrap wood or other soft material before starting your actual project. This helps verify that the nails are feeding correctly and that the tool is firing properly.
Hold the nail gun against the scrap, press the trigger, and observe if nails are firing smoothly. If you notice jams or misfires, turn off the tool and check the magazine again.
Tips for Maintaining Your Bostitch Framing Nail Gun
- Regular Cleaning: Wipe down the tool after each use to prevent dust and debris buildup.
- Lubrication: Some models require oiling. Check your manual for lubrication points and use recommended oil.
- Check for Jams: Periodically inspect the magazine and firing chamber for jams or damaged nails.
- Store Properly: Keep your nail gun in a dry, safe place away from moisture and extreme temperatures.
Troubleshooting Common Loading Issues
Jammed Nails
If nails are jamming during feeding, check for damaged or bent nails, and clear out any debris. Ensure nails are loaded correctly and are the right size.
Misfiring or No Firing
Ensure the magazine is fully closed and the tool is properly connected to power. Check safety features and trigger operation. Sometimes, a misaligned nail can cause misfires.
Tool Not Firing Nails
Verify that the nails are properly seated and that the power source is active. Clean the firing chamber if needed. If problems persist, consult a professional.
Conclusion
Learning how to load a Bostitch framing nail gun properly is key to safe and efficient operation. Always follow safety precautions, use the correct nails, and perform regular maintenance. With practice, loading your nail gun becomes a quick and simple task, helping you complete your projects smoothly and safely.
Remember:
Always disconnect your tool before loading or clearing jams. Proper loading and maintenance not only extend your nail gun’s lifespan but also keep you safe on the job.