
Loading a Bostitch roofing nail gun is simple once you know the steps. This guide covers everything from opening the magazine to inserting nails and troubleshooting common issues. Follow these instructions for safe and efficient operation.
Key Takeaways
- Understand the parts: Know the magazine, loading chamber, and nail type required for your Bostitch nail gun.
- Use the correct nails: Always load the recommended size and type to prevent jams and damage.
- Safety first: Disconnect power or air supply before loading to avoid accidental firing.
- Follow the step-by-step process: Opening the magazine, inserting nails, and closing it properly ensures smooth operation.
- Regular maintenance: Keep the nail gun clean and check for jams regularly for optimal performance.
- Troubleshoot common issues: Learn how to clear jams and fix loading problems quickly.
Introduction
If you’re tackling a roofing project or any large-scale construction, a roofing nail gun like the Bostitch is a powerful tool that makes the job faster and easier. But before you can start nailing efficiently, you need to know how to load it properly. Loading your Bostitch roofing nail gun correctly ensures safety, prevents jams, and keeps your project on schedule.
In this comprehensive guide, we’ll walk you through each step of loading your Bostitch roofing nail gun. Whether you’re a seasoned pro or a first-time user, these tips will help you load your tool safely and effectively for smooth operation.
Safety Precautions Before Loading
Before you begin, remember safety is key. Always disconnect the nail gun from its power source—whether it’s pneumatic (air) or electric—before opening the magazine. This prevents accidental firing that could cause injuries. Wear safety glasses and gloves to protect yourself from sharp nails or accidental slips.
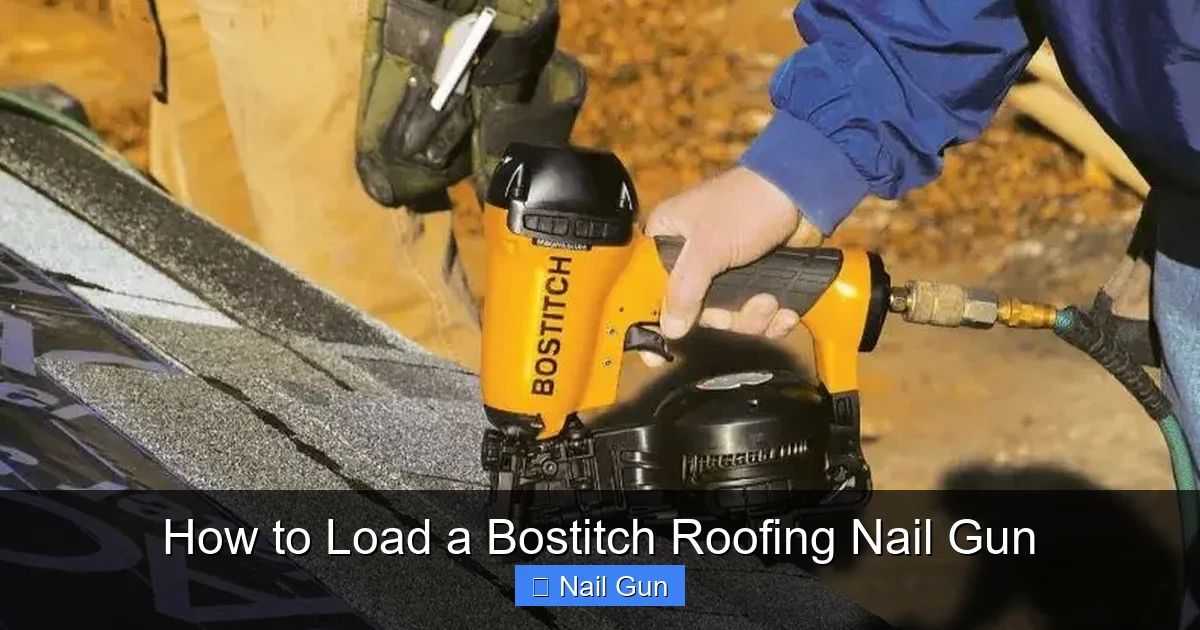
Visual guide about How to Load a Bostitch Roofing Nail Gun
Image source: stapleslinger.com
Ensure the workspace is clean and well-lit. Keep nails and tools organized to avoid mishandling during the loading process.
Tools and Materials Needed
- Bostitch roofing nail gun
- Correct roofing nails (check your model for specifications)
- Safety gear (gloves, safety glasses)
- Compressed air or power source (for pneumatic models)
Step 1: Prepare Your Nail Gun
1.1 Disconnect Power or Air Supply
Ensure your nail gun is unplugged or disconnected from the air compressor. This is crucial for safety and prevents accidental firing during loading.

Visual guide about How to Load a Bostitch Roofing Nail Gun
Image source: i.pinimg.com
1.2 Clear the Magazine
If your nail gun has been used recently, check the magazine for any remaining nails or debris. Clear out any jammed nails or debris to avoid complications during loading.
Step 2: Open the Magazine
2.1 Locate the Magazine Release
Most Bostitch roofing nail guns have a magazine release latch or button, typically located on the side or bottom of the tool. Consult your model’s manual if you’re unsure.
2.2 Release and Open
Press the latch or release button to open the magazine. Gently pull the magazine door open, exposing the loading chamber. Be careful not to force it as some models have safety locks.
Practical Tip: If your model has a latch, make sure it clicks securely when closed to prevent accidental opening during operation.
Step 3: Load the Nails
3.1 Select the Correct Nails
Use nails that match your Bostitch roofing nail gun specifications. Typically, roofing nails are 1-3/4″ to 2-1/2″ long with a large head. Check your manual for exact size and gauge.
3.2 Insert the Nails
Hold the nails by the head and carefully slide them into the magazine chamber. Ensure they are aligned properly—pointing forward, with the head resting securely against the magazine’s guide.
Tip: Load nails in a straight line, avoiding any skewing or bending, to prevent jams.
Step 4: Close the Magazine
4.1 Secure the Cover
Gently close the magazine door or latch until it clicks into place. Make sure it is fully closed and latched to prevent nails from falling out or misfeeding during operation.
4.2 Check for Proper Loading
Visually verify that nails are stacked properly and the magazine is securely closed. Do not force the cover if it resists closing; check for misaligned nails or obstructions.
Step 5: Reconnect and Test
5.1 Reconnect Power or Air
Once the nails are loaded and the magazine is securely closed, reconnect your nail gun to its power source or air supply.
5.2 Conduct a Safety Check
Keep the safety tip away from any surfaces. Test fire the nail gun into a scrap piece of wood to ensure nails feed properly. If jams occur, consult troubleshooting below.
Additional Tips for Efficient Loading
- Use quality nails: Cheap or incompatible nails can cause jams or misfires.
- Keep nails dry and clean: Moisture or dirt can cause feeding issues.
- Regularly inspect the magazine: Check for wear, damage, or debris that could hinder loading or firing.
- Store nails properly: Keep them in a dry, organized container near your work area.
Troubleshooting Common Loading Issues
Jam or Nail Misfeed
If nails are not feeding properly, turn off the tool and disconnect it from power. Open the magazine and remove any jammed nails. Check for bent nails, debris, or misalignment. Clear obstructions and reload carefully.
Magazine Won’t Close
Ensure nails are stacked correctly and not causing resistance. Remove excess nails if needed and verify the magazine is free of debris. Close gently, making sure nothing is blocking the latch.
Incorrect Nail Size
Using nails that are too long or too short can cause jams or damage. Always verify your model’s specifications before loading.
Conclusion
Loading your Bostitch roofing nail gun might seem straightforward, but proper technique ensures safety and efficiency. Take your time, follow the steps carefully, and regularly maintain your tool for best results. With these tips, you’ll be ready to tackle any roofing or construction project confidently and safely.
Remember—always prioritize safety, double-check your nails, and keep your nail gun clean for optimal performance. Happy nailing!