
Loading a Central Pneumatic nail gun is simple when you follow the right steps. In this guide, you’ll learn how to safely and correctly load nails into your nail gun, ensuring smooth operation and avoiding jams. Whether you’re a beginner or experienced user, these instructions will help you get your tool ready for your project.
Key Takeaways
- Always disconnect the air supply: Before loading, ensure the nail gun is unplugged or disconnected from the air compressor to prevent accidental firing.
- Use the correct nails: Match the size and type of nails as specified in the nail gun’s manual for optimal performance.
- Open the magazine: Most nail guns have a latch or release mechanism to access the nail chamber easily.
- Load the nails properly: Insert the nails with the correct orientation, usually head-first, ensuring they are snug but not forced.
- Check for jams: Clear any jams before re-pressurizing the tool to avoid damage or misfires.
- Test the tool: After loading, do a quick test on scrap material to ensure proper firing and loading.
Introduction
If you’re working on a project that requires nailing, your Central Pneumatic nail gun can be a real time-saver. But before you start, it’s crucial to load it correctly. Proper loading not only ensures your tool works well but also keeps you safe. In this complete guide, we’ll walk you through each step to load your Central Pneumatic nail gun with confidence. Whether you’re replacing nails or clearing a jam, these instructions will help you handle your nail gun properly and efficiently.
Safety First: Prepare Your Workspace
Disconnect the Air Supply
Before doing anything, always disconnect the nail gun from the air compressor. This prevents accidental firing, which can cause injury. Unplug the air hose or switch off the compressor and detach the hose from the tool.
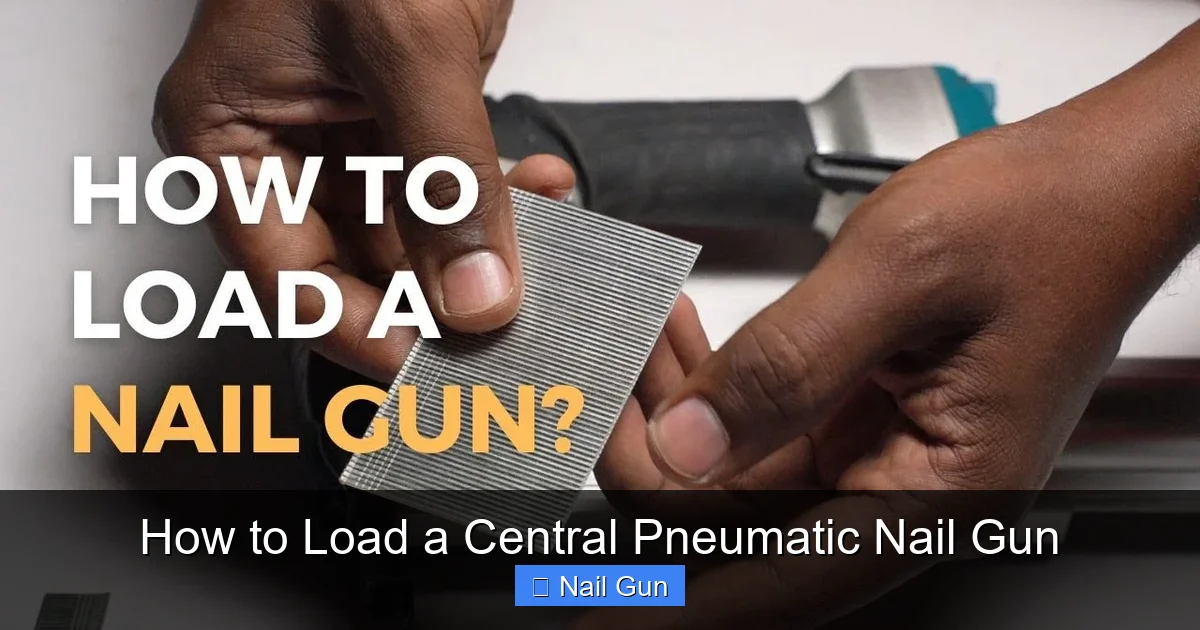
Visual guide about How to Load a Central Pneumatic Nail Gun
Image source: i.ytimg.com
Tip: Use gloves and eye protection when handling the nail gun, especially if you’re clearing jams or loading nails.
Gather the Right Supplies
Select the Correct Nails
Check your nail gun’s manual to find out what size and type of nails are compatible. Common sizes for Central Pneumatic nail guns include 2-inch or 2.5-inch nails, but always verify to avoid jams or damage.
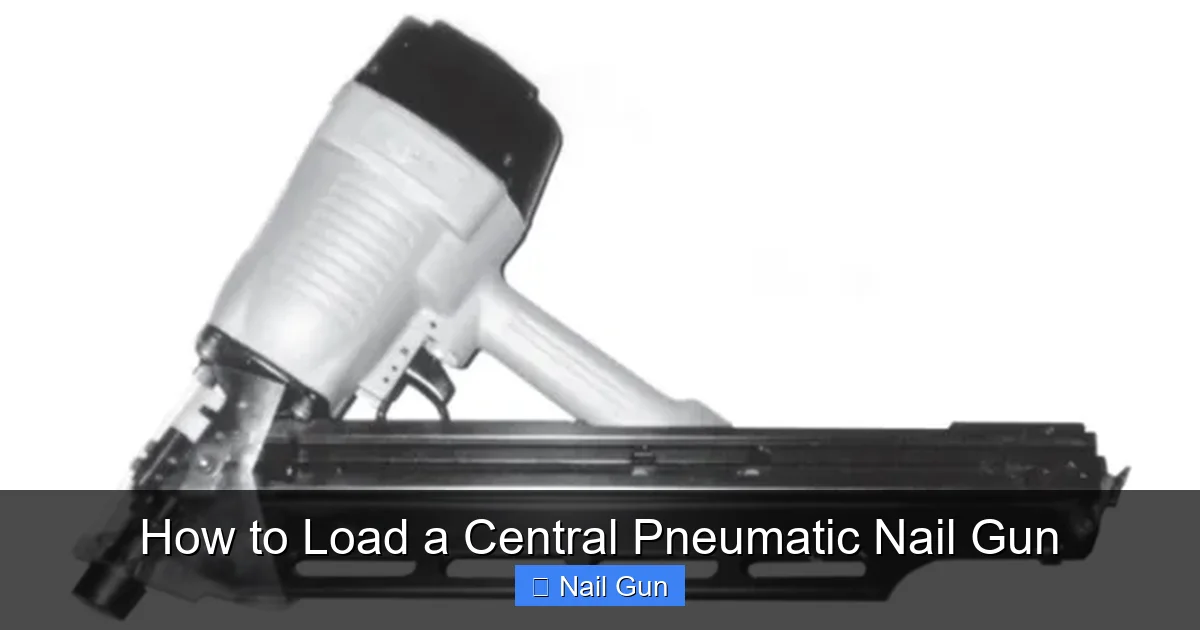
Visual guide about How to Load a Central Pneumatic Nail Gun
Image source: static-data2.manualslib.com
Tip: Use high-quality nails from reputable brands to prevent issues like bent nails or jams.
Open the Magazine
Locate the Magazine Release
Most Central Pneumatic nail guns have a latch or button to open the magazine. Depending on the model, this may be on the side or bottom of the tool.
- Press or unlock the latch: Use your hand or a tool if needed.
- Pull back the magazine cover: This exposes the nail chamber.
Tip: Consult your user manual if you’re unsure where the release mechanism is located.
Load the Nails Correctly
Insert the Nails
Take the nails and align them with the chamber opening. Make sure the nails are oriented properly:
- Head-first: The nails should sit with the head facing outward, ready to be driven.
- Points inward: The pointed end should face into the firing chamber.
Gently push the nails into the magazine, ensuring they sit snugly and are aligned properly. Do not force nails if they resist; check for any obstructions or incorrect orientation.
Tip: Use your fingers or a small tool to guide nails into tight spaces, but avoid forcing them to prevent jams.
Close the Magazine and Reconnect
Secure the Cover
Once the nails are loaded, close the magazine cover or latch securely. Ensure it clicks into place and is fully sealed.
Reconnect the Air Supply
Reconnect the air hose to your nail gun and turn on the compressor. Check for leaks or irregular sounds before proceeding.
Test Your Nail Gun
Perform a Dry Fire Test
Hold the nail gun away from any material and press the trigger to ensure it fires correctly. If it doesn’t fire, recheck the nail placement and ensure the tool is properly connected to air pressure.
Tip: Use scrap wood or similar material for testing to avoid damaging your project surface.
Troubleshooting Common Loading Issues
- Nails jam inside the chamber: Carefully open the magazine and remove jammed nails using pliers or a small tool. Clean out any debris.
- Incorrect nail size causes jams: Always verify the nails match the specifications listed in your manual.
- Tool doesn’t fire after loading: Check if the air pressure is adequate and the nail gun is properly connected. Also, inspect for any safety lock settings engaged.
Conclusion
Loading your Central Pneumatic nail gun properly is easy once you follow these straightforward steps. Always prioritize safety by disconnecting the air supply and wearing protective gear. Using the correct nails and ensuring they are loaded correctly will keep your tool functioning smoothly and prevent jams or misfires. With a little practice, loading your nail gun will become a quick and simple part of your project routine.
Additional Tips for Maintenance and Safety
- Regularly clean the magazine and firing chamber to prevent debris buildup.
- Inspect your nails for rust or damage before loading.
- Store your nail gun in a safe, dry place after use.
- Always follow the manufacturer’s safety instructions and guidelines.