
Makita nail gun nails are specially designed fasteners engineered to work seamlessly with Makita pneumatic and cordless nail guns. These nails ensure reliable performance, precision, and durability across a range of construction and woodworking tasks.
Key Takeaways
- Step-by-step: Easy to follow instructions
What Are Makita Nail Gun Nails?
If you’ve ever used a Makita nail gun, you know how powerful, reliable, and efficient these tools can be. But have you ever wondered what makes the nails they use so special? Makita nail gun nails are not just generic fasteners—they’re precision-engineered components designed specifically to work with Makita’s line of pneumatic and cordless nailers. Whether you’re building a deck, framing a house, or installing trim, using the right nails is just as important as using the right tool.
In this guide, you’ll learn everything you need to know about Makita nail gun nails: what they are, how they’re made, which types are available, and why choosing the correct nail matters for performance, safety, and project success. We’ll also walk you through how to select the right nails for your specific Makita nailer and application, plus offer practical tips to keep your tool running smoothly.
Why Use Makita Nail Gun Nails?
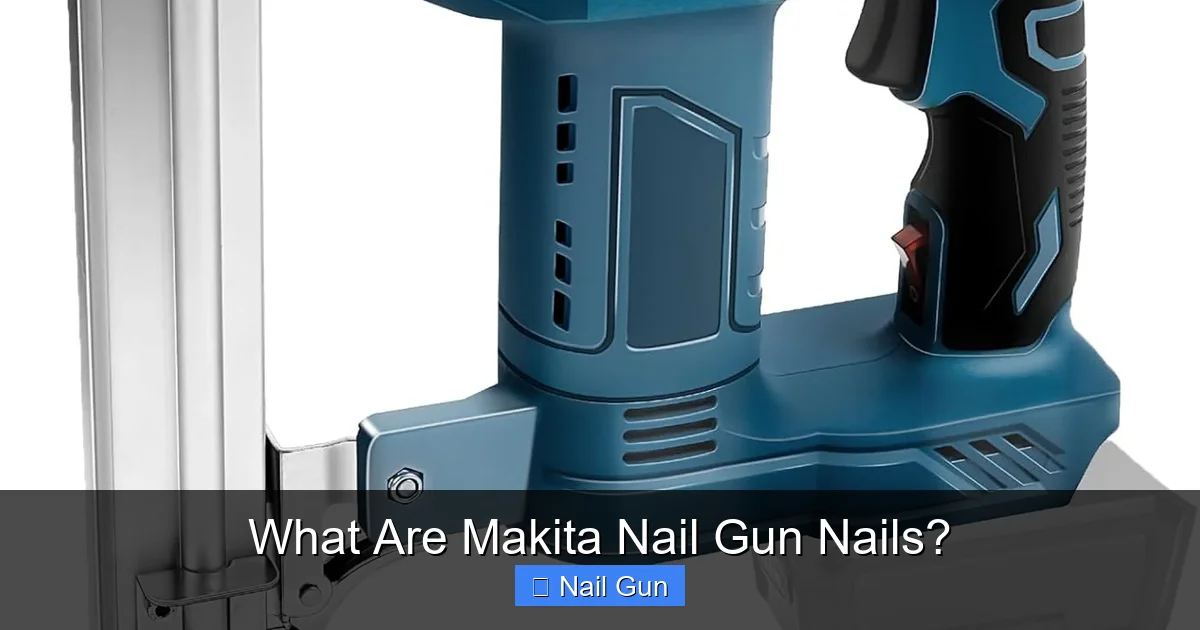
Visual guide about What Are Makita Nail Gun Nails?
Image source: m.media-amazon.com
Using nails specifically made for your nail gun—especially one as high-performing as a Makita—offers several advantages. First and foremost, compatibility is key. Makita designs its nailers with precise feed mechanisms, depth settings, and magazine capacities. Using non-OEM or incompatible nails can lead to jams, misfires, or even damage to the tool.
Makita nail gun nails are manufactured to exact specifications, ensuring consistent performance. They feature uniform dimensions, smooth finishes, and reliable collation (the way nails are held together in a strip or coil). This means fewer interruptions on the job and more time getting work done.
Additionally, Makita nails are built for durability. Whether you’re driving into soft pine or dense hardwoods, these nails are engineered to penetrate cleanly and hold firmly. They resist bending, breaking, and corrosion—especially important in outdoor or high-moisture environments.
Types of Makita Nail Gun Nails
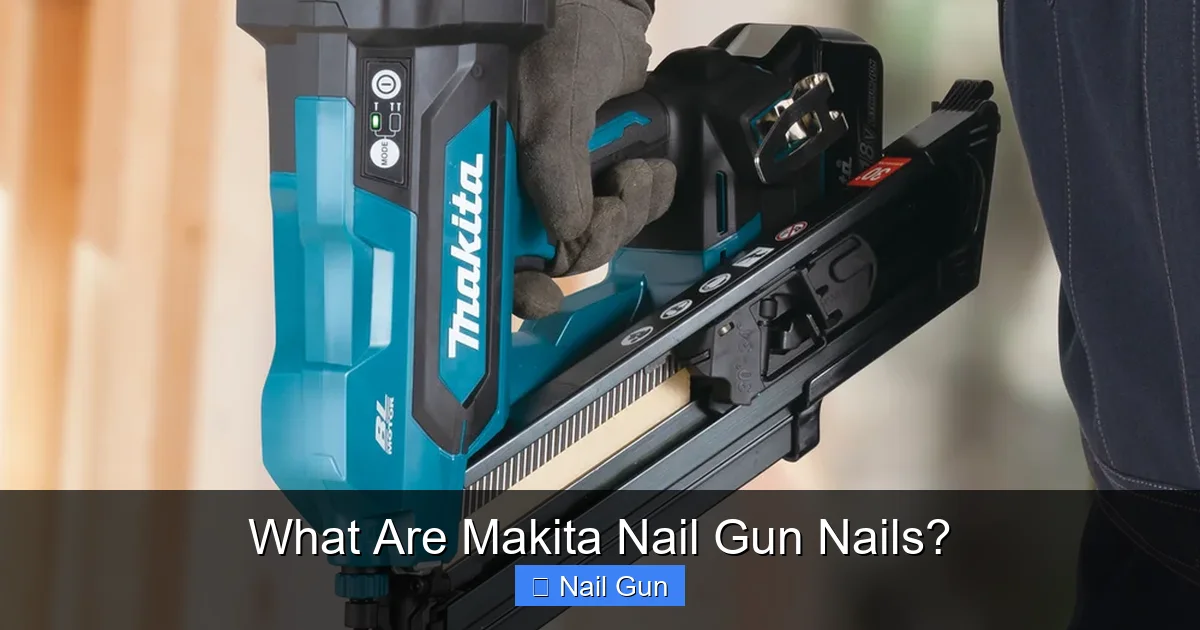
Visual guide about What Are Makita Nail Gun Nails?
Image source: fi.makitamedia.com
Makita offers a wide variety of nail gun nails to match its diverse range of tools. The type you need depends on your nailer model and the job at hand. Here’s a breakdown of the most common types:
Framing Nails
These are heavy-duty nails used for structural work like building walls, decks, and roofs. Makita framing nails typically range from 2 to 3-1/2 inches in length and are 0.113 to 0.131 inches in diameter (10 to 12 gauge). They’re often made from galvanized steel to resist rust and are available in clipped-head or full-round head styles.
Finish Nails
Ideal for trim, molding, cabinetry, and other fine woodworking tasks, finish nails are thinner (usually 15 to 16 gauge) and leave smaller holes. Makita finish nails come in lengths from 1 to 2-1/2 inches and are often coated for better grip and corrosion resistance.
Brad Nails
Even finer than finish nails, brad nails (typically 18 gauge) are used for delicate trim and detail work where visibility of the fastener is a concern. They’re great for attaching thin moldings without splitting the wood.
Roofing Nails
Designed for attaching shingles and roofing felt, Makita roofing nails are usually 7/8 to 1-1/4 inches long with large, flat heads to prevent pull-through. They’re often galvanized or coated for weather resistance.
Staples and Pin Nails
Some Makita nailers also accept staples or headless pin nails (23 gauge) for lightweight applications like upholstery, insulation, or attaching thin veneers.
How to Choose the Right Makita Nail Gun Nails
Selecting the correct nail is crucial for both performance and safety. Here’s a step-by-step guide to help you make the right choice:
Step 1: Check Your Nailer Model
Start by identifying your Makita nail gun model. Look for the model number on the tool’s housing or in the user manual. This will tell you the compatible nail types, gauges, and lengths. For example, the Makita AF635 finish nailer uses 15-gauge nails from 1 to 2-1/2 inches.
Step 2: Match the Gauge and Length
Once you know your tool’s specs, choose nails that match the required gauge and length. Using nails that are too long can jam the magazine; too short, and they won’t hold properly. Always refer to the manufacturer’s recommendations.
Step 3: Consider the Material
For outdoor projects or high-moisture areas, choose galvanized or stainless steel nails to prevent rust. For indoor trim work, standard coated nails are usually sufficient.
Step 4: Check the Collation Type
Makita nailers use different collation systems—paper, plastic, or wire. Make sure the nails you buy match your tool’s collation type. For instance, many Makita coil nailers use wire-collated nails, while strip nailers often use paper or plastic.
Step 5: Buy Genuine or Compatible Brands
While third-party nails may be cheaper, they can compromise performance. Stick with Makita-branded nails or reputable aftermarket brands that meet OEM specifications.
How to Load Makita Nail Gun Nails
Loading nails correctly ensures smooth operation and prevents jams. Here’s how to do it safely and efficiently:
Step 1: Disconnect the Power Source
Always disconnect the air hose (for pneumatic models) or remove the battery (for cordless models) before loading nails.
Step 2: Open the Magazine
Slide or lift the magazine cover according to your nailer’s design. Most Makita nailers have a side-loading or rear-loading mechanism.
Step 3: Insert the Nail Strip or Coil
Place the nail strip into the magazine, ensuring the nails feed in the correct direction. For coil nailers, insert the coil and thread the first few nails into the feed mechanism.
Step 4: Close and Lock the Magazine
Secure the magazine cover and ensure it’s fully latched. Reconnect the power source.
Step 5: Test Fire (Safely)
Aim the nailer away from people and surfaces, then pull the trigger to test the feed. If the nail fires smoothly, you’re ready to work.
Practical Tips for Using Makita Nail Gun Nails
To get the most out of your Makita nail gun and nails, follow these best practices:
- Keep Nails Dry: Store nails in a dry place to prevent rust and feeding issues.
- Clean the Tool Regularly: Dust and debris can build up in the magazine and driver mechanism. Wipe down your nailer after each use.
- Use the Right Air Pressure: For pneumatic models, adjust the PSI according to the nail type and material. Too much pressure can damage the workpiece; too little may result in shallow drives.
- Adjust Depth Settings: Most Makita nailers have depth adjustment dials. Fine-tune this setting to control how deep the nail is driven.
- Wear Safety Gear: Always wear safety glasses and hearing protection when operating a nail gun.
Troubleshooting Common Issues
Even with the right nails, problems can occur. Here’s how to fix common issues:
Nail Jams
If nails jam, disconnect the power, open the magazine, and remove the stuck nail. Check for bent nails or debris. Reload with a fresh strip.
Misfires or Weak Drives
This could be due to low air pressure, worn driver blades, or incorrect nail length. Check your PSI settings and inspect the tool for wear.
Nails Not Feeding
Ensure the magazine spring is functioning and the nail strip is properly seated. Avoid using damaged or rusted nails.
Double Firing
This often happens when the trigger is held down and the nailer cycles too quickly. Use a sequential trigger mode if your model supports it.
Conclusion
Makita nail gun nails are more than just fasteners—they’re a critical part of your tool’s performance and your project’s success. By choosing the right type, gauge, and material, you ensure smooth operation, strong holds, and long-lasting results. Whether you’re a professional contractor or a weekend DIYer, using genuine or high-quality compatible nails will protect your investment in Makita tools and help you work more efficiently and safely.
Remember: the right nail makes all the difference. Take the time to match your nails to your tool and task, and you’ll see the difference in every drive.