
Getting a new cordless drill is exciting, but if your battery isn’t charged properly, it can hold you back before you even start your project. You might wonder how to charge a new battery the right way to make sure it lasts longer and works at its best.
This guide will walk you through simple steps to charge your cordless drill battery safely and effectively. Keep reading to avoid common mistakes and get your tool ready to power through any task.

Credit: www.youtube.com
Choosing The Right Battery
Choosing the right battery for your cordless drill is important. It affects how well your drill works and how long it lasts. Picking the right battery means better power and longer use between charges. Understanding battery types and compatibility helps you make the best choice.
Types Of Batteries For Cordless Drills
Cordless drills use different battery types. The most common are Nickel-Cadmium (NiCd), Nickel-Metal Hydride (NiMH), and Lithium-Ion (Li-ion). NiCd batteries are cheaper but heavier and have memory issues. NiMH batteries hold more charge but lose power faster. Li-ion batteries are light, last longer, and charge quickly.
Li-ion batteries are the best for most users. They provide steady power and are easy to maintain. Choosing the right type depends on your drill and how often you use it.
Battery Compatibility And Specifications
Check your drill’s manual to find the right battery size and voltage. Using a battery not made for your drill can damage the tool or reduce performance. Voltage shows the battery’s power. Higher volts mean more power but shorter battery life.
Capacity, measured in amp-hours (Ah), tells how long the battery lasts. A higher Ah means longer run time. Always match the battery specifications with your drill to get the best results and safety.

Credit: www.amazon.ae
Preparing The Battery For Charging
Preparing the battery for charging is a key step to ensure it works well and lasts long. Taking time to get the battery ready helps avoid damage and improves charging efficiency. Before you plug in the charger, some simple checks and cleaning tasks can make a big difference.
Inspecting The Battery Condition
Start by looking at the battery carefully. Check for cracks, dents, or any signs of damage. A damaged battery can be unsafe and might not charge properly. Also, check for leaks or strange smells. If you notice any issues, do not use the battery. Use a different one or contact the seller.
Look at the battery label. It shows the correct charging voltage and other important information. Using the wrong charger can harm the battery. Make sure your charger matches these details.
Cleaning Battery Contacts
Dirty or corroded contacts stop the battery from charging fully. Use a dry cloth or a soft brush to clean the metal contacts on the battery. Remove any dust, dirt, or residue gently. Avoid using water or cleaning solutions that can cause damage.
Cleaning contacts helps the charger connect well to the battery. This improves the flow of electricity and speeds up charging. Check the contacts on the drill and charger too. Clean them if needed for the best connection.
Selecting The Proper Charger
Selecting the proper charger is key to keeping your cordless drill battery healthy and efficient. Using the right charger ensures fast, safe charging and extends battery life. Chargers vary by type and features, so choose one that matches your battery specifications.
Charger Types And Features
There are several types of chargers for cordless drill batteries. Basic chargers provide steady current and stop charging when full. Fast chargers reduce charging time but need careful use. Smart chargers adjust power to prevent overcharging. Look for chargers with LED indicators to show charging status.
Safety Certifications To Look For
Safety certifications prove a charger meets quality standards. Look for marks like UL, CE, or FCC on the charger label. These certifications show the charger passed safety tests for electrical hazards. A certified charger reduces risks of fire, overheating, or damage to the battery.
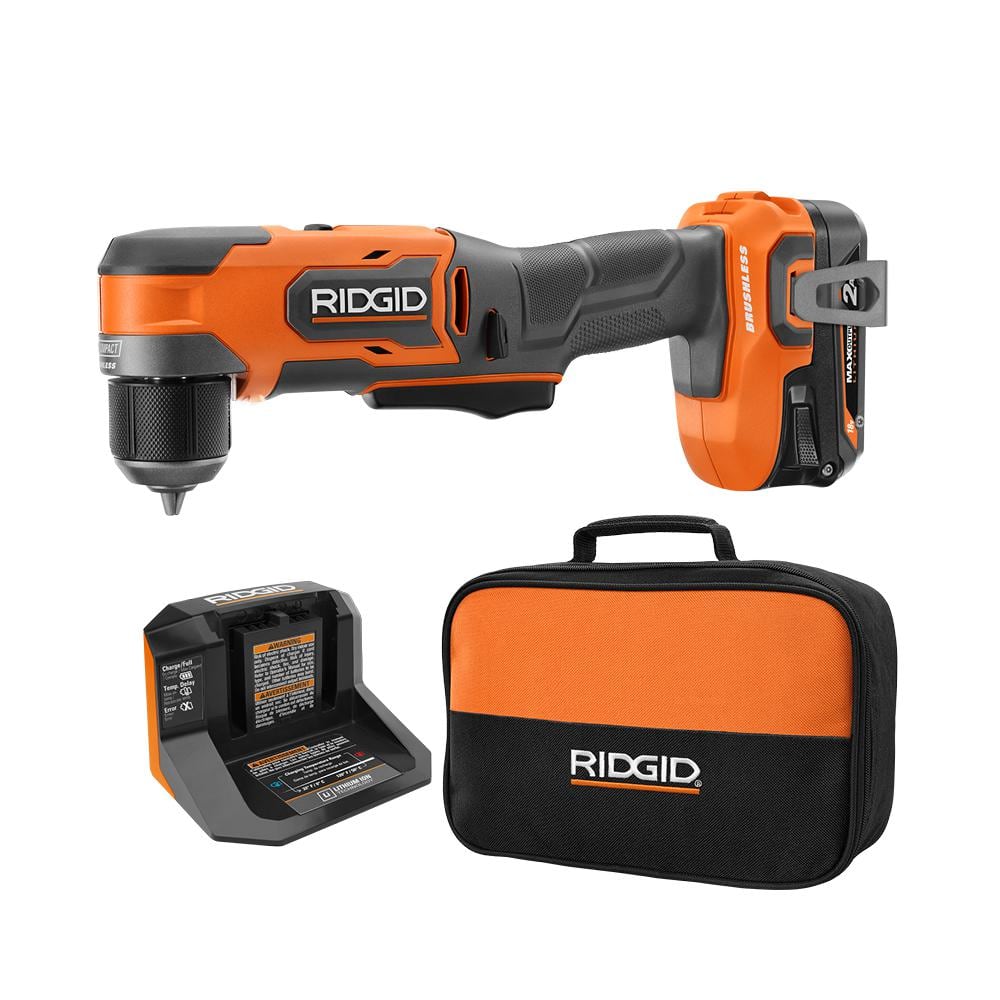
Credit: powertools.ridgid.com
Charging Process Steps
Charging a new battery for a cordless drill is a simple process. Following the right steps helps keep the battery healthy and ready for use. This section explains how to charge your battery safely and effectively.
Connecting Battery To Charger
First, align the battery with the charger slots. Slide the battery in gently until it clicks. Check that it fits snugly and does not wobble. Use the charger that came with your drill. Avoid forcing the battery into the charger.
Optimal Charging Environment
Place the charger on a flat, dry surface. Keep it away from direct sunlight and heat sources. Charge the battery in a cool room, ideally between 50°F and 77°F (10°C to 25°C). Avoid charging near water or damp areas. Proper environment helps the battery last longer.
Monitoring Charging Progress
Look at the charger’s indicator lights. A red light usually means charging is in progress. A green light means the battery is fully charged. Do not remove the battery until charging completes. Unplug the charger after use to save energy and protect the battery.
Battery Maintenance Tips
Proper battery care keeps your cordless drill ready for use. Good maintenance helps batteries last longer. It also ensures better performance every time you use the drill.
Avoiding Overcharging
Stop charging once the battery is full. Overcharging can reduce battery life. Use a charger with an automatic shut-off feature. Unplug the charger after the battery reaches 100%.
Storing Batteries Correctly
Store batteries in a cool, dry place. Avoid extreme heat or cold. Remove batteries from the drill when not in use. Keep them away from metal objects to prevent short circuits.
Extending Battery Lifespan
Charge batteries regularly, even if not in use. Avoid fully draining the battery before charging. Use the battery often to keep it active. Clean battery contacts to ensure good connection.
Troubleshooting Charging Issues
Troubleshooting charging issues is key to keeping your cordless drill ready to use. Sometimes, the battery does not charge as expected. This can cause delays and frustration. Identifying the problem early helps you fix it quickly. The following tips guide you through common charging problems and when to replace the battery.
Common Charging Problems
One common issue is a loose connection between the charger and battery. Check if the battery fits snugly in the charger. Dirt or dust can block the charging contacts. Clean them gently with a dry cloth.
Another problem is a faulty charger. Test the charger with another battery if possible. If it does not work, the charger may need replacement. Also, extreme temperatures can affect charging. Charge the battery at room temperature for best results.
When To Replace The Battery
Batteries lose capacity over time. If your battery drains quickly, it might be time for a new one. Swelling or leaking batteries are dangerous and should be replaced immediately. Frequent charging without full power recovery signals battery wear.
Use a multimeter to check battery voltage. Low voltage after a full charge means the battery is weak. Replacing the battery ensures your cordless drill works efficiently and safely.
Frequently Asked Questions
How Long To Charge A New Cordless Drill Battery?
A new cordless drill battery typically needs 3-5 hours to fully charge. Always follow the manufacturer’s instructions for best results and battery longevity.
Can I Use The Drill While Charging The Battery?
Most cordless drills do not allow use while charging. Using it during charging may damage the battery or charger, so avoid doing this.
Should I Fully Charge The Battery Before First Use?
Yes, fully charging the battery before first use ensures maximum capacity and extends the battery’s overall lifespan.
How To Know When The Battery Is Fully Charged?
Most chargers have indicator lights that turn green or off when charging is complete. Check your charger’s manual for specific signals.
Conclusion
Charging a new cordless drill battery is simple and important. Start with a full charge before use. Always follow the charger’s instructions carefully. Avoid overcharging to keep the battery healthy. Regular charging helps the battery last longer. Keep the battery and charger in a cool place.
With proper care, your drill stays ready for any job. Easy steps bring better results and longer battery life. Now, you can charge your drill battery with confidence.