

This guide teaches you how to use a nail gun for trim safely and effectively. You’ll learn setup, technique, and common mistakes to avoid for clean, professional results.
Key Takeaways
- Choose the right nail gun: Finish nailers (15- or 16-gauge) are ideal for trim work due to their precision and minimal surface damage.
- Use proper nails: Select nails that are 1.5 to 2.5 inches long, matching the thickness of your trim material.
- Wear safety gear: Always wear safety glasses and hearing protection to prevent injury from flying debris or loud noise.
- Maintain consistent angle and pressure: Hold the nail gun at a 90-degree angle and apply firm, even pressure for clean drives.
- Work in sections: Tack trim in place first, then secure fully to prevent warping or misalignment.
- Check air pressure: Adjust PSI based on material—typically 70–120 PSI for most trim applications.
- Practice on scrap wood: Test your technique before starting on visible areas to avoid mistakes.
How to Use a Nail Gun for Trim: A Complete Step-by-Step Guide
If you’re tackling baseboards, crown molding, door casings, or window trim, using a nail gun can save you hours of time and deliver a cleaner, more professional finish than hand-nailing. But if you’re new to power tools, the idea of using a nail gun might feel intimidating. Don’t worry—this guide will walk you through how to use a nail gun for trim safely, efficiently, and with confidence.
Whether you’re a DIY enthusiast or a weekend warrior, mastering the nail gun will elevate your woodworking and home improvement projects. In this guide, you’ll learn everything from choosing the right tool to troubleshooting common issues—so you can get flawless results every time.
Step 1: Choose the Right Nail Gun
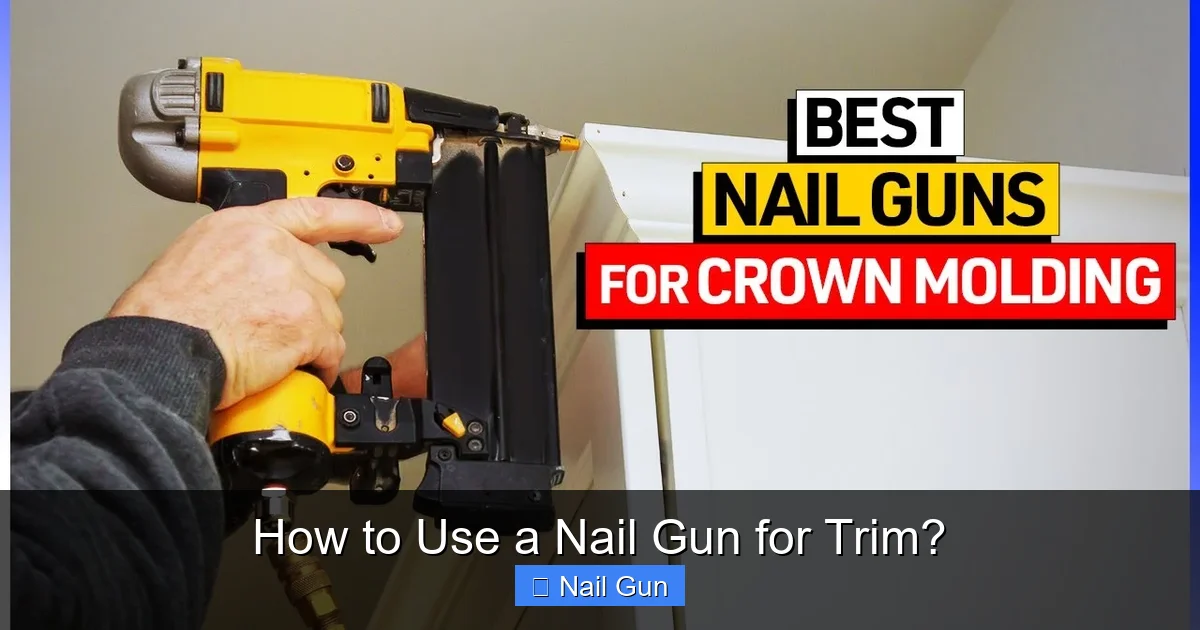
Visual guide about How to Use a Nail Gun for Trim?
Image source: i.ytimg.com
Not all nail guns are created equal. For trim work, you’ll want a finish nailer, not a framing or brad nailer.
Why a Finish Nailer?
Finish nailers use 15- or 16-gauge nails, which are strong enough to hold trim securely but leave smaller holes than framing nails. This means less filling and sanding later. A 15-gauge nailer offers slightly more holding power, while a 16-gauge is lighter and leaves even smaller holes—ideal for delicate trim.
Brad Nailer vs. Finish Nailer
Brad nailers (18-gauge) are great for very thin trim or temporary holds, but they may not provide enough grip for heavier moldings. For most trim jobs, a finish nailer is the best balance of strength and precision.
Corded vs. Cordless
Corded models offer consistent power but require an air compressor and hose. Cordless (battery-powered) nailers are more convenient and portable, making them perfect for tight spaces or jobs without easy access to electricity.
Step 2: Gather Your Tools and Materials
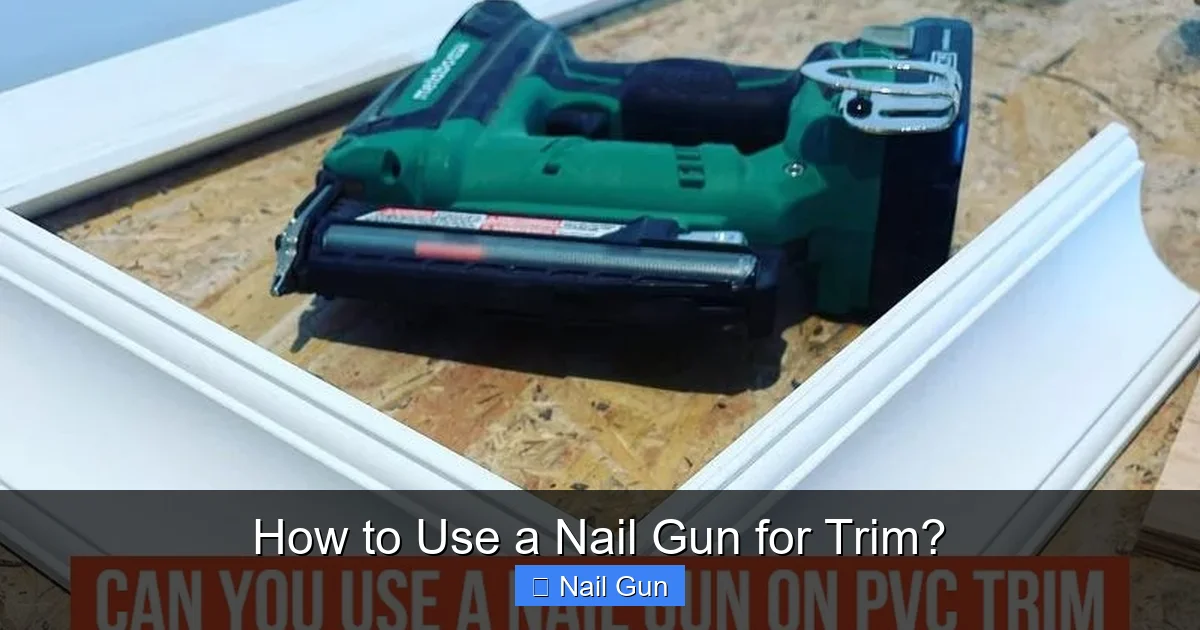
Visual guide about How to Use a Nail Gun for Trim?
Image source: ownthetools.com
Before you start, make sure you have everything you need:
- Nail gun (finish nailer)
- Air compressor (if using pneumatic)
- Air hose and fittings
- Appropriate nails (1.5″ to 2.5″ 15- or 16-gauge)
- Safety glasses and ear protection
- Trim pieces (baseboard, casing, etc.)
- Measuring tape and pencil
- Level and square
- Caulk and wood filler (for finishing)
- Hammer and nail set (backup tools)
Having the right tools on hand prevents frustrating mid-project trips to the hardware store.
Step 3: Prepare the Work Area
Safety and preparation go hand in hand.
Clear the Space
Remove furniture, rugs, or obstacles from the area. Trim work often involves long pieces, so you’ll need room to move.
Check Walls and Floors
Look for uneven surfaces, baseboard gaps, or damaged drywall. Trim sits flush against walls and floors, so any irregularities will show. Use shims or caulk to fill small gaps later.
Measure and Cut Trim
Measure each wall and cut your trim to size using a miter saw. For inside corners, use a 45-degree miter cut. For outside corners, do the same—but test-fit first, as walls aren’t always perfectly square.
Step 4: Load the Nail Gun
Now it’s time to get your nail gun ready.
Check the Manual
Every nail gun is slightly different. Always refer to the manufacturer’s instructions for loading and safety procedures.
Load the Nails
Open the magazine (usually by pulling a latch or sliding a cover). Insert the nail strip with the pointed ends facing down and the heads toward the front. Close the magazine securely.
Connect the Air Compressor (If Applicable)
Attach the air hose to the nail gun and compressor. Turn on the compressor and let it build pressure. Most finish nailers work best between 70 and 120 PSI—check your tool’s specs.
Test Fire (Safely)
Point the nail gun at a scrap piece of wood and pull the trigger. Make sure it drives nails cleanly. Adjust PSI if nails are under- or over-driven.
Step 5: Position and Secure the Trim
This is where the real work begins.
Hold the Trim in Place
Press the trim firmly against the wall and floor. Use a level to ensure it’s straight—especially important for crown molding or long baseboards.
Tack It First
Drive one or two nails partway into the trim to hold it in position. This lets you adjust before fully securing it.
Nail Strategically
Drive nails into the wall studs or framing behind the trim—not just the drywall. Studs are typically 16 or 24 inches apart. Use a stud finder if needed.
Spacing Matters
Place nails every 12 to 16 inches along the length of the trim. For corners, nail within 2–3 inches of each end to prevent gaps.
Angle and Pressure
Hold the nail gun at a 90-degree angle to the trim. Apply firm, even pressure—don’t “float” the tool. Let the gun do the work; forcing it can cause jams or misfires.
Step 6: Drive Nails Properly
Proper nailing technique prevents damage and ensures a clean finish.
Use the Right Depth
Most nail guns have a depth adjustment. Set it so nails are driven just below the surface—deep enough to hold, but not so deep they split the wood.
Avoid Overdriving
If nails are sinking too deep, reduce air pressure or adjust the depth setting. Overdriven nails weaken the hold and require more filler.
Prevent Splitting
On thin or delicate trim, pre-drill pilot holes near ends or corners. Or, angle the nail slightly (toe-nailing) to reduce stress on the wood.
Step 7: Finish the Job
Once all trim is nailed in place, it’s time for the final touches.
Fill Nail Holes
Use wood filler or spackling to fill the small holes. Let it dry, then sand smooth with fine-grit sandpaper.
Caulk the Seams
Apply a thin bead of paintable caulk along the top edge (where trim meets the wall) and bottom edge (where it meets the floor). Smooth with a damp finger or caulk tool for a seamless look.
Paint or Stain
Once filler and caulk are dry, paint or stain the trim to match your decor. Use a brush for edges and a roller for flat surfaces.
Troubleshooting Common Issues
Even experienced users run into problems. Here’s how to fix the most common ones.
Nails Not Driving Fully
- Check air pressure—increase PSI if too low.
- Ensure nails are the correct size and properly loaded.
- Clean the driver blade if debris is blocking it.
Double Firing or Jamming
- Use only manufacturer-recommended nails.
- Don’t press the trigger and safety tip simultaneously too hard.
- Clear jams by disconnecting the air supply and opening the magazine.
Splitting the Trim
- Pre-drill holes in hardwoods or near ends.
- Use shorter nails for thinner trim.
- Avoid nailing too close to the edge.
Air Leaks or Weak Fires
- Check hose connections for tightness.
- Inspect O-rings and seals for wear.
- Ensure the compressor is maintaining proper pressure.
Safety Tips You Can’t Ignore
Using a nail gun is fast and efficient—but only if you stay safe.
- Always wear safety glasses. Flying wood chips or metal fragments can cause serious eye injury.
- Use hearing protection. Nail guns are loud, especially in enclosed spaces.
- Keep fingers away from the trigger. Only place your finger on the trigger when the gun is aimed at the workpiece.
- Disconnect the air supply when loading nails, clearing jams, or stepping away.
- Never point the gun at anyone—even as a joke. Accidental discharges happen.
Final Thoughts
Learning how to use a nail gun for trim might seem daunting at first, but with the right preparation and technique, it becomes second nature. The key is to choose the right tool, work methodically, and prioritize safety. Once you master the basics, you’ll wonder how you ever lived without it.
A nail gun doesn’t just save time—it delivers consistent, professional results that are hard to achieve with a hammer. Whether you’re updating your baseboards or installing custom crown molding, this tool will make your project faster, easier, and more enjoyable.
So grab your finish nailer, load up those nails, and get to work. With practice, you’ll be trimming like a pro in no time.