
A Milwaukee nail gun is a high-performance power tool designed for fast, precise fastening in construction and woodworking. This guide explains how it works, key features, and how to choose the right model for your needs.
Key Takeaways
- What it is: A Milwaukee nail gun is a pneumatic, cordless, or electric tool that drives nails into materials like wood, drywall, or metal using compressed air, battery power, or electricity.
- Top performance: Known for durability, power, and innovation, Milwaukee nail guns are trusted by professionals for demanding jobs.
- Types available: Includes framing, finish, brad, roofing, and stapler nail guns—each suited for specific tasks.
- Cordless convenience: Many models use Milwaukee’s M18 or M12 battery systems for portability and freedom from hoses.
- Safety first: Always wear safety gear, inspect the tool before use, and follow manufacturer guidelines to prevent accidents.
- Easy maintenance: Regular cleaning, lubrication, and proper storage extend the tool’s life and performance.
- Best for pros and DIYers: Whether you’re building a deck or installing trim, Milwaukee offers reliable nail guns for every skill level.
What Is a Milwaukee Nail Gun?
If you’re into woodworking, construction, or home improvement, you’ve probably heard of a Milwaukee nail gun. But what exactly is it, and why do so many professionals swear by it? Simply put, a Milwaukee nail gun is a powerful, precision-driven tool that shoots nails into various materials with speed and accuracy. Whether you’re framing a house, installing trim, or building furniture, this tool can save you hours of manual labor.
Unlike traditional hammers, Milwaukee nail guns use advanced technology—like compressed air, electricity, or rechargeable batteries—to drive nails quickly and consistently. Milwaukee, a leading brand in power tools, designs these nail guns to be durable, efficient, and user-friendly. Their tools are built for both heavy-duty job sites and weekend DIY projects.
In this guide, you’ll learn everything you need to know about Milwaukee nail guns: how they work, the different types available, how to use them safely, and tips for choosing the best one for your needs. By the end, you’ll feel confident picking the right tool and using it like a pro.
How Does a Milwaukee Nail Gun Work?
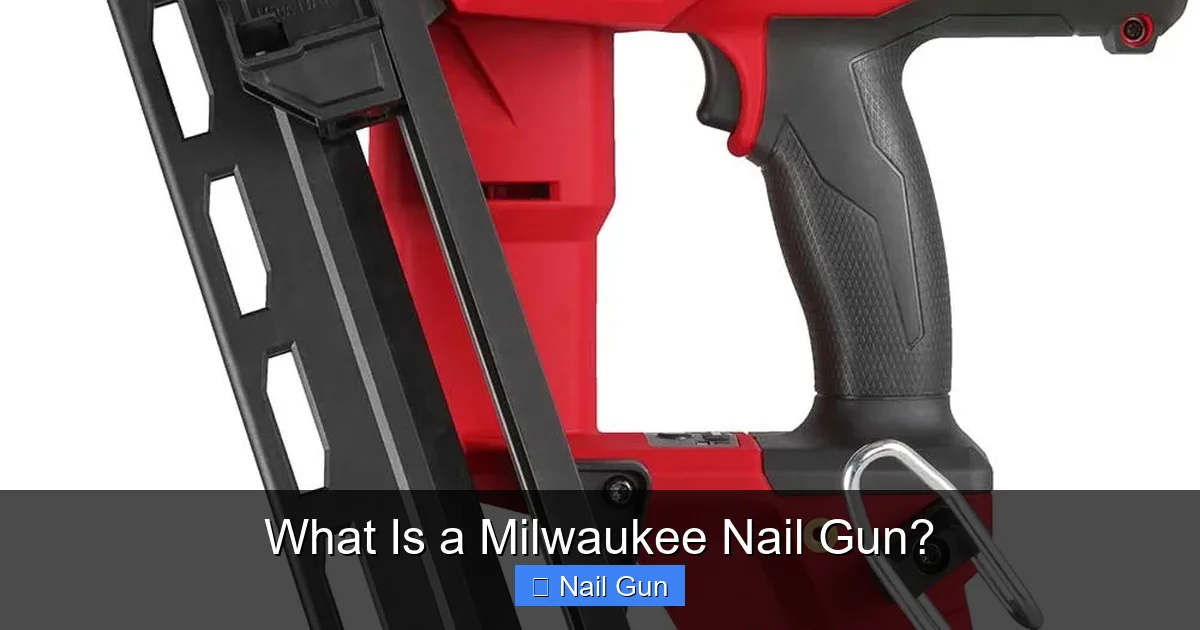
Visual guide about What Is a Milwaukee Nail Gun?
Image source: tooled-up.com
Understanding how a Milwaukee nail gun operates helps you use it more effectively and safely. While the exact mechanism depends on the model, most work on one of three power sources: pneumatic (air-powered), corded electric, or cordless (battery-powered).
Pneumatic Nail Guns
These models use compressed air from an air compressor to drive nails. When you pull the trigger, air pressure forces a piston forward, which strikes the nail and drives it into the material. Pneumatic nail guns are powerful and ideal for heavy-duty tasks like framing or roofing. They’re lightweight and offer consistent performance, but you’ll need a compressor and hose, which can limit mobility.
Cordless Nail Guns
Milwaukee’s cordless nail guns are powered by their popular M18 or M12 lithium-ion battery systems. These tools use a combination of gas and electric power—some models feature a small gas cartridge that ignites to create a burst of energy, driving the nail. Others use brushless motors for efficient, battery-powered operation. Cordless models are perfect for jobs where outlets or compressors aren’t available, offering freedom and flexibility.
Electric Nail Guns
Corded electric models plug into a standard outlet and use an electric motor to drive nails. They’re quieter than pneumatic tools and don’t require batteries or gas, but the cord can be a hassle on large job sites.
No matter the type, Milwaukee nail guns are designed for precision. Most feature adjustable depth settings, so you can control how deep the nail goes. This prevents overdriving or underdriving, ensuring a clean, professional finish every time.
Types of Milwaukee Nail Guns
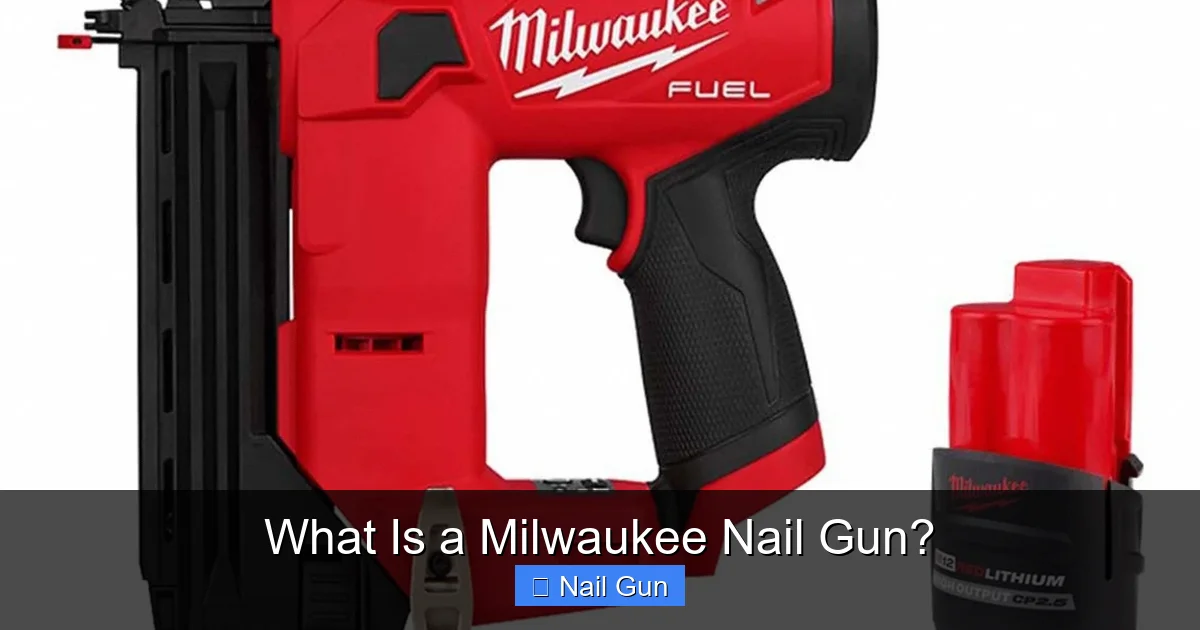
Visual guide about What Is a Milwaukee Nail Gun?
Image source: static.grainger.com
Milwaukee offers a wide range of nail guns, each built for specific tasks. Choosing the right one depends on your project. Here are the most common types:
Framing Nail Guns
These heavy-duty tools are used for structural work like building walls, decks, or framing houses. They drive large nails (usually 2 to 3.5 inches) into thick wood. Milwaukee’s cordless framing nailers, like the M18 Fuel model, are powerful enough for professional use but easy to handle.
Finish Nail Guns
Ideal for trim, molding, and cabinetry, finish nailers use smaller nails (15- to 16-gauge) that leave tiny holes. They’re perfect for detailed work where appearance matters. Milwaukee’s finish nailers are known for their precision and smooth operation.
Brad Nail Guns
Even smaller than finish nailers, brad nailers use 18-gauge nails for delicate tasks like attaching thin moldings or securing lightweight trim. They leave almost invisible holes and are great for finishing touches.
Roofing Nail Guns
Designed for roofing projects, these tools drive coil nails into shingles and underlayment. They’re durable and built to handle outdoor conditions. Milwaukee’s roofing nailers are fast and reliable, making them a favorite among roofers.
Staple Guns
While not technically nail guns, Milwaukee staple guns serve a similar purpose—fastening materials like insulation, fabric, or wire. They’re versatile and often used in upholstery or electrical work.
How to Use a Milwaukee Nail Gun Safely
Safety should always come first when using any power tool. Milwaukee nail guns are powerful and can cause injury if not used correctly. Follow these steps to stay safe:
Wear Proper Safety Gear
Always wear safety glasses to protect your eyes from flying debris. Hearing protection is also recommended, especially with loud pneumatic models. Gloves can improve grip and protect your hands.
Inspect the Tool Before Use
Check for damage, loose parts, or jammed nails. Make sure the battery is charged (for cordless models) or the air compressor is properly connected (for pneumatic models).
Keep Your Hands Clear
Never place your hands near the nail exit point. Always keep your fingers away from the trigger when not actively nailing.
Use the Right Nails
Only use nails recommended by Milwaukee for your specific model. Using the wrong size or type can cause jams or damage the tool.
Store Safely
When not in use, store the nail gun in a dry, secure place. Remove the battery or disconnect the air hose to prevent accidental firing.
Step-by-Step: How to Use a Milwaukee Nail Gun
Ready to get started? Here’s a simple guide to using your Milwaukee nail gun:
Step 1: Prepare the Tool
Charge the battery (if cordless) or connect the air hose (if pneumatic). Load the correct nails into the magazine. Make sure the depth setting is adjusted for your material.
Step 2: Position the Nail Gun
Hold the tool firmly with both hands. Place the nose of the gun flat against the workpiece at the desired nailing point.
Step 3: Fire the Nail
Press the nose firmly against the surface, then pull the trigger. The nail will be driven into the material. Release the trigger and move to the next spot.
Step 4: Adjust as Needed
If nails are too deep or too shallow, adjust the depth setting and test on a scrap piece of wood.
Step 5: Maintain the Tool
After use, clean the magazine and nose area. Lubricate pneumatic models with a few drops of oil. Store properly.
Troubleshooting Common Issues
Even the best tools can have problems. Here’s how to fix common Milwaukee nail gun issues:
Jammed Nails
Turn off the tool and remove the battery or air supply. Open the magazine and carefully remove the jammed nail. Check for bent or damaged nails.
Weak or Incomplete Drives
This could be due to low battery, low air pressure, or incorrect depth settings. Recharge the battery or increase air pressure. Adjust the depth control.
Double Firing
This happens when the trigger is pulled too quickly. Slow down and allow the tool to reset between shots. Check the trigger mechanism for wear.
Air Leaks (Pneumatic Models)
Inspect hoses and connections for cracks or loose fittings. Replace damaged parts immediately.
Tips for Choosing the Right Milwaukee Nail Gun
With so many options, picking the right nail gun can be overwhelming. Here’s what to consider:
Project Type
Match the tool to your work. Framing? Get a framing nailer. Installing trim? A finish or brad nailer is better.
Power Source
Cordless models offer mobility. Pneumatic models offer power. Choose based on your job site needs.
Battery Compatibility
If you already own Milwaukee tools, pick a nail gun that uses the same battery system (M18 or M12) to save money and simplify charging.
Weight and Ergonomics
Try holding the tool. A comfortable grip reduces fatigue during long projects.
Warranty and Support
Milwaukee offers strong warranties and customer support. Check the terms before buying.
Conclusion
A Milwaukee nail gun is more than just a tool—it’s a game-changer for anyone who works with wood or builds structures. From framing to finishing, these tools deliver speed, precision, and reliability. Whether you’re a contractor or a DIY enthusiast, investing in a Milwaukee nail gun can save you time and improve your results.
Remember to choose the right type for your project, use it safely, and maintain it regularly. With the right care, your Milwaukee nail gun will last for years and handle countless jobs. So go ahead—power up, nail it right, and build with confidence.