
A finish nail gun is designed for precision woodworking tasks like installing trim, molding, and cabinetry. It drives small-gauge nails that leave minimal marks, making it ideal for visible, finished surfaces.
Key Takeaways
- Primary Use: Finish nail guns are used for attaching trim, baseboards, crown molding, and other decorative woodwork without splitting delicate materials.
- Nail Size: They use 15- or 16-gauge nails, which are thicker than brad nails but still leave small holes that are easy to conceal.
- Clean Finish: The tool creates nearly invisible nail holes, reducing the need for extensive filling or sanding.
- Versatility: Ideal for cabinetry, furniture assembly, paneling, and detailed carpentry projects.
- Types Available: Choose from pneumatic, cordless (battery-powered), and electric models based on your workspace and power needs.
- Safety First: Always wear safety glasses and follow manufacturer guidelines to prevent injury.
- Proper Technique: Hold the gun perpendicular to the surface and avoid overdriving nails to maintain a professional look.
What Is a Finish Nail Gun Used For?
If you’ve ever admired the clean lines of crown molding, the seamless joints in custom cabinetry, or the polished look of a hardwood floor transition, chances are a finish nail gun was behind that professional finish. But what exactly is a finish nail gun used for? In this guide, we’ll walk you through everything you need to know—from its core functions and ideal applications to how to use it safely and effectively.
Whether you’re a DIY enthusiast tackling a home renovation or a professional carpenter working on high-end trim, understanding the role of a finish nail gun can save you time, improve your results, and elevate the quality of your work. We’ll cover the types of projects it’s best suited for, how it differs from other nail guns, and step-by-step instructions to help you get started.
Understanding the Finish Nail Gun
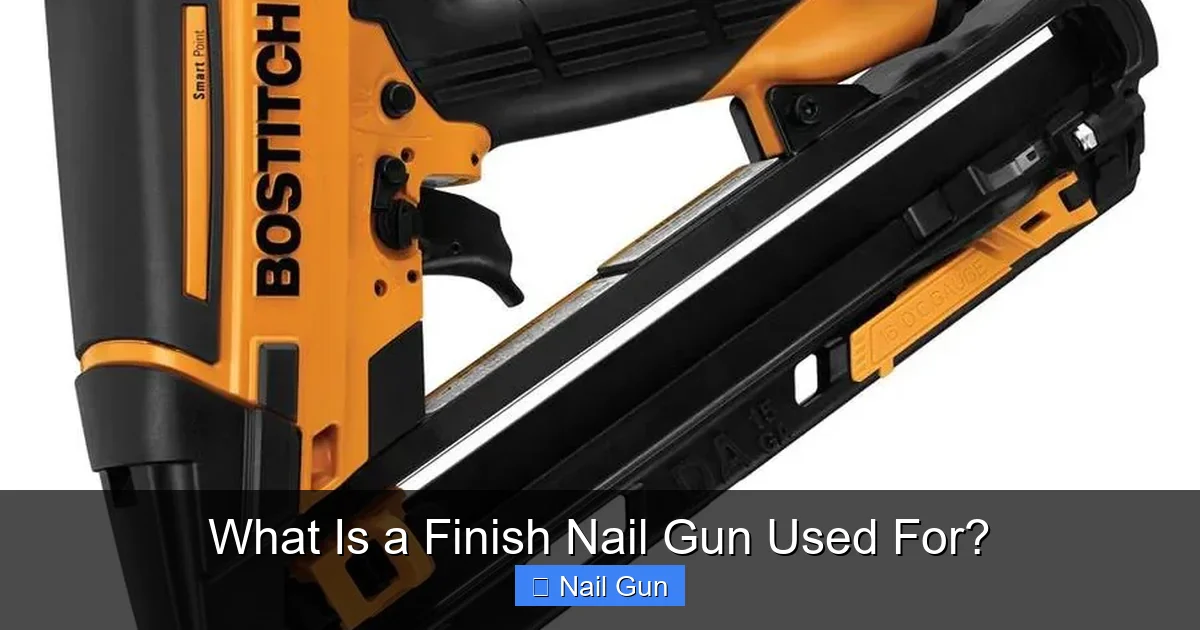
Visual guide about What Is a Finish Nail Gun Used For?
Image source: mobileimages.lowes.com
A finish nail gun is a specialized power tool designed to drive small, thick nails—typically 15- or 16-gauge—into wood without causing splits or visible damage. Unlike framing nailers that use large, rugged nails for structural work, finish nailers are built for precision and aesthetics.
These tools are commonly used in finishing carpentry, where appearance matters as much as strength. The nails they fire are strong enough to hold trim and moldings securely but small enough to leave only tiny holes that can be easily filled with wood putty and touched up with paint or stain.
How It Works
Most finish nail guns operate using compressed air (pneumatic), battery power (cordless), or electricity. When the trigger is pulled, the tool drives a nail into the material with consistent force. Many models feature adjustable depth settings, allowing you to control how deeply the nail is driven—critical for achieving a flush finish without damaging the surface.
Key Features to Look For
- Depth Adjustment: Lets you customize how far the nail goes in, preventing overdriving or underdriving.
- No-Mar Tip: Protects delicate surfaces from scratches or dents during use.
- Sequential vs. Contact Trigger: Sequential firing is safer and more precise; contact firing allows rapid nailing but requires caution.
- Magazine Capacity: Holds multiple nails for fewer reloads—look for models with 100+ nail capacity.
Common Uses and Applications
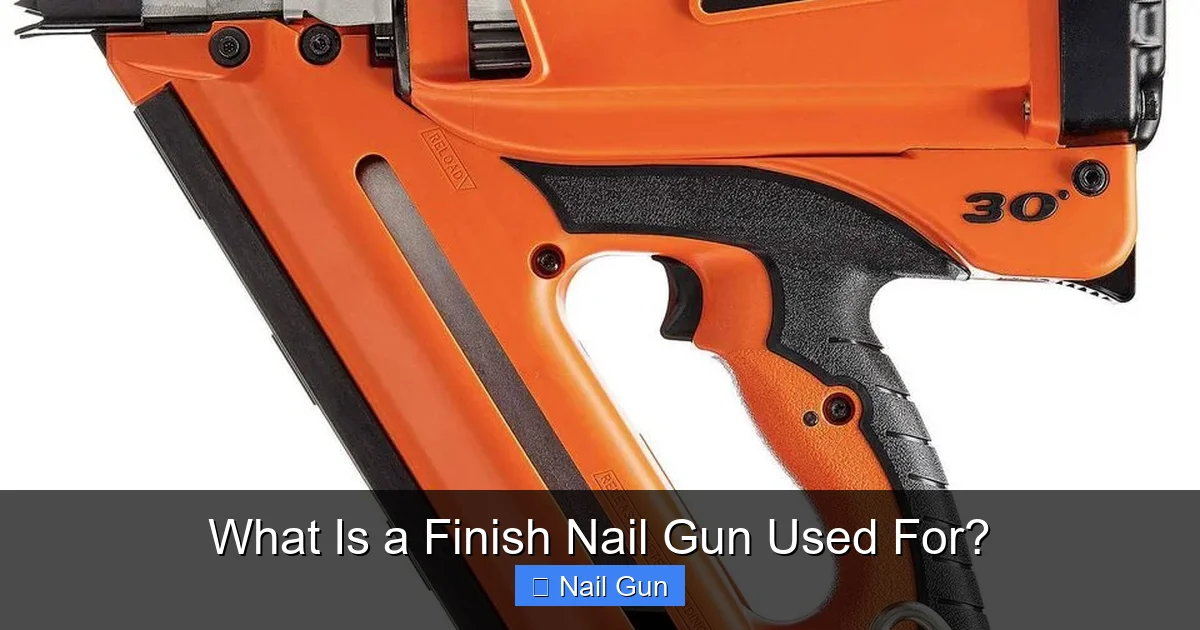
Visual guide about What Is a Finish Nail Gun Used For?
Image source: thespruce.com
The finish nail gun shines in projects where strength and subtlety are both important. Here are the most common uses:
Installing Trim and Molding
Baseboards, door casings, window trim, and crown molding are the bread and butter of finish nail gun use. These materials are often made of softwood or MDF, which can split easily with hand-nailing. A finish nailer drives nails cleanly and quickly, securing trim without marring the surface.
For example, when installing crown molding, a finish nailer allows you to tack pieces in place at precise angles, then secure them firmly to both the wall and ceiling. The small nail heads are easily hidden with a dab of spackle and a coat of paint.
Cabinetry and Furniture Assembly
Custom cabinets, bookshelves, and built-in units rely on strong, discreet joints. A finish nail gun can fasten face frames, attach back panels, and secure decorative edging. Because the nails are strong yet subtle, they provide structural support without compromising the clean look of finished furniture.
Many woodworkers also use finish nailers for attaching veneers or edge banding, where a seamless appearance is essential.
Paneling and Wainscoting
When installing wood paneling or wainscoting, a finish nailer ensures each panel is held firmly in place without visible fasteners. The nails are driven at an angle (toe-nailing) or directly into the studs, depending on the design. The result is a smooth, professional surface ready for finishing.
Hardwood Floor Transitions
Transition strips between hardwood and tile or carpet are often secured with finish nails. These small strips need to be firmly attached but shouldn’t show obvious nail holes. A finish nailer makes this job quick and clean.
Decorative Woodwork
From picture frames to ornate ceiling medallions, a finish nail gun is perfect for delicate decorative elements. It allows for precise placement and minimal damage, preserving the integrity of intricate designs.
Choosing the Right Finish Nail Gun
Not all finish nailers are created equal. Your choice depends on your project needs, workspace, and personal preferences.
Pneumatic Finish Nailers
Powered by an air compressor, pneumatic models are the most common and affordable. They’re lightweight, durable, and offer consistent power. However, they require an air hose and compressor, which can limit mobility.
Best for: Professional contractors and workshop use.
Cordless (Battery-Powered) Finish Nailers
These offer the convenience of portability without sacrificing power. Modern lithium-ion batteries provide long run times and fast recharging. Many cordless models now match the performance of pneumatic tools.
Best for: Job sites without easy access to power or air, and DIYers who value flexibility.
Electric Finish Nailers
Less common, electric models plug into standard outlets. They’re quieter and don’t require fuel or batteries, but the cord can be limiting.
Best for: Indoor projects with nearby power sources.
Nail Gauge and Length
Most finish nailers use 15- or 16-gauge nails. 15-gauge nails are slightly thicker and stronger, ideal for heavy trim. 16-gauge nails are thinner and better for lighter materials or when you want even smaller holes.
Nail length typically ranges from 1 to 2.5 inches. Choose based on the thickness of the material you’re fastening—longer nails provide more holding power.
Step-by-Step Guide: How to Use a Finish Nail Gun
Using a finish nail gun is straightforward once you understand the basics. Follow these steps for safe, effective results.
Step 1: Prepare Your Workspace
Clear the area of clutter and ensure good lighting. Secure the workpiece with clamps if needed. Wear safety glasses and hearing protection, especially with pneumatic models.
Step 2: Load the Nails
Open the magazine and insert a strip of compatible nails. Make sure they’re facing the correct direction (usually pointed end first). Close the magazine securely.
Step 3: Adjust the Depth
Use the depth adjustment wheel or dial to set how deeply the nail will be driven. Start with a shallow setting and test on scrap wood. Adjust until the nail sits just below the surface.
Step 4: Position the Nailer
Hold the nail gun perpendicular to the surface. Press the nose firmly against the wood before pulling the trigger. This prevents the tool from bouncing or misfiring.
Step 5: Fire the Nail
Squeeze the trigger smoothly. For sequential firing, release the trigger and reposition for each nail. For contact firing, hold the trigger and move the gun along the workpiece—use with caution.
Step 6: Fill and Finish
After nailing, fill the small holes with wood filler or spackle. Let it dry, then sand lightly and paint or stain as needed.
Tips for Professional Results
- Use a Nail Set: For final adjustments, gently tap nails below the surface with a nail set and hammer.
- Stagger Nails: When attaching long trim pieces, stagger nail placement to prevent warping.
- Pre-Drill if Necessary: On very hard or brittle wood, a small pilot hole can prevent splitting.
- Keep the Tool Clean: Regularly clear dust and debris from the magazine and exhaust port.
- Practice on Scrap Wood: Especially when learning, test your technique and depth settings before working on the final piece.
Troubleshooting Common Issues
Even experienced users run into problems. Here’s how to fix the most common issues:
Misfires or Jams
Cause: Dirt, bent nails, or low air pressure (for pneumatic models).
Solution: Clear the magazine, check nail alignment, and ensure proper air pressure (usually 70–120 PSI).
Overdriving Nails
Cause: Depth setting too deep or excessive force.
Solution: Reduce depth setting and let the tool do the work—don’t push down hard.
Underdriving Nails
Cause: Depth too shallow or low power.
Solution: Increase depth or check battery/air pressure.
Splitting Wood
Cause: Nails too large or too close to the edge.
Solution: Use smaller nails, pre-drill, or move nails farther from the edge.
Safety Best Practices
Finish nail guns are powerful tools and must be treated with respect.
- Always wear safety glasses and hearing protection.
- Never point the tool at yourself or others.
- Disconnect air or remove the battery when loading or clearing jams.
- Keep fingers away from the firing area.
- Store the tool unloaded and in a secure location.
Conclusion
A finish nail gun is an indispensable tool for anyone serious about woodworking, carpentry, or home improvement. Its ability to deliver strong, nearly invisible fasteners makes it perfect for trim, cabinetry, paneling, and decorative projects where appearance matters.
By understanding what a finish nail gun is used for—and how to use it properly—you can achieve professional-quality results with less effort and frustration. Whether you choose a pneumatic, cordless, or electric model, investing in a good finish nailer will pay off in cleaner lines, faster work, and a more polished final product.
With the right technique, safety habits, and a bit of practice, you’ll wonder how you ever managed without one.