
Setting up an air pump for your aquarium is simple and essential for your fish’s health. This guide walks you through selecting the right pump, installing it correctly, and maintaining it for optimal performance. Whether you’re a beginner or upgrading your setup, you’ll find all the tips you need here.
How to Set Up Air Pump for Aquarium
Proper aeration is vital for a healthy aquarium environment. An air pump helps oxygenate the water, supports beneficial bacteria, and creates surface agitation for gas exchange. If you’re new to aquarium care or upgrading your setup, this guide will teach you how to set up an air pump effectively. We’ll cover everything from choosing the right pump to maintenance tips, ensuring your fish thrive.
Key Takeaways
- Choose the right air pump: Match the pump’s capacity to your aquarium size for effective aeration.
- Gather necessary accessories: Include airline tubing, air stones, check valves, and a power source.
- Proper installation: Position the pump above water level and connect components securely.
- Test the setup: Ensure bubbles are consistent and the pump runs quietly.
- Regular maintenance: Clean or replace airline tubing and check valves periodically.
- Troubleshooting tips: Address common issues like no bubbles, noise, or leaks effectively.
1. Understanding the Importance of an Air Pump
An air pump supplies oxygen to your aquarium water, which is crucial for fish and other aquatic life. It also promotes water circulation, prevents stagnation, and can enhance your aquarium’s aesthetic with bubbles and surface movement. Correct setup and maintenance maximize these benefits and keep your tank healthy.
2. Choosing the Right Air Pump
Assess Your Aquarium Size and Needs
Start by determining your tank’s volume in gallons or liters. Larger tanks need higher-capacity pumps that can move more air. For example, a 20-gallon tank might require an air pump with a capacity of 2-3 liters per minute, while a 50-gallon tank needs around 5-6 liters per minute.
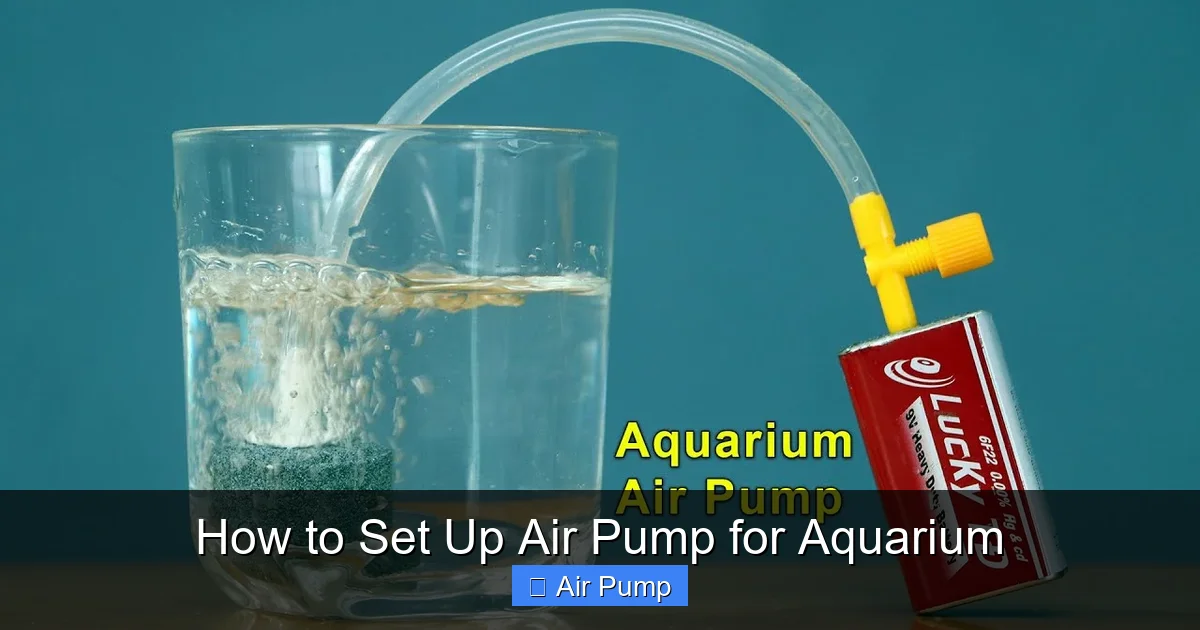
Visual guide about How to Set Up Air Pump for Aquarium
Image source: i.ytimg.com
Select a Suitable Pump
- Consider noise levels: Look for quiet models, especially if your tank is in a living space.
- Check power options: Ensure the pump is compatible with your outlet voltage.
- Look for durability: Choose pumps made from high-quality materials to last longer.
- Adjustability: Some pumps have adjustable airflow, giving you more control.
3. Gathering Necessary Accessories
- Airline tubing: Connects the pump to the air stone. Choose appropriate length.
- Air stones or diffusers: Disperse bubbles evenly in the water.
- Check valves: Prevent water from siphoning back into the pump if power fails.
- Clamps or suction cups: Secure tubing and components in place.
- Power source: Ensure a reliable outlet nearby.
4. Installing the Air Pump
Positioning the Pump
Place the pump above water level to avoid water damage. Find a stable, dry surface inside or outside the stand. Keep the pump away from direct sunlight and excessive dust to extend its lifespan.

Visual guide about How to Set Up Air Pump for Aquarium
Image source: m.media-amazon.com
Connecting Components
- Attach airline tubing to the pump: Connect one end securely to the pump’s outlet port.
- Install check valve: Place it in the airline tubing close to the pump to prevent backflow.
- Connect airline tubing to air stone or diffuser: Insert the tubing into the device, ensuring a tight fit.
- Secure everything: Use clamps or suction cups to hold tubing in place, avoiding kinks or loose connections.
5. Testing and Adjusting the Setup
Powering On and Observation
Plug in the air pump and turn it on. Observe the bubbles emerging from the air stone or diffuser. They should be steady and consistent. If not, check connections and adjust airflow if your pump has a control valve.
Fine-tuning the Airflow
If your pump has an adjustable knob, turn it to increase or decrease airflow until bubbles are uniform and not too vigorous, which can cause splashing or noise.
6. Troubleshooting Common Issues
- No bubbles: Check connections, ensure the pump is powered, and verify the tubing isn’t kinked or blocked.
- Too much noise: Place the pump on a soft surface, and check for loose fittings or vibrations.
- Leaks or water in the tubing: Inspect for cracks or loose connections and replace damaged parts.
- Pump stops working: Verify power supply, and consider replacing if malfunction persists.
7. Maintenance Tips for Longevity
- Regular cleaning: Remove and clean airline tubing and air stones monthly to prevent clogging.
- Check valves: Replace if cracked or showing signs of wear.
- Inspect the pump: Keep it free from dust and debris, and ensure it’s operating smoothly.
- Monitor airflow: Adjust as needed based on aquarium conditions.
8. Conclusion
Setting up an air pump for your aquarium is straightforward and vital for maintaining a healthy environment. By choosing the right pump, installing it correctly, and performing regular maintenance, you ensure your aquatic friends receive the oxygen and water circulation they need. With a little effort, your aquarium will flourish with clear water and happy fish.
Additional Tips for Success
- Always use a check valve to prevent water from siphoning into the pump during power outages.
- Position the air stone close to the bottom of the tank for better oxygen distribution.
- Consider adding a timer if you want to control aeration periods.