
Is your cordless drill suddenly refusing to work just when you need it most? It’s frustrating, right?
You rely on your drill for quick fixes and big projects alike. But don’t worry—before you rush to buy a new one, there are simple steps you can take to bring your drill back to life. You’ll discover easy-to-follow tips that anyone can use to fix a cordless drill that’s not working.
Keep reading, and you’ll save time, money, and avoid unnecessary hassle.

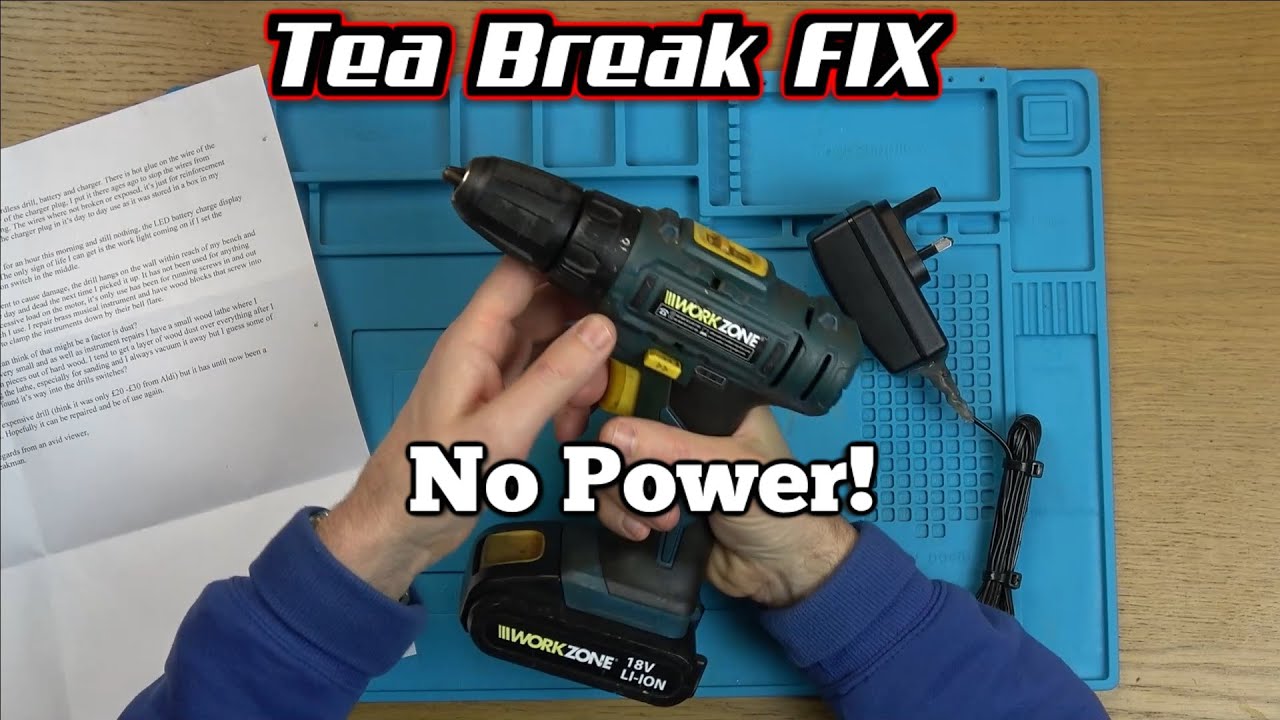
Credit: www.ebay.com
Common Reasons For Drill Failure
Cordless drills stop working for many reasons. Knowing common problems helps fix them fast. Some parts wear out or get dirty. Other times, the battery or motor fails. Understanding these issues saves time and money.
Battery Issues
The battery is the most common cause of drill failure. A dead or weak battery will not power the drill. Batteries lose charge over time. Poor contacts or dirty terminals stop electricity flow. Check the battery charge and clean the contacts first.
Motor Problems
The motor moves the drill bit. It can burn out or get stuck. Dust and debris can clog motor parts. Worn brushes inside the motor reduce power. Listen for strange noises or no sound. These signs mean the motor may need repair.
Switch Malfunctions
The switch controls the drill’s on and off function. Dirt or wear can cause the switch to fail. A broken switch stops the drill from starting. Press the switch and check for a click sound. Replacing a faulty switch often fixes the drill.
Chuck And Bit Problems
The chuck holds the drill bit tight. A loose or damaged chuck causes slipping. Dirt inside the chuck can block bit movement. A bent or broken bit affects drilling. Tighten the chuck and clean it regularly to avoid issues.
Checking And Replacing The Battery
When a cordless drill stops working, the battery is often the main cause. Checking and replacing the battery can fix the problem quickly. Batteries lose power over time. They also get dirty or have bad connections. This section shows how to test the battery, clean its contacts, and decide when to replace it.
Testing Battery Charge
Start by removing the battery from the drill. Use a battery tester or a multimeter to check the charge. A fully charged battery shows the voltage on its label. If the reading is much lower, the battery might be dead. Try charging it fully and test again. If the battery still does not hold a charge, it needs replacement.
Cleaning Battery Contacts
Dirty contacts can stop the drill from working. Use a dry cloth or a soft brush to clean both battery and drill contacts. Avoid using water or liquids. Dirt or rust on the contacts blocks power flow. Clean contacts improve the connection and may fix the issue without replacing the battery.
When To Replace The Battery
Replace the battery if it won’t hold a charge after full charging. Also, if the battery gets very hot or leaks, stop using it. Old batteries lose capacity and cannot power the drill well. Buying a new battery is safer and saves time. Always use the battery type recommended by the drill’s manufacturer.
Inspecting The Motor
Checking the motor is a key step in fixing a cordless drill that does not work. The motor makes the drill spin and do the job. Problems in the motor stop the drill from working properly. This section helps you understand how to find motor problems and fix them.
Signs Of Motor Damage
Listen for strange sounds like grinding or buzzing. These sounds show the motor may be broken. Smell for burnt odors from the drill. Burning smells mean the motor could be overheated. Look for smoke or sparks during use. These are clear signs the motor is damaged. The drill may also stop working suddenly or lose power. Such issues often point to motor problems.
Cleaning The Motor
Turn off and unplug the drill before cleaning. Use a small brush to remove dust and dirt. Clean around the motor vents to help air flow. Avoid water or liquid cleaners near the motor parts. Dirt build-up can cause the motor to overheat or stop working. Keeping the motor clean helps the drill run smoothly.
Motor Replacement Tips
Find the exact motor model for your drill. Use the drill’s manual or check online for parts. Remove the battery before starting any work. Carefully open the drill casing with proper tools. Disconnect wires gently and note their positions. Install the new motor in the same way as the old one. Test the drill after replacing the motor to ensure it works. If unsure, ask a professional for help.
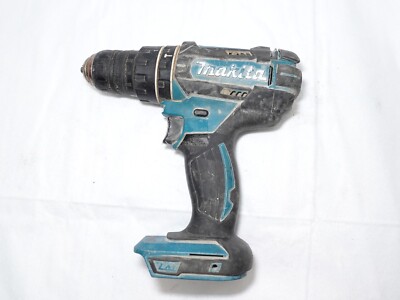
Credit: www.youtube.com
Fixing The Trigger Switch
The trigger switch controls the power to your cordless drill. If the drill does not start or stops suddenly, the trigger switch may be faulty. Fixing this part can restore your drill’s function without much cost.
Understanding how to check and replace the trigger switch saves time and money. This section guides you through the process step-by-step.
Identifying Switch Issues
First, look for signs of a bad trigger switch. The drill might not turn on or feels loose when pressing the trigger. Sometimes, the trigger may stick or fail to spring back.
Check for any visible damage or dirt around the switch area. A worn-out or broken trigger switch often causes intermittent power problems.
Testing The Switch With A Multimeter
Use a multimeter to test the switch’s electrical continuity. Set the multimeter to the resistance or continuity mode. Press the trigger switch and check for a change in the reading.
If the multimeter shows no change, the switch is likely broken. This test confirms whether the trigger switch is working properly or needs replacement.
Replacing The Trigger Switch
Unplug the battery before starting any repair. Open the drill casing carefully using the correct screwdriver. Locate the trigger switch inside the drill body.
Disconnect the wires attached to the old switch. Install the new trigger switch by connecting the wires in the same order. Close the drill casing and secure it tightly.
Test the drill with the new switch. If it powers on and runs smoothly, the repair is complete.
Troubleshooting Chuck And Bit Problems
The chuck and bit are key parts of your cordless drill. Problems here can stop the drill from working right. This section helps find and fix common issues with the chuck and bit.
Simple checks often solve the problem fast. Follow these steps to keep your drill running well.
Ensuring Proper Bit Installation
Check the drill bit fits tightly in the chuck. A loose bit will slip and won’t drill properly. Push the bit fully inside the chuck. Turn the chuck collar to tighten it firmly.
Make sure the bit is straight and not bent. Bent bits cause wobbling and poor drilling. Replace bent or damaged bits for best results.
Cleaning The Chuck
Dirt and dust can clog the chuck and stop it from holding the bit. Open the chuck fully. Use a small brush or compressed air to remove dirt inside.
Wipe the chuck with a clean cloth. Avoid oil or grease inside the chuck. These can cause bits to slip.
Replacing The Chuck
A worn or broken chuck may need replacing. Signs include slipping bits or a loose chuck collar. Get a new chuck that fits your drill model.
Remove the old chuck by unscrewing it. Use a wrench if needed. Screw the new chuck tightly in place. Test it with a drill bit before using the tool again.
Safety Tips During Repair
Repairing a cordless drill requires care and attention to safety. Taking the right precautions helps prevent accidents and injuries. Safety should be your top priority before starting any repair work.
Wearing Protective Gear
Always wear safety glasses to protect your eyes from dust and debris. Use gloves to avoid cuts and scrapes on your hands. Wearing closed-toe shoes protects your feet from falling tools or parts.
Disconnecting Power Sources
Remove the battery from the drill before starting any repairs. This stops the drill from turning on accidentally. Double-check that the power source is fully disconnected to stay safe.
Handling Tools Carefully
Use the right tools for each repair task. Hold tools firmly and avoid rushing. Keep your work area clean and organized to prevent slips or falls.
When To Seek Professional Help
Sometimes, fixing a cordless drill is not simple. Certain problems need expert skills and tools. Knowing when to call a professional can save time and money. It also helps avoid damage to the drill or injury.
Complex Electrical Issues
Electrical problems can be tricky and dangerous. Faulty wiring or motor issues require special knowledge. Professionals have the right tools to test and fix these parts safely. Avoid trying to repair complex electrical faults on your own.
Warranty And Service Options
Check if your drill is still under warranty. Manufacturers often offer free repairs or replacements. Using authorized service centers keeps your warranty valid. Professionals can also provide genuine parts and quality service.
Cost Vs. Replacement Considerations
Sometimes, repair costs are close to buying a new drill. Professionals can help you decide what makes sense financially. They can give a repair estimate and compare it to replacement prices. Choosing wisely saves money and ensures reliable tools.
Credit: www.ebay.com
Frequently Asked Questions
Why Is My Cordless Drill Not Turning On?
Your drill may have a dead battery or faulty connection. Check and charge the battery fully. Inspect the trigger switch and wiring for damage or loose parts.
How Do I Fix A Cordless Drill That Won’t Hold A Charge?
Battery cells can degrade over time. Replace the battery pack with a compatible new one. Also, clean battery contacts to ensure proper connection.
What Causes A Cordless Drill To Stop Working Suddenly?
Common causes include battery failure, worn brushes, or motor issues. Test each component and replace faulty parts to restore function.
Can A Faulty Charger Cause Drill Problems?
Yes, a bad charger may fail to recharge batteries properly. Use a different charger or test your charger with a multimeter.
Conclusion
Fixing a cordless drill takes patience and simple steps. Check the battery first; it often causes issues. Clean the contacts and tighten loose parts. Test the switch and motor carefully. Small problems can stop your drill from working. With basic tools and care, many faults get solved.
Keep safety in mind while repairing. Regular maintenance prevents future troubles. Now, you can save money by fixing your drill yourself. Try these tips before buying a new one. Your drill will work well again soon. Easy fixes make a big difference.