

Have you ever wondered if your cordless drill could do more than just drive screws? What if you could use it to buff surfaces and save time on your projects?
You might be surprised at how versatile your drill can be. You’ll discover whether you can buff with a cordless drill, what tools you need, and how to get the best results. Keep reading to unlock a simple trick that could change the way you work on your DIY tasks.
Choosing The Right Cordless Drill
Choosing the right cordless drill is key for successful buffing. Not all drills suit this task equally. Understanding drill features helps pick the best one for your buffing needs.
Power And Speed Considerations
Power affects how well the drill handles buffing pads. A drill with enough power keeps steady speed under pressure. Variable speed control is useful. It lets you adjust speed for different surfaces. Too fast can damage the surface. Too slow may not polish well.
Battery Life And Performance
Long battery life means less stopping to recharge. Buffing can take time, so a strong battery helps. Lithium-ion batteries offer good power and last longer. Check how fast the battery recharges. A quick recharge keeps work going smoothly.
Drill Attachments For Buffing
Not all drills fit buffing attachments easily. Look for drills with a keyless chuck. It makes changing pads fast and simple. Buffing pads come in many types and sizes. Choose attachments that match your drill’s chuck size. Proper attachments ensure effective and safe buffing.

Credit: www.youtube.com
Essential Buffing Materials
Buffing with a cordless drill needs the right materials. These materials make the job easier and give better results. Choosing the correct pads and polishing compounds is very important. They help protect the surface and bring out a bright shine. Understanding these materials can save time and effort.
Types Of Buffing Pads
Buffing pads come in different shapes and materials. Foam pads are soft and good for light polishing. Wool pads are rougher and remove deeper scratches. Microfiber pads offer a balance between cutting and finishing. Choose a pad based on the surface and the job needed. Matching the pad to the drill speed is also key.
Selecting The Best Polishing Compounds
Polishing compounds vary by grit and purpose. Coarse compounds remove heavy scratches quickly. Medium compounds smooth the surface after coarse polishing. Fine compounds add a clear, glossy finish. Some compounds work better on metals, others on paint. Always pick a compound that suits your surface type and desired shine.
Preparing The Surface
Preparing the surface is the first step to successful buffing with a cordless drill. A clean and smooth surface helps the buffing pad work better. It also prevents scratches or damage during the process. Taking time to prepare the surface can improve the final shine and protect the material.
Cleaning And Prepping Tips
Start by washing the surface with soap and water. This removes dirt, dust, and grease. Use a microfiber cloth to dry the area completely. Avoid using harsh chemicals that can harm the surface. Make sure the surface is cool and dry before buffing. This helps the polish stick better and gives a smooth finish.
Removing Imperfections Before Buffing
Check the surface for scratches, chips, or stains. Use fine sandpaper to gently smooth out any rough spots. For deeper scratches, use a rubbing compound to even the surface. Wipe away dust after sanding or compounding. Fixing imperfections first helps the buffing process work more effectively. It also prevents spreading damage or making it worse.
Buffing Techniques With A Cordless Drill
Buffing with a cordless drill can save time and effort. Using the right techniques will improve results and protect the surface. Focus on drill handling, pressure, and avoiding mistakes.
Proper Drill Handling And Speed Control
Hold the drill firmly with both hands. Keep the drill steady and balanced. Use a slow to medium speed setting. High speed can damage the surface or cause uneven buffing. Start slow and increase speed only if needed.
Applying The Right Pressure
Apply gentle, even pressure on the surface. Pressing too hard can cause scratches and remove too much material. Let the drill and buffing pad do the work. Light pressure gives better control and a smooth finish.
Avoiding Common Buffing Mistakes
Do not stay in one spot too long. Move the drill in small, circular motions. Avoid using worn or dirty buffing pads. Replace pads regularly to keep buffing effective. Keep the surface clean to prevent scratches.
Safety Tips And Precautions
Buffing with a cordless drill can be effective but requires care. Safety is important to avoid accidents and damage. Follow these tips to protect yourself and your tools. Simple steps can keep your workspace safe and your project successful.
Protective Gear Recommendations
Always wear safety glasses to protect your eyes from dust and debris. Use gloves to guard your hands against scratches and heat. A dust mask helps prevent breathing in fine particles. Wear ear protection if the drill noise is loud. Dress in tight-fitting clothes to avoid loose fabric catching in the drill.
Maintaining Drill And Attachments
Check the drill for damage before use. Tighten attachments securely to prevent slipping. Clean the drill and buffing pads after each use. Replace worn or damaged pads to ensure smooth buffing. Keep the drill battery charged but avoid overcharging. Store tools in a dry place to prevent rust and damage.
Troubleshooting Common Issues
Buffing with a cordless drill can save time and effort. Still, some common problems may arise. Knowing how to fix these issues helps you get the best shine. It also keeps your drill working well for longer. Below are easy tips to handle two frequent problems during buffing.
Dealing With Uneven Shine
Uneven shine happens when the buffing pad moves too fast or slow. It can also occur if you press too hard on the surface. Try to keep the drill speed steady. Use light, even pressure while moving the pad in circles. Make sure the pad is clean. Dirt or old polish can cause streaks. Replace the pad if it is worn out or damaged. Work in small sections for better control and a smooth finish.
Handling Overheating And Drill Malfunctions
Overheating is a common issue during long buffing sessions. The drill can stop working or lose power if it gets too hot. Give the drill breaks to cool down. Avoid pushing too hard on the drill. Let the motor do the work. Check the battery charge. Low power can cause the drill to overheat. Clean air vents on the drill to help with cooling. If the drill malfunctions, stop using it and check for damage. Repair or replace parts if needed to avoid further problems.
Alternative Tools For Buffing
Buffing can make surfaces shiny and smooth. Choosing the right tool helps get better results. Different tools work best for different tasks. Some tools are made just for buffing. Others can do many jobs, including buffing.
Let’s explore some alternative tools you can use for buffing. This will help you decide what fits your needs and budget.
Comparing Corded Vs. Cordless Drills
Corded drills have constant power. They do not run out of battery during work. This gives steady speed for buffing tasks. Corded drills are usually heavier but more powerful.
Cordless drills are lighter and easy to carry. They work without a power cord. This makes moving around simple. Batteries limit their working time. Power may drop as the battery drains. Cordless drills can be less steady for buffing.
Both drills can hold buffing pads. Corded drills offer better control and longer use. Cordless drills are good for small jobs and quick fixes.
Using Dedicated Buffers And Polishers
Dedicated buffers and polishers are made for smooth finishing. They have special motors for constant speed. This helps avoid damage to surfaces. These tools come with different speed settings. You can adjust speed based on the material.
Buffers and polishers often have soft pads designed for polishing. These pads spread polish evenly. The tools feel balanced in hand. This reduces fatigue during long work.
Dedicated tools produce better results on cars, boats, and furniture. They are safer to use on delicate surfaces than drills. These tools cost more but give professional results.
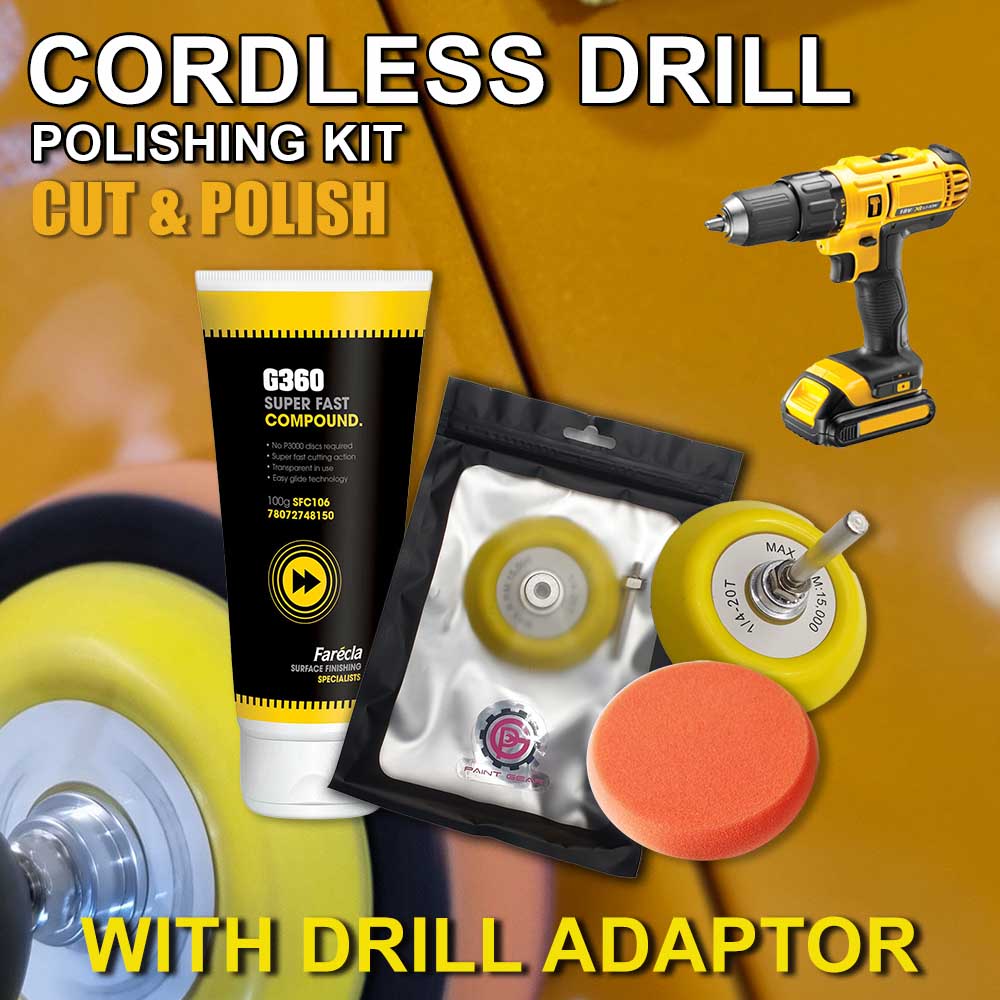
Credit: www.paintgear.co.uk
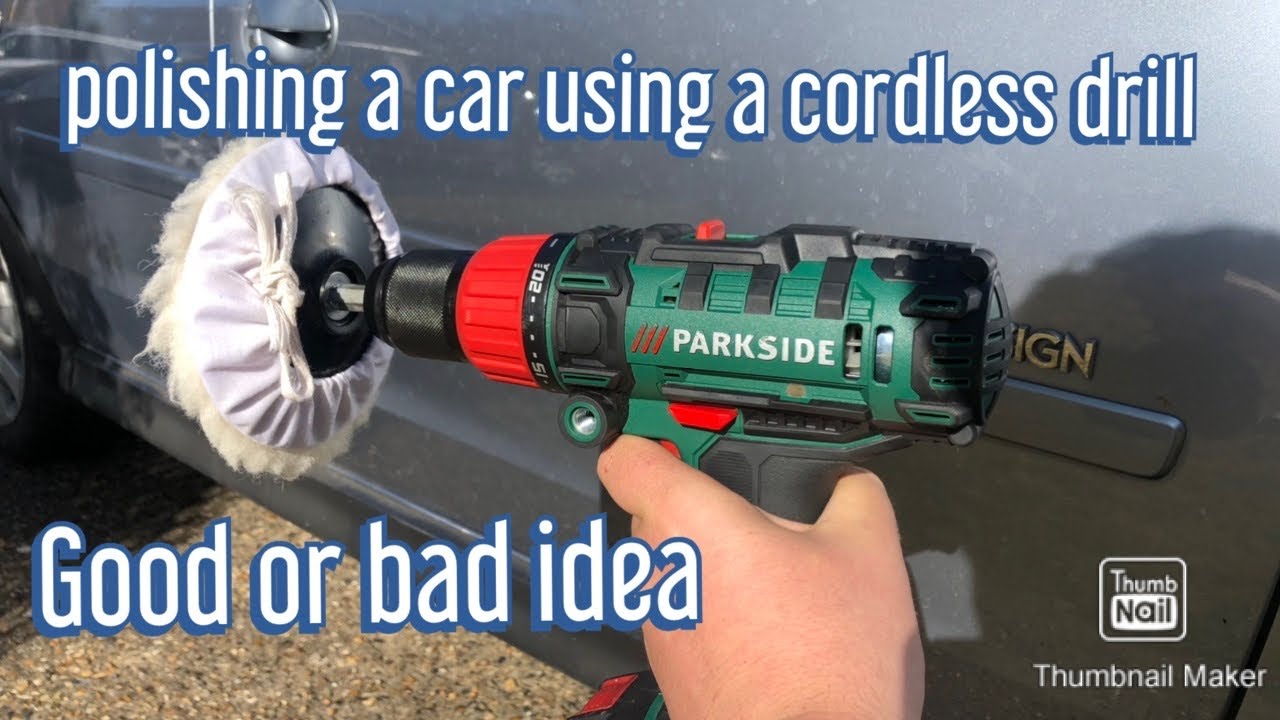
Credit: www.youtube.com
Frequently Asked Questions
Can You Use A Cordless Drill For Buffing?
Yes, you can use a cordless drill for buffing. Attach a buffing pad to the drill’s chuck. Ensure the drill has variable speed control for better results. Cordless drills offer mobility but may have less power than dedicated polishers.
What Drill Attachments Work Best For Buffing?
Foam or microfiber buffing pads work best with drills. Choose pads that match your project size. Soft pads are ideal for polishing, while firmer ones help with compounding. Proper attachment ensures even buffing and reduces surface damage.
Is A Cordless Drill As Effective As A Buffer?
Cordless drills can buffer effectively but are less powerful than buffers. Buffers are designed for consistent speed and torque. Drills may overheat or lack smooth speed control during buffing tasks. Use drills for small or light buffing jobs.
How To Avoid Damaging Surfaces When Buffing With A Drill?
Use the lowest speed setting to prevent damage. Keep the drill moving continuously to avoid heat buildup. Use the correct pad for the surface type. Test on a small area before full buffing to ensure safety.
Conclusion
Using a cordless drill for buffing can work well for small jobs. It offers convenience and ease without needing extra power cords. Just make sure to choose the right buffing pad and keep the speed low. This prevents damage and helps you get a smooth finish.
While not perfect for big tasks, it suits quick touch-ups around the house. With care and the right tools, a cordless drill can be a handy buffing tool. Give it a try and see how it fits your needs.