

A battery-powered nail gun uses compressed air or mechanical force generated by a rechargeable battery to drive nails into wood or other materials. This guide explains how it works, its key components, and how to use it safely and effectively.
Key Takeaways
- Battery-powered nail guns use electric motors or gas cartridges to generate driving force, eliminating the need for an air compressor or cords.
- They rely on a rechargeable lithium-ion battery to power the motor, which compresses air or actuates a piston to drive nails.
- Most models use a flywheel or piston mechanism to store and release energy quickly for consistent nail penetration.
- Safety features like trigger locks and anti-jam systems help prevent accidents and improve efficiency.
- Regular maintenance, including cleaning and battery care, ensures long-term performance and reliability.
- They are ideal for jobs requiring mobility and speed, such as framing, roofing, or trim work.
- Understanding the firing modes (sequential vs. bump) helps you choose the right technique for your project.
Introduction: What Is a Battery-Powered Nail Gun?
If you’ve ever used a traditional pneumatic nail gun, you know how powerful and efficient it can be—but also how cumbersome the air hose and compressor can feel. Enter the battery-powered nail gun: a modern, cordless alternative that delivers the same driving force without the hassle of cords or compressors. Whether you’re a DIY enthusiast or a professional contractor, understanding how this tool works can help you use it more effectively and safely.
In this guide, we’ll break down the inner workings of a battery-powered nail gun, explain how it drives nails, and walk you through proper usage, maintenance, and troubleshooting. By the end, you’ll know exactly how this innovative tool operates and how to get the most out of it on your next project.
How Does a Battery-Powered Nail Gun Work?
At first glance, a battery-powered nail gun might seem like magic—how can a small, cordless tool drive nails with such force? The secret lies in a combination of advanced engineering and smart energy conversion. Instead of relying on an external air compressor, these tools use a rechargeable battery to power an internal mechanism that generates the necessary force to drive nails.
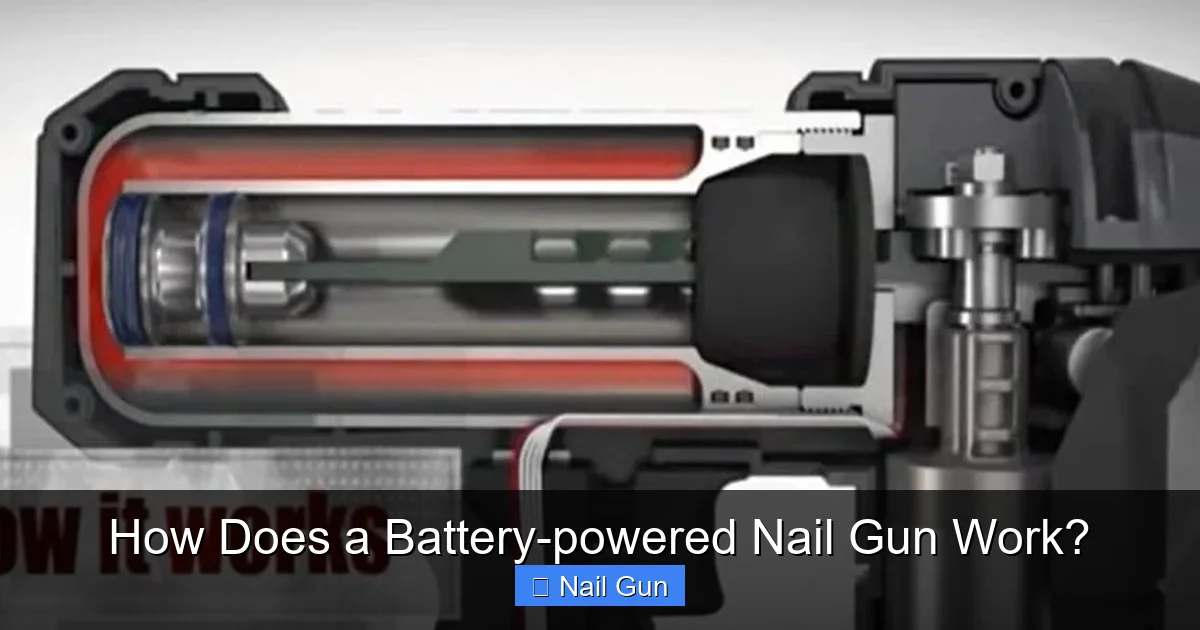
Visual guide about How Does a Battery-powered Nail Gun Work?
Image source: toolsmirror.com
There are two main types of battery-powered nail guns: electric (brushless motor-driven) and gas-powered (fuel cell-assisted). While both are cordless, they use different methods to create driving power.
Electric Battery-Powered Nail Guns
Most modern battery-powered nail guns use a brushless electric motor powered by a lithium-ion battery. Here’s how it works step by step:
- Step 1: Battery Powers the Motor – When you pull the trigger, the lithium-ion battery sends electricity to the brushless motor. This motor is highly efficient and generates less heat than older brushed motors.
- Step 2: Motor Spins a Flywheel – The motor spins a heavy flywheel at high speed, storing kinetic energy. Think of it like winding up a spring—energy builds up quickly.
- Step 3: Flywheel Engages a Piston – Once the flywheel reaches full speed, a clutch or solenoid releases it to drive a piston forward in a linear motion.
- Step 4: Piston Strikes the Nail – The piston hits the nail with tremendous force, driving it into the material. The entire process happens in a fraction of a second.
- Step 5: Reset and Recharge – After firing, the motor resets the flywheel and piston, preparing for the next shot. The battery recharges the system between shots.
This flywheel-piston system is what gives electric nail guns their power without needing a compressor. Brands like DeWalt, Milwaukee, and Ryobi use this technology in their 20V MAX and 18V models.
Gas-Powered Battery-Powered Nail Guns
Some high-performance models, especially in framing and roofing, use a combination of battery and gas. These tools have a small fuel cell (usually butane or propane) and a battery that powers an ignition system.
- Step 1: Battery Powers Ignition – The battery sends a spark to ignite the gas in a combustion chamber.
- Step 2: Gas Explodes, Drives Piston – The explosion creates a burst of pressure that drives a piston forward, striking the nail.
- Step 3: Exhaust and Reset – Gases are vented, and the piston resets automatically for the next shot.
These models are more powerful than electric-only versions and are often used in heavy-duty applications. However, they require both a charged battery and a fresh fuel cell, adding to maintenance.
Key Components of a Battery-Powered Nail Gun
To fully understand how these tools work, it helps to know the main parts:

Visual guide about How Does a Battery-powered Nail Gun Work?
Image source: toolsmirror.com
- Battery Pack – Usually lithium-ion, providing consistent power and long runtime. Higher voltage (e.g., 20V) means more driving force.
- Motor – In electric models, a brushless motor spins the flywheel. It’s efficient, durable, and requires less maintenance.
- Flywheel and Piston – The core driving mechanism. The flywheel stores energy; the piston delivers it to the nail.
- Nail Magazine – Holds a strip or coil of nails, feeding them automatically into the firing chamber.
- Trigger and Safety Mechanism – Controls when the gun fires. Most have dual safety features to prevent accidental discharge.
- Depth Adjustment Dial – Lets you control how deep the nail is driven, essential for different materials and finishes.
- LED Work Light – Illuminates the work area, especially useful in tight or dim spaces.
Step-by-Step: How to Use a Battery-Powered Nail Gun
Using a battery-powered nail gun is straightforward, but following proper steps ensures safety and accuracy.
Step 1: Charge the Battery
Always start with a fully charged battery. Most models take 30–60 minutes to charge. A low battery can result in weak drives or misfires.
Step 2: Load the Nails
Open the nail magazine and insert the correct nail strip or coil. Make sure the nails are aligned properly and the magazine clicks into place. Using the wrong nail size can cause jams.
Step 3: Adjust the Depth
Turn the depth adjustment dial to set how deep the nails will go. For softwood, you might drive deeper; for hardwood or finish work, go shallower. Test on a scrap piece first.
Step 4: Choose the Firing Mode
Most nail guns have two modes:
- Sequential (or Single Fire) – You must release and pull the trigger for each nail. Safer and more precise.
- Bump (or Contact Fire) – Hold the trigger and “bump” the nose against the material to fire rapidly. Faster but riskier.
Use sequential mode for precision work like trim or cabinetry. Use bump mode for speed on framing or sheathing.
Step 5: Position and Fire
Place the nail gun firmly against the workpiece. Press the nose trigger (safety tip) and then pull the main trigger. The gun will fire the nail in one smooth motion. Keep your hands clear of the firing area.
Step 6: Monitor and Maintain
Watch for jams or misfires. If the gun stops driving nails, stop using it and troubleshoot (see below). After use, remove the battery and store the tool in a dry place.
Safety Tips and Best Practices
Safety is critical when using any power tool. Follow these guidelines:
- Always wear safety glasses and hearing protection.
- Never point the nail gun at yourself or others, even when unloaded.
- Keep your fingers away from the trigger when not firing.
- Use sequential mode when learning or working in tight spaces.
- Disconnect the battery when loading nails or performing maintenance.
- Store the tool with the battery removed and nails unloaded.
Troubleshooting Common Issues
Even the best tools can have problems. Here’s how to fix common issues:
Nail Gun Won’t Fire
- Check the battery—charge or replace it.
- Ensure the nail magazine is loaded correctly.
- Verify the safety tip is fully depressed before pulling the trigger.
Weak or Incomplete Drives
- The battery may be low—recharge it.
- Adjust the depth setting—it might be too shallow.
- Check for worn or dirty piston components—clean or service the tool.
Nail Jams
- Turn off and remove the battery.
- Open the magazine and remove the jammed nail with pliers.
- Clean any debris from the firing chamber.
- Reload nails carefully to avoid misalignment.
Tool Overheats
- Let it cool down—brushless motors are efficient but can overheat with prolonged use.
- Take breaks during long jobs.
- Ensure proper ventilation around the tool.
Maintenance and Care
To keep your battery-powered nail gun in top condition:
- Clean the tool after each use—wipe down the exterior and blow out dust from the magazine and firing chamber.
- Lubricate moving parts if recommended by the manufacturer (some electric models are maintenance-free).
- Store in a dry, cool place—avoid extreme temperatures that can damage the battery.
- Check the battery regularly—replace it if it no longer holds a charge.
- Inspect nails for rust or damage—poor-quality nails can cause jams.
Conclusion: Why Choose a Battery-Powered Nail Gun?
A battery-powered nail gun combines power, portability, and precision in one convenient package. By converting electrical energy into mechanical force—either through a flywheel-piston system or gas combustion—these tools deliver consistent performance without the limitations of cords or compressors.
Whether you’re building a deck, installing trim, or tackling a DIY project, understanding how your nail gun works helps you use it safely and effectively. With proper maintenance and smart usage, a quality battery-powered nail gun can last for years and make your work faster and easier.
So next time you reach for your nail gun, remember: it’s not just a tool—it’s a marvel of modern engineering powered by a simple rechargeable battery.