

A nail gun air compressor powers pneumatic nail guns by converting electrical energy into compressed air. This compressed air drives nails into wood or other materials with precision and speed, making it ideal for construction and woodworking projects.
Key Takeaways
- Air compressors store compressed air in a tank, which is released to power the nail gun when triggered.
- Pneumatic nail guns rely on air pressure to drive nails, requiring a properly sized compressor for optimal performance.
- Compressor size and PSI matter—match your nail gun’s requirements to avoid underperformance or damage.
- Regular maintenance like draining moisture and checking hoses ensures longevity and safety.
- Safety gear is essential—always wear eye and ear protection when using a nail gun and compressor.
- Proper setup includes checking connections, adjusting pressure, and testing before full use.
- Troubleshooting common issues like low pressure or air leaks can save time and prevent accidents.
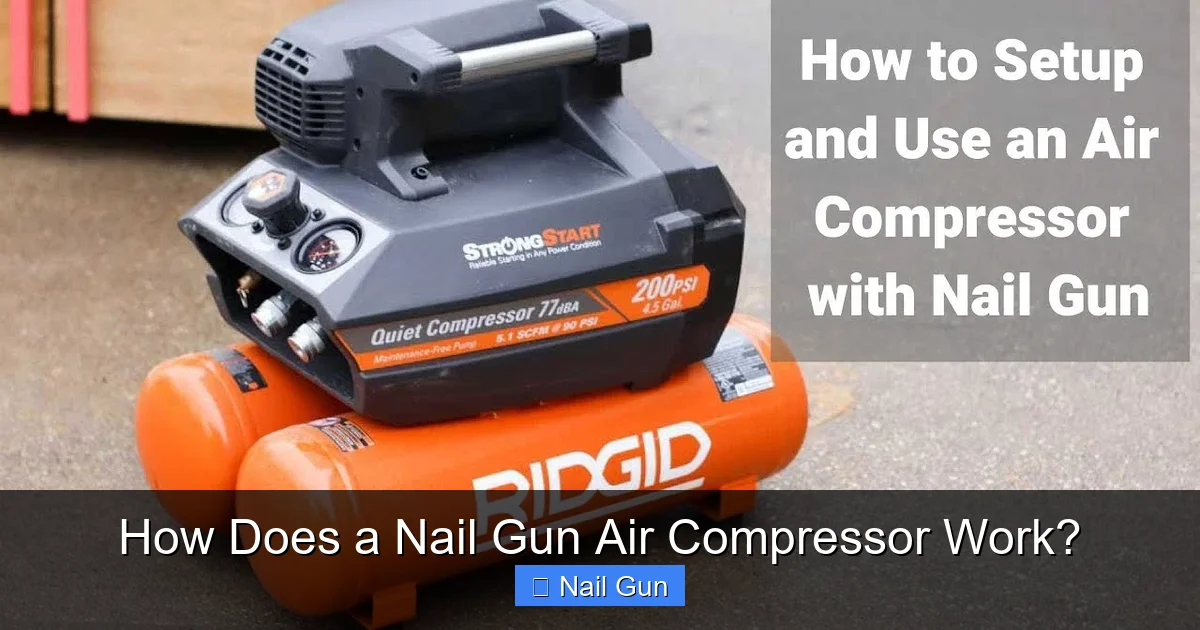
How Does a Nail Gun Air Compressor Work?
If you’ve ever watched a contractor zip through framing or decking work with a nail gun, you’ve seen the power of a pneumatic tool in action. But what makes that nail gun fire so fast and consistently? The answer lies in the air compressor. Understanding how a nail gun air compressor works not only helps you use your tools more effectively but also keeps you safe and your equipment running smoothly.
In this guide, we’ll break down the inner workings of a nail gun air compressor, explain the key components, walk you through setup and operation, and share tips for maintenance and troubleshooting. Whether you’re a weekend DIYer or a seasoned pro, this guide will give you the knowledge to get the most out of your pneumatic nail gun system.
What Is a Nail Gun Air Compressor?
A nail gun air compressor is a machine that generates and stores compressed air, which is then used to power a pneumatic (air-powered) nail gun. Unlike battery-powered or gas-driven nail guns, pneumatic models rely entirely on external air pressure to drive nails into wood, drywall, or other materials.
The compressor takes in ambient air, compresses it using a motor and pump, and stores it in a tank. When you pull the trigger on the nail gun, the stored air is released through a hose, creating a burst of pressure that drives the nail forward. This process happens in milliseconds, allowing for rapid, consistent nailing with minimal effort.
Key Components of an Air Compressor
To understand how the system works, it helps to know the main parts of an air compressor:
1. Electric Motor or Gas Engine
This is the power source. Most home and workshop compressors use electric motors, while larger jobsite models may use gas engines. The motor drives the pump that compresses the air.
Visual guide about How Does a Nail Gun Air Compressor Work?
Image source: i.ytimg.com
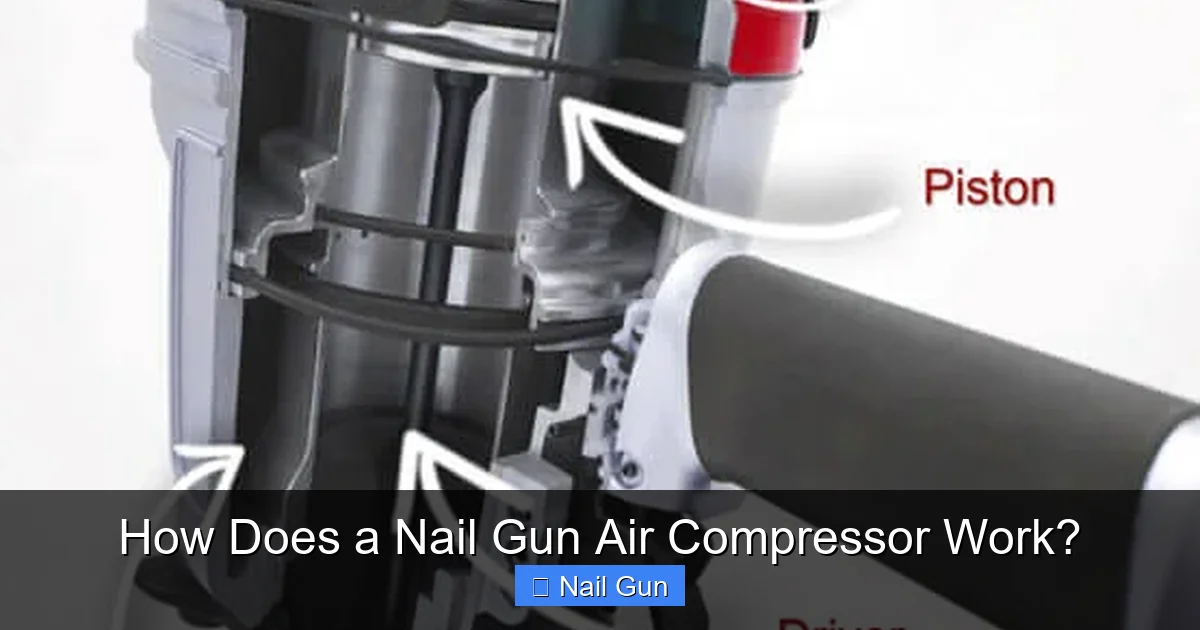
Visual guide about How Does a Nail Gun Air Compressor Work?
Image source: everwinpneumatic.com
2. Air Pump
The pump compresses incoming air and forces it into the storage tank. It typically uses pistons or a rotary mechanism to increase air pressure.
3. Storage Tank
This is where compressed air is stored until needed. Tank size is measured in gallons and affects how long you can operate your nail gun before the compressor needs to refill.
4. Pressure Switch
This自动控制开关 turns the motor on and off based on tank pressure. When pressure drops below a set level (e.g., 90 PSI), the switch turns the motor on to refill the tank. Once it reaches the cut-off pressure (e.g., 120 PSI), it shuts off.
5. Regulator
The regulator allows you to adjust the air pressure delivered to the nail gun. This is crucial because different nail guns require different PSI levels.
6. Air Hose and Fittings
A flexible hose connects the compressor to the nail gun. Quick-connect fittings make it easy to attach and detach tools.
7. Safety Valve
This releases excess pressure if the tank over-pressurizes, preventing explosions or damage.
How the System Works Step by Step
Now that you know the parts, let’s walk through how they work together to fire a nail.
Step 1: Compressing the Air
When you plug in the compressor and turn it on, the motor starts the pump. The pump draws in air from the environment and compresses it, increasing its pressure. This compressed air is then forced into the storage tank.
Step 2: Storing Compressed Air
As the tank fills, the air pressure rises. The pressure switch monitors this and automatically shuts off the motor once the tank reaches its maximum pressure (usually between 100–150 PSI). This stored air is now ready to use.
Step 3: Connecting the Nail Gun
Attach the air hose from the compressor to the nail gun using the quick-connect fitting. Make sure the connection is secure to prevent leaks.
Step 4: Adjusting the Pressure
Use the regulator knob to set the air pressure to the level recommended by your nail gun’s manufacturer. For example, a finish nailer might need 70–100 PSI, while a framing nailer may require 100–120 PSI. Too little pressure won’t drive nails fully; too much can damage materials or the tool.
Step 5: Firing the Nail
When you pull the trigger on the nail gun, a valve opens and releases a burst of compressed air into the gun’s cylinder. This air pushes a piston, which drives the nail into the workpiece. The speed and force depend on the air pressure and the design of the nail gun.
Step 6: Recharging the Tank
As you continue nailing, the tank pressure drops. Once it falls below the cut-in pressure (e.g., 90 PSI), the pressure switch turns the motor back on to refill the tank. This cycle repeats as needed.
Choosing the Right Compressor for Your Nail Gun
Not all compressors are created equal. To get the best performance, you need to match your compressor to your nail gun’s requirements.
Tank Size
Smaller tanks (1–6 gallons) are great for trim work or occasional use. Larger tanks (10+ gallons) are better for heavy-duty tasks like framing, as they provide longer run times between refills.
CFM (Cubic Feet per Minute)
This measures how much air the compressor can deliver. Check your nail gun’s CFM requirement—most need 2–4 CFM at 90 PSI. Choose a compressor that meets or exceeds this.
PSI (Pounds per Square Inch)
Most nail guns operate between 70–120 PSI. Your compressor should be able to deliver air at the required PSI consistently.
Portability
Consider weight, wheels, and handle design if you’ll be moving the compressor around a job site.
Safety Tips When Using a Nail Gun Air Compressor
Safety should always come first. Here are essential tips to protect yourself and others:
- Wear safety glasses and ear protection—flying debris and loud noises are common hazards.
- Never point the nail gun at anyone, even when disconnected.
- Keep your hands clear of the nailing area—use clamps or jigs to hold materials in place.
- Disconnect the air hose when not in use to prevent accidental firing.
- Check hoses for cracks or leaks before each use.
- Drain the tank regularly to remove moisture buildup, which can cause rust and reduce efficiency.
Maintenance and Troubleshooting
Regular maintenance keeps your compressor running efficiently and extends its life.
Daily Maintenance
- Drain water from the tank using the drain valve (usually at the bottom).
- Check air filter and clean or replace if dirty.
- Inspect hoses and fittings for wear or leaks.
Weekly/Monthly Maintenance
- Check oil level (if your compressor is oil-lubricated).
- Test the pressure switch and safety valve.
- Clean the exterior to prevent dust buildup.
Common Problems and Fixes
- Low air pressure: Check for leaks, ensure the regulator is set correctly, and verify the compressor is sized properly.
- Compressor won’t start: Check power supply, circuit breaker, and pressure switch.
- Air leaks from hose or fittings: Tighten connections or replace damaged parts.
- Nail gun not firing: Confirm air supply, check for jams, and verify PSI settings.
Conclusion
A nail gun air compressor is a powerful and efficient tool that makes fastening nails faster and easier than ever. By compressing and storing air, it provides the consistent pressure needed to drive nails with precision and force. Understanding how it works—from the motor and pump to the regulator and hose—helps you choose the right setup, operate it safely, and maintain it properly.
Whether you’re building a deck, installing trim, or tackling a major renovation, a well-maintained air compressor and nail gun combo can save you time and effort. Remember to match your compressor to your tool’s needs, follow safety guidelines, and perform regular maintenance. With the right knowledge and care, your pneumatic system will serve you reliably for years to come.