
Have you ever wondered how your 18V cordless drill charger actually works? You rely on it to keep your drill powered up and ready, but the process behind charging might seem like a mystery.
Understanding how your charger operates can help you get the most out of your tool, avoid mistakes, and even extend its battery life. You’ll discover the simple science and clever technology inside your charger that makes your drill come alive.
Keep reading to unlock the secrets of your 18V cordless drill charger and become more confident in using and caring for your power tools.
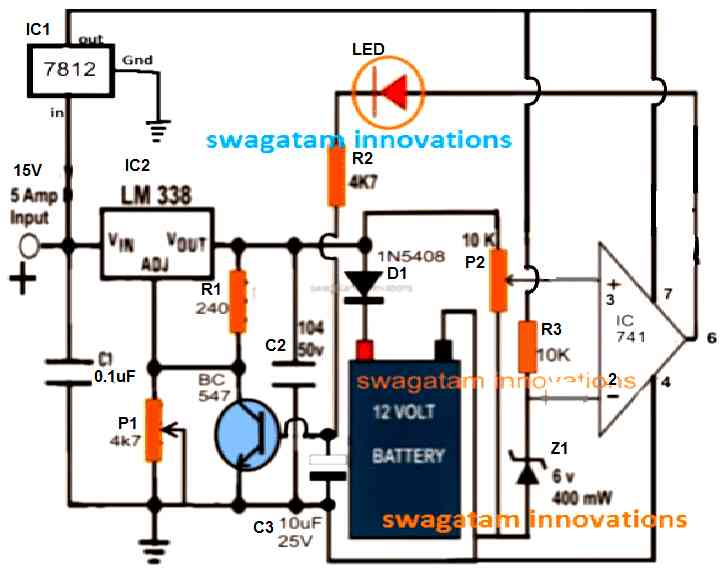
Credit: www.homemade-circuits.com
Basic Components Of An 18v Cordless Drill Charger
An 18V cordless drill charger has several important parts. These parts work together to charge the drill’s battery safely and quickly. Understanding these components helps you know how the charger works. It also helps in using and maintaining the charger properly.
Power Supply And Adapter
The power supply gives the charger the energy it needs. It plugs into a wall socket. The adapter changes the electricity from the wall into a form the charger can use. This step is important to protect the charger and battery from damage.
Charging Circuit
The charging circuit controls how the battery fills with power. It sends the right amount of current and voltage to the battery. It stops charging once the battery is full. This control helps keep the battery healthy and lasts longer.
Indicator Lights
Indicator lights show the charging status. A red light means the battery is charging. A green light means the battery is fully charged. These lights help users know when the drill is ready to use. They make charging easy and clear.
Safety Features
Safety features protect both the charger and battery. They stop charging if the battery gets too hot. They also prevent overcharging and short circuits. These features keep the charging process safe and reliable.
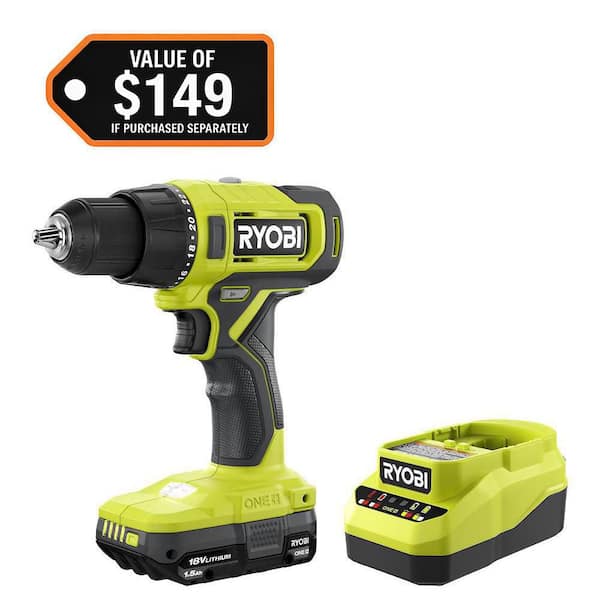
Credit: www.homedepot.com
How The Charging Process Begins
The charging process of an 18V cordless drill starts with a few simple steps. Each step ensures the battery gets the right power safely and efficiently. Understanding how this process begins helps users charge their tools correctly and keep them ready for work.
Connecting The Charger To Power
First, plug the charger into a wall outlet. The outlet supplies electricity needed for charging. Make sure the power source is stable to avoid interruptions. The charger usually shows a light to indicate it is connected and ready.
Inserting The Drill Battery
Next, place the 18V battery into the charger slot. It fits in one way only, to match the contacts. Push the battery gently until it clicks or locks into place. This connection allows electricity to flow from the charger to the battery.
Initial Battery Assessment
Once inserted, the charger checks the battery’s condition. It looks for voltage levels and temperature. This step protects the battery from overcharging or damage. The charger adjusts power flow based on the battery’s needs.
Battery Charging Mechanics
The battery charging mechanics of an 18V cordless drill charger are simple yet important. The charger controls how electricity moves into the battery. It keeps the battery safe and helps it last longer. Understanding these mechanics helps you use your drill better and charge it safely.
Current Flow And Voltage Regulation
The charger sends electric current to the battery. It controls how much current flows to avoid damage. Voltage regulation keeps the power steady. This prevents overcharging or too much heat. The charger adjusts the flow based on the battery’s needs.
Trickle Charging Vs Fast Charging
Trickle charging uses a low current to charge slowly. It keeps the battery full without overloading it. Fast charging uses higher current to charge quickly. It saves time but can cause more heat. Chargers switch between these modes to protect the battery.
Temperature Monitoring
Temperature sensors check the battery’s heat during charging. If it gets too hot, the charger slows down or stops charging. This prevents damage and keeps the battery safe. Temperature monitoring helps the battery last for many uses.
Smart Charging Technologies
Smart charging technologies make 18V cordless drill chargers safe and efficient. These technologies control the charging process carefully. They protect the battery and extend its life. Smart chargers learn how much power the battery needs. They adjust the charging speed to avoid damage. This section explains key smart charging features.
Overcharge Protection
Overcharge protection stops the battery from charging too much. Too much charge can cause overheating and damage. The charger senses when the battery is full. It then reduces or stops the power flow. This feature keeps the battery safe and healthy. It also prevents accidents caused by overheating.
Battery Health Management
Battery health management keeps the battery in good condition. The charger monitors voltage and temperature during charging. It balances the power supply to avoid stress on the battery. This helps maintain battery capacity for a longer time. It also improves the drill’s overall performance.
Automatic Shutoff Features
Automatic shutoff turns the charger off after charging completes. It saves energy and prevents battery damage. The charger detects when the battery reaches full charge. Then it cuts off the power supply immediately. This feature makes charging safer and more energy efficient.
Signs Of A Properly Working Charger
A properly working 18V cordless drill charger ensures your tool stays ready for use. It charges the battery efficiently and safely. Knowing the signs of a good charger helps avoid downtime. It also protects your battery from damage.
Watch for clear signals from the charger. This helps confirm it is working well. Pay attention to charging time and any unusual behavior. These clues tell you if the charger needs attention.
Led Indicators And What They Mean
Most 18V cordless drill chargers have LED lights. These lights show the charging status. A solid red light means charging is in progress. A green light means the battery is fully charged. A blinking red light can signal a problem. Check your charger manual for specific light codes.
Charging Time Expectations
Charging time depends on the battery size and charger type. Typically, an 18V battery takes 30 to 60 minutes to charge fully. If charging takes much longer, the charger or battery may have issues. A properly working charger finishes charging within the expected time.
Troubleshooting Common Issues
Sometimes chargers stop working properly. Check the power source first. Make sure the charger is plugged in securely. Look for dirt or corrosion on the battery contacts. Clean the contacts gently if needed. Reset the charger by unplugging it for a few minutes. Replace the charger if problems continue.
Maintaining Your Cordless Drill Charger
Maintaining your 18V cordless drill charger helps it last longer and work better. A charger in good shape keeps your drill ready for any task. Simple care steps protect the charger from damage and improve safety.
Cleaning And Storage Tips
Keep the charger clean by wiping it with a dry cloth. Avoid water or harsh cleaners that can damage parts. Store the charger in a cool, dry place away from dust. Do not leave it in direct sunlight or damp areas. Proper storage prevents corrosion and electrical problems.
Avoiding Overheating
Overheating can damage the charger and battery. Always charge in a well-ventilated area. Avoid covering the charger while it is working. Stop charging if the charger feels very hot to touch. Let it cool down before using again. These steps protect the charger’s internal parts.
When To Replace The Charger
Replace the charger if it no longer powers your drill. Signs include slow charging or no charging at all. Also, replace if the charger has visible damage or frayed cords. Using a damaged charger can be unsafe. A new charger ensures reliable and safe charging every time.
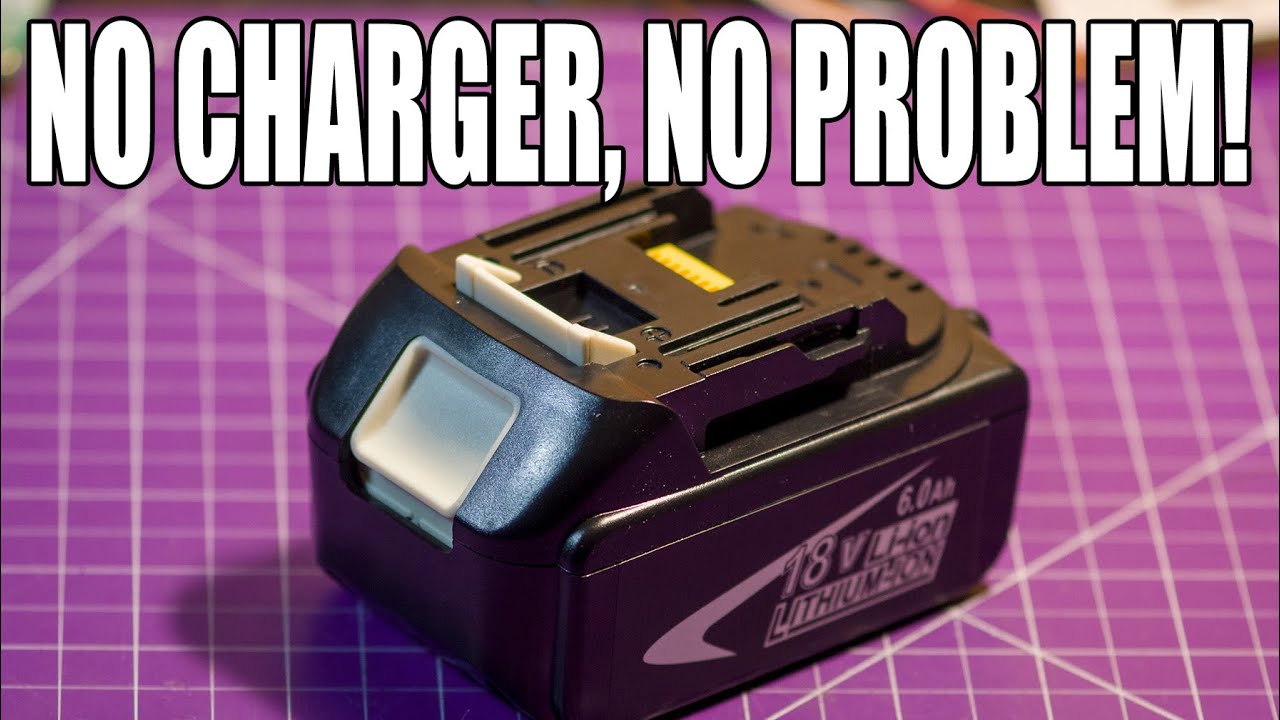
Credit: www.youtube.com
Frequently Asked Questions
How Does An 18v Cordless Drill Charger Work?
An 18V cordless drill charger converts AC power to DC power. It safely charges the drill’s lithium-ion battery. The charger controls voltage and current to prevent overcharging. It ensures the battery charges efficiently and prolongs battery life.
Can I Use Any Charger For My 18v Drill?
No, always use the charger designed for your 18V drill. Using the wrong charger can damage the battery and reduce performance. Compatibility ensures safe charging and maintains battery health. Check your drill’s manual for the recommended charger model.
How Long Does It Take To Fully Charge An 18v Drill?
Charging time varies by battery capacity and charger type. Typically, it takes 30 minutes to 3 hours for a full charge. Fast chargers reduce waiting time significantly. Always refer to the charger’s instructions for accurate charging times.
What Safety Features Are In An 18v Drill Charger?
Most 18V drill chargers include overcharge protection. They also have short-circuit and temperature control features. These prevent battery damage and overheating. Safety features ensure safe and reliable charging every time.
Conclusion
An 18V cordless drill charger keeps your drill ready to use. It controls the power flow to the battery safely. The charger stops charging when the battery is full. This helps protect the battery and extends its life. Understanding how it works helps you maintain your tools better.
Keep the charger clean and use it as directed. This will ensure your drill stays powered for every job. Simple care makes a big difference in tool performance.