

Attaching baseboards without a nail gun is simple and budget-friendly. This guide will show you practical techniques using common tools like nails, adhesive, and clamps. Whether you lack a nail gun or prefer a more manual approach, you’ll learn effective methods to achieve a professional-looking finish.
Key Takeaways
- Manual Nailing: Use a hammer and finishing nails to securely attach the baseboard to the wall.
- Adhesive Application: Strong construction adhesive can bond the baseboard without nails, ideal for less load-bearing areas.
- Combination Method: Combining adhesive and nails offers maximum stability and a clean look.
- Tools Needed: Basic tools include a hammer, finishing nails, adhesive, caulk gun, and clamps.
- Preparation Matters: Proper measurement, cutting, and wall cleaning ensure a smooth installation.
- Finishing Touches: Use caulk and paint to hide nail holes and create a seamless appearance.
Introduction
Attaching baseboards is a common task in home renovation and DIY projects. While a nail gun makes the job faster and easier, not everyone has one on hand. Fortunately, you can successfully attach baseboards without a nail gun using simple tools and techniques. In this guide, you’ll learn step-by-step methods to install baseboards securely, whether you prefer manual nailing, adhesive, or a combination of both. These tips will help you achieve a professional finish without the need for specialized equipment.
Tools and Materials Needed
- Hammer: For manual nailing.
- Finishing nails: 1-1.25 inches long, suitable for trim work.
- Construction adhesive: Strong glue designed for wood and drywall.
- Caulk gun: To apply adhesive evenly.
- Clamps or spacers: To hold the baseboard in place while the adhesive sets.
- Pencil and measuring tape: For accurate measurements.
- Saw or miter box: To cut baseboards to length.
- Level: Ensures straight installation.
- Finish nails or small nailset: To countersink nails for a clean look.
- Paint or touch-up supplies: To hide nail holes and imperfections.
Step 1: Measure and Cut the Baseboard
Measure the Walls
Start by measuring the length of each wall where you plan to install the baseboard. Use a tape measure for accuracy. Add a few extra inches to each measurement to account for miter cuts at corners.
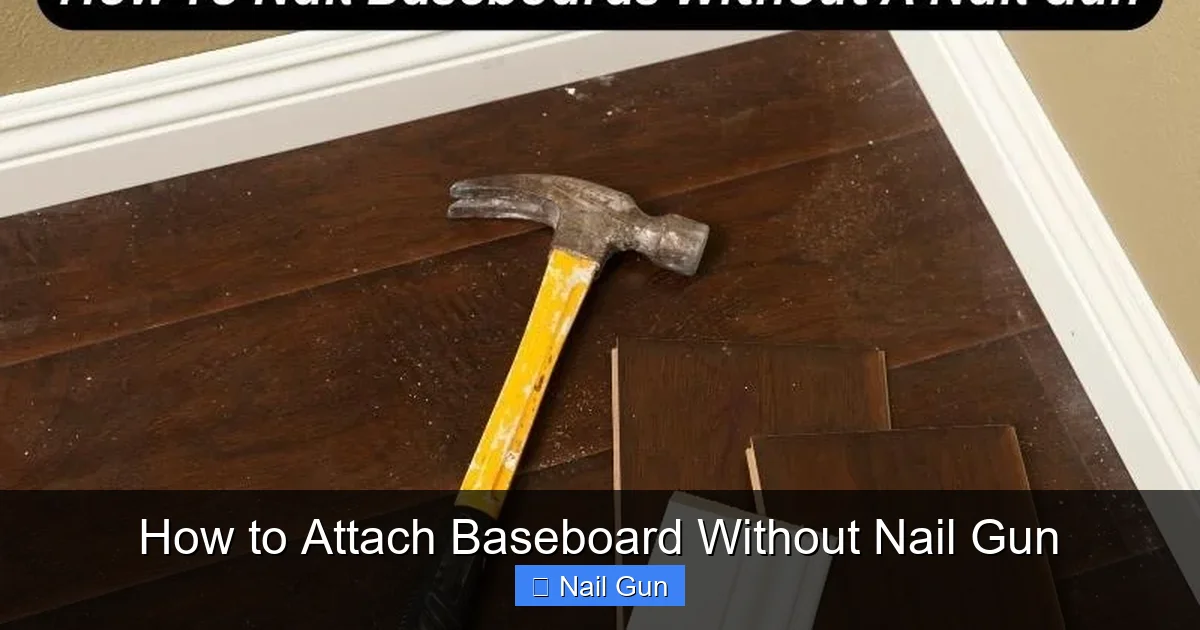
Visual guide about How to Attach Baseboard Without Nail Gun
Image source: ownthetools.com
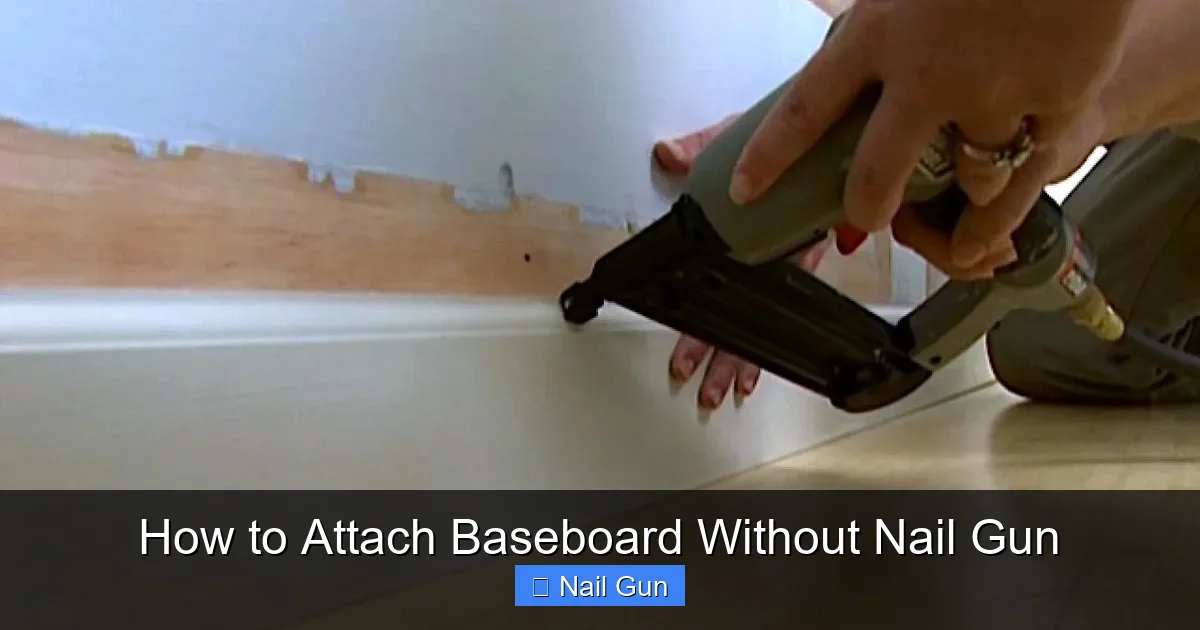
Visual guide about How to Attach Baseboard Without Nail Gun
Image source: diy.sndimg.com
Cut the Baseboard
Using a saw or miter box, cut the baseboard to the measured length. For corners, cut 45-degree angles so they fit snugly together. Remember to measure twice and cut once to avoid mistakes.
Step 2: Prepare the Wall and Baseboard
Clean the Surface
Ensure the wall surface is clean, dry, and free of dust or debris. This helps the adhesive bond properly and prevents the baseboard from slipping.
Mark the Wall
Use a level and pencil to draw a straight line along the wall at the desired height for the baseboard. This line acts as a guide for installation.
Step 3: Apply Adhesive
Prepare the Adhesive
Follow the manufacturer’s instructions to load the caulk gun with construction adhesive. Cut the tip at a 45-degree angle for precise application.
Apply to the Baseboard
Run a continuous bead of adhesive along the back of the baseboard. Focus on the edges and center, ensuring coverage without excessive squeeze-out.
Step 4: Position the Baseboard
Align and Press
Place the baseboard against the wall along your pencil line. Press firmly to ensure good contact with the wall surface.
Clamp or Support
If possible, use clamps, spacers, or even temporary nails to hold the baseboard in place while the adhesive sets. For small sections, you can use heavy objects or ask a helper to hold it.
Step 5: Secure the Baseboard with Nails
Hammer and Nails
Once the adhesive starts to set (usually after a few minutes), gently hammer finishing nails through the face of the baseboard into the wall studs behind. Space nails about 16 inches apart for stability.
Countersink the Nails
Use a nailset or the hammer’s claw to sink the nail heads just below the surface of the wood. This makes it easier to hide the holes later.
Step 6: Finishing Touches
Fill Nail Holes and Gaps
Use wood filler or spackle to hide nail holes. Once dry, sand smooth for a seamless look.
Caulk and Paint
Apply a thin bead of caulk along the top edge of the baseboard to hide any gaps. Touch up with paint or stain to match the wall and trim.
Additional Tips for Success
- Use a level: Always check that the baseboard is straight as you go.
- Work in sections: Apply adhesive and secure in manageable segments for better control.
- Choose the right nails: Finish nails are less visible and easier to countersink.
- Patience: Allow the adhesive to cure fully before applying heavy pressure or painting.
Troubleshooting Common Issues
- Nail Holes Are Visible: Use quality wood filler and sand smoothly before painting.
- Baseboard Doesn’t Stick Well: Ensure the wall is clean, and use enough adhesive. Consider adding nails for extra hold.
- Gaps or Misalignment: Take time to measure and mark carefully. Use shims or spacers if needed.
Conclusion
Attaching baseboards without a nail gun is entirely feasible with the right tools and techniques. Whether you choose manual nailing, adhesive, or a combination, you can achieve a professional look. Take your time, measure accurately, and finish with care for the best results. Happy DIYing!
🎥 Related Video: How To Install Baseboard Without a Nail Gun or Fasteners!
📺 The Funny Carpenter
A quick look at how to install baseboards without a nail gun. The process involves using a primary long lasting glue, and quick …