

Attaching trim without a nail gun is possible with a few alternative tools and techniques. In this guide, you’ll learn step-by-step methods to securely install trim using screws, adhesive, or other fasteners, saving you time and effort.
How to Attach Trim Without a Nail Gun
Attaching trim can seem daunting if you don’t have a nail gun. But don’t worry! There are simple, effective ways to secure trim without specialized tools. Whether you’re working on a small project or just don’t own a nail gun, this guide will walk you through various methods to attach trim safely and professionally.
Key Takeaways
- Use screws instead of nails: Screws provide a strong hold and are easy to countersink for a professional finish.
- Apply construction adhesive: Combining adhesive with fasteners ensures a secure and gap-free attachment.
- Utilize finishing nails and a hammer: Finishing nails with a hammer can be effective for small projects or delicate trims.
- Pre-drill holes: Pre-drilling prevents wood splitting and makes inserting screws or nails easier.
- Use a nail set or punch: A nail set helps sink nails below the surface for a clean look without a nail gun.
- Practice safety and patience: Take your time to ensure precise placement and avoid damaging the trim or wall.
Introduction
Most people think a nail gun is essential for installing trim. While it does make the job faster, it’s not the only way. With some basic tools and techniques, you can attach trim securely, using screws, nails, adhesive, or a combination of these. This guide covers all these methods, providing step-by-step instructions, tips, and troubleshooting advice to help you achieve a clean, professional look without a nail gun.
Tools and Materials Needed
- Screwdriver or drill with screwdriver bits
- Finishing nails and hammer
- Construction adhesive or wood glue
- Pre-drilled bits (for screws)
- Measuring tape and pencil
- Level or square
- Nail set or punch
- Clamps (optional but helpful)
- Safety glasses and gloves
Step 1: Measure and Plan
Accurate measurements
Before starting, measure the length of your trim pieces. Mark where each piece will go. Use a level or square to ensure your lines are straight and even. Proper measurement prevents mistakes and ensures a professional finish.
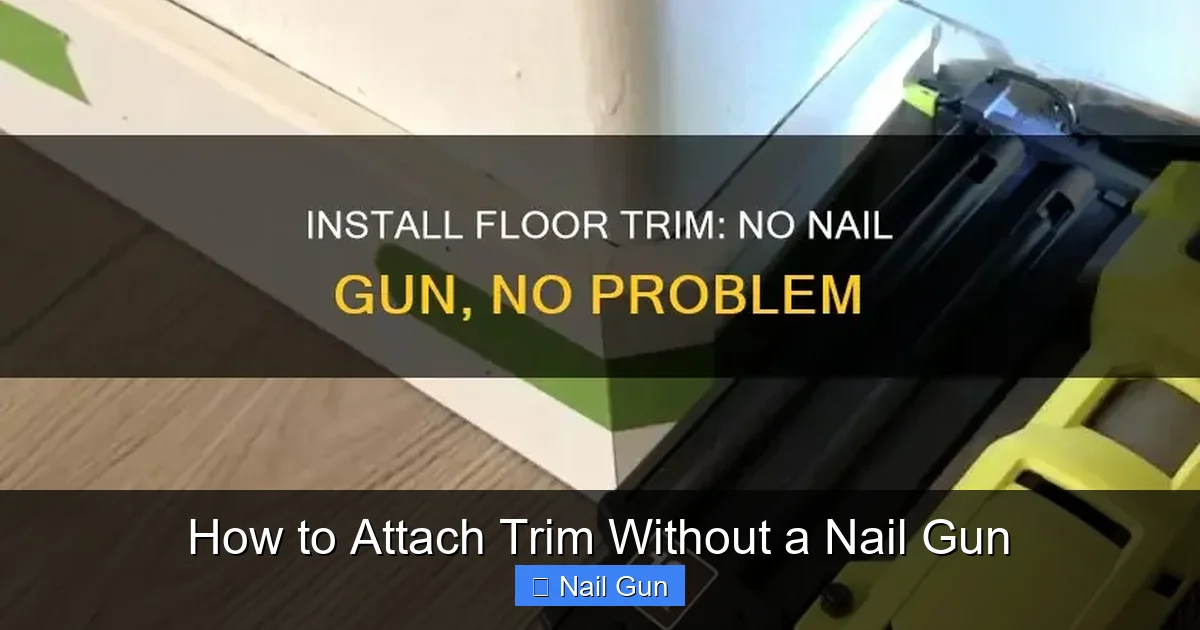
Visual guide about How to Attach Trim Without a Nail Gun
Image source: nailicy.com

Visual guide about How to Attach Trim Without a Nail Gun
Image source: homeimprovementway.com
Cutting the trim
Cut your trim to length using a miter saw or hand saw. Make clean, straight cuts at the correct angles (usually 45° for corners). Double-check your measurements before cutting.
Step 2: Choose Your Attaching Method
Option 1: Screws
Screws are strong and hold well, especially for larger or heavier trim. They also allow for easy adjustments.
Option 2: Finishing Nails and Hammer
Finishing nails are smaller and less visible than regular nails. They work well for small trims and delicate projects.
Option 3: Adhesive
Construction adhesive is useful for attaching lightweight trim or when combined with nails or screws for extra hold.
Step 3: Installing the Trim with Screws
Pre-drill holes
To prevent splitting, pre-drill holes where you plan to insert the screws. Use a drill bit slightly smaller than the screw diameter.
Screw the trim in place
Position the trim against the wall or surface. Using a screwdriver or drill, insert screws at the pre-drilled holes. Space screws about 16 inches apart for longer pieces.
Sink the screws
Use a nail set or punch to countersink the screw heads below the surface of the trim. This creates a smooth finish for painting or finishing.
Step 4: Installing the Trim with Finishing Nails
Hammer and nails
Position the trim and gently tap finishing nails into the wood at regular intervals. Use a level to keep the trim straight.
Sink the nails
Use a nail set or punch to drive the nail heads below the surface for a clean look. Fill the holes with wood filler or caulk after finishing.
Step 5: Using Construction Adhesive
Applying the adhesive
Apply a thin, even bead of construction adhesive along the back of the trim. Be careful not to use too much, as it can squeeze out.
Pressing the trim into place
Hold the trim firmly against the wall or surface. Use clamps or weights if needed to keep it in place while the adhesive dries.
Additional fastening
For extra security, follow up with nails or screws once the adhesive is set.
Step 6: Finishing Touches
- Fill nail holes and gaps: Use wood filler, caulk, or spackle to hide nail holes and gaps.
- Sand smooth: Lightly sand the filled areas for a seamless finish.
- Paint or stain: Finish your trim with paint or stain for a professional look.
Practical Tips and Tricks
- Practice on scrap wood: Before working on your actual trim, test your fasteners and techniques on scrap pieces.
- Use clamps: Clamps help hold the trim in place while you secure it.
- Work in sections: Small sections are easier to handle and align properly.
- Be patient: Take your time to measure, align, and secure for the best results.
Troubleshooting Common Issues
- Trim won’t stay in place: Ensure you’re using enough adhesive or fasteners. Clamps can help hold it until set.
- Nails or screws split the wood: Pre-drill holes to prevent splitting. Use appropriate fastener sizes.
- Uneven gaps or misaligned trim: Use a level during installation and double-check measurements.
Conclusion
Attaching trim without a nail gun is entirely doable with the right tools and techniques. Whether you prefer using screws, finishing nails, or adhesive, each method can give you a professional-looking finish. Practice patience and take your time for the best results. Now, go ahead and upgrade your space confidently—no nail gun needed!
🎥 Related Video: don't forget this important step #nails #holes #trim #basebords #prep #ItsGreatOutdoors
📺 A-Craftmans-Touch