

Are you tired of losing your cordless drill or having it clutter your workspace? Imagine a simple, affordable way to keep your drill safe, organized, and always within reach.
Building your own cordless drill holder is easier than you think—and it can save you time and frustration every time you work on a project. In this guide, you’ll discover step-by-step instructions that anyone can follow, even if you’re not a DIY expert.
Ready to transform your workspace and make your drill last longer? Let’s get started!
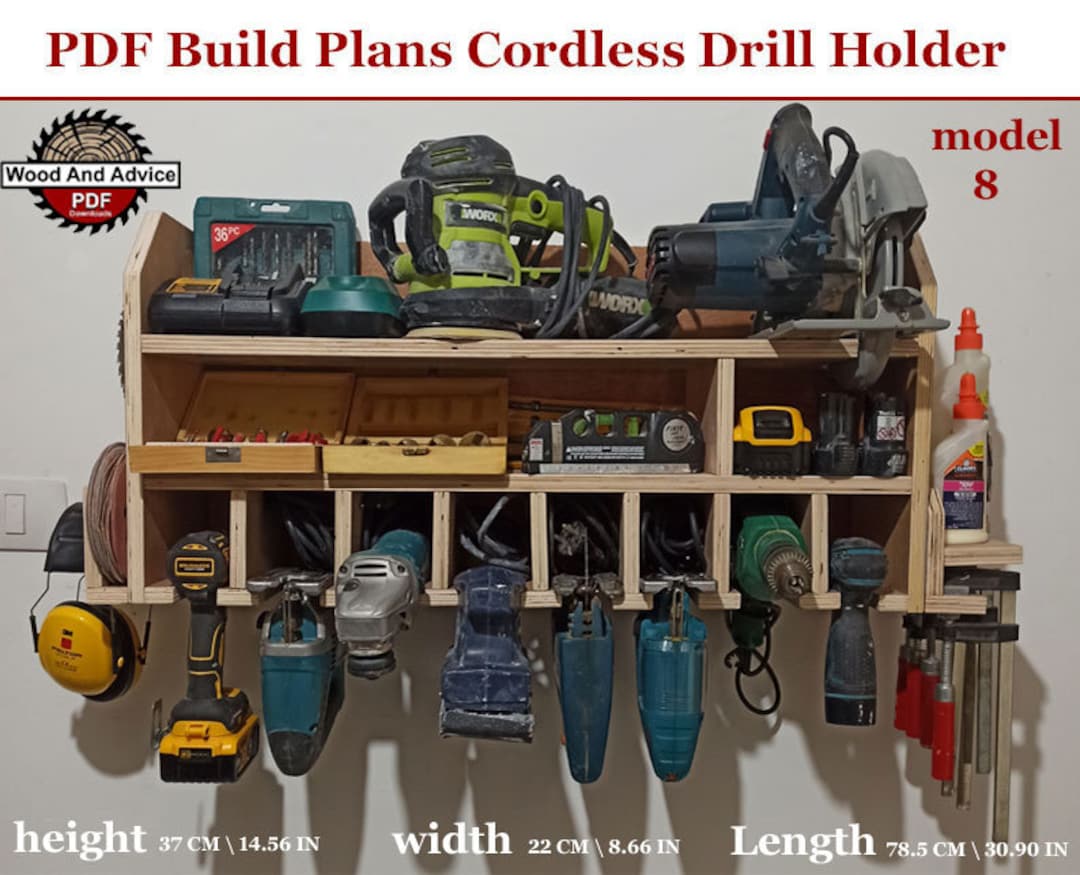
Credit: www.etsy.com
Materials Needed
Building a cordless drill holder requires the right materials for durability and ease. Choosing quality materials ensures your holder lasts long and holds your drill securely. Gather everything before starting for a smooth building process.
Types Of Wood
Select wood that is strong and easy to work with. Pine and plywood are common choices. Pine is soft and affordable, perfect for beginners. Plywood offers extra strength and resists warping. Avoid very soft woods that may break easily.
Hardware And Tools
You need screws, nails, and wood glue to join parts firmly. A drill with drill bits is essential for making holes. Sandpaper helps smooth rough edges. A saw is needed to cut wood to size. A screwdriver or power driver will speed up assembly.
Optional Accessories
Add hooks or small shelves to hold drill bits and accessories. Rubber pads can protect your drill and keep it from slipping. Paint or wood stain improves appearance and protects wood. Labels help organize and find tools fast.

Credit: www.istdiego.net
Design Ideas
Designing a cordless drill holder can be simple and creative. It depends on your space, tools, and how you like to work. This section shares three smart ideas to keep your drill safe and handy. Each design fits different needs and places.
Wall-mounted Holder
A wall-mounted holder saves floor and bench space. You can build it using wood or metal brackets. Attach hooks or slots to hold the drill securely. Place it near your workbench for easy access. This design keeps your drill visible and ready.
Portable Stand
A portable stand lets you carry your drill around easily. Use lightweight materials like plastic or thin wood. Create a base with a slot to hold the drill upright. Add a handle for easy carrying. This design is perfect for moving between jobs.
Multi-tool Organizer
A multi-tool organizer holds more than just your drill. Design compartments for bits, batteries, and other tools. Use small boxes or dividers for neat storage. This keeps everything together and saves time. Ideal for users with many small tools.
Step-by-step Assembly
Building a cordless drill holder is easier than it seems. Follow these clear steps to assemble your holder quickly. Each step will guide you through making a sturdy, useful tool holder. Start with measuring and cutting the wood pieces. Then, smooth the edges by sanding and finishing. Finally, put all parts together carefully. Let’s get started.
Measuring And Cutting Wood
First, measure the wood pieces needed for the holder. Use a tape measure to get exact lengths. Mark the wood with a pencil for cutting lines. Cut the wood with a saw, following your marks. Make sure cuts are straight and clean. This step sets the base for a good holder.
Sanding And Finishing
After cutting, sand all wood surfaces well. Use medium-grit sandpaper for rough edges. Sand until the wood feels smooth to touch. This step removes splinters and sharp corners. Finish by wiping off dust with a dry cloth. Smooth wood helps the holder last longer.
Assembling Components
Place the cut wood pieces in their right positions. Use wood glue to join parts securely. Clamp the pieces to hold them in place. After glue dries, reinforce with nails or screws. Check that the holder is stable and strong. Your cordless drill holder is ready to use.
Mounting And Installation
Mounting and installation are key steps in building a cordless drill holder. Proper mounting ensures the holder stays secure and easy to use. Installation affects how quickly you can access your drill during work.
Choose a strong wall surface for mounting. A good spot keeps your workspace tidy and safe. Consider your workflow to place the holder where you need it most.
Wall Anchoring Techniques
Use wall anchors to secure the holder firmly. Drywall anchors work well for light loads. For heavier drills, use toggle bolts or molly bolts.
Drill pilot holes before inserting anchors. This prevents wall damage and ensures a tight fit. Test the anchor by gently pulling to confirm strength.
Positioning For Accessibility
Mount the holder at waist height for easy reach. Avoid placing it too high or too low. Keep the drill within arm’s length to save time.
Leave enough space around the holder. This space allows easy removal and replacement of the drill. Think about nearby tools to avoid clutter.
Safety Tips
Wear safety goggles while drilling holes. Clear the area of dust and debris after installation. Check the holder regularly for any loose screws.
Do not overload the holder beyond its design. Keep children away from mounted tools. Securely fasten all parts to avoid accidents.
Customization Tips
Customization makes your cordless drill holder truly yours. It can fit your style and needs perfectly. Small changes add big value. Your holder can be both useful and attractive.
Here are some easy ways to customize your holder. Each idea helps organize and improve your workspace.
Painting And Staining
Painting or staining the holder adds color and protection. Choose colors that match your workshop or tools. Use paint for a bright look. Stain shows the wood grain for a natural feel.
Apply a clear coat to protect the finish. Let it dry fully before use. This step keeps the holder strong and looking fresh.
Adding Labels
Labels help find tools quickly. Use simple text or symbols. Stick labels on each spot for drills and bits. This keeps everything in order.
Labels can be printed or hand-written. Use waterproof materials for durability. Clear labels reduce mistakes and save time.
Incorporating Charging Stations
Build spaces for charging batteries into the holder. Design slots that hold chargers safely. This keeps cords neat and prevents damage.
Make sure the charging area has good ventilation. It stops batteries from overheating. A charging station keeps your tools ready to go.
Maintenance And Care
Taking care of your cordless drill holder keeps it working well and lasting longer. Regular maintenance stops damage and helps you spot small problems early. A clean, strong holder makes your work easier and safer. Here are some simple steps to maintain and care for your drill holder.
Cleaning Tips
Wipe your drill holder with a dry cloth to remove dust. Use a damp cloth for sticky dirt, but avoid soaking the wood or metal. Clean the holder after every few uses to prevent buildup. Keep the drill holder in a dry place to stop rust and mold.
Inspecting For Damage
Check the holder regularly for cracks, loose screws, or worn parts. Tighten screws if they feel loose. Replace broken parts immediately to avoid accidents. Look closely at the areas where the drill rests or hangs. Early repairs save time and money.
Upgrading The Holder
Add extra hooks or shelves for more storage space. Use stronger materials if your holder feels weak. Paint or seal wooden holders to protect them from moisture. Custom upgrades make your drill holder fit your tools better. Small changes improve your workspace and tool safety.

Credit: www.etsy.com
Frequently Asked Questions
What Materials Do I Need For A Cordless Drill Holder?
You need wood or plastic, screws, a drill bit, sandpaper, and a measuring tape. These materials ensure durability and ease of assembly.
How Do I Measure For A Custom Drill Holder?
Measure your drill’s length, width, and height carefully. Use these dimensions to cut holder parts precisely for a snug fit.
Can I Build A Cordless Drill Holder Without Power Tools?
Yes, you can use hand tools like a manual screwdriver and hand saw. It will take more time but is possible.
Where Is The Best Place To Mount A Drill Holder?
Mount it on a workshop wall or workbench near your workspace. This keeps your drill accessible and organized.
Conclusion
Building a cordless drill holder saves space and keeps tools neat. It helps you find the drill quickly when needed. The steps are simple and do not require many materials. You can adjust the holder to fit your workspace perfectly.
This small project makes your work area safer and more organized. Try making one today and enjoy a tidier workshop. Simple, useful, and effective.