

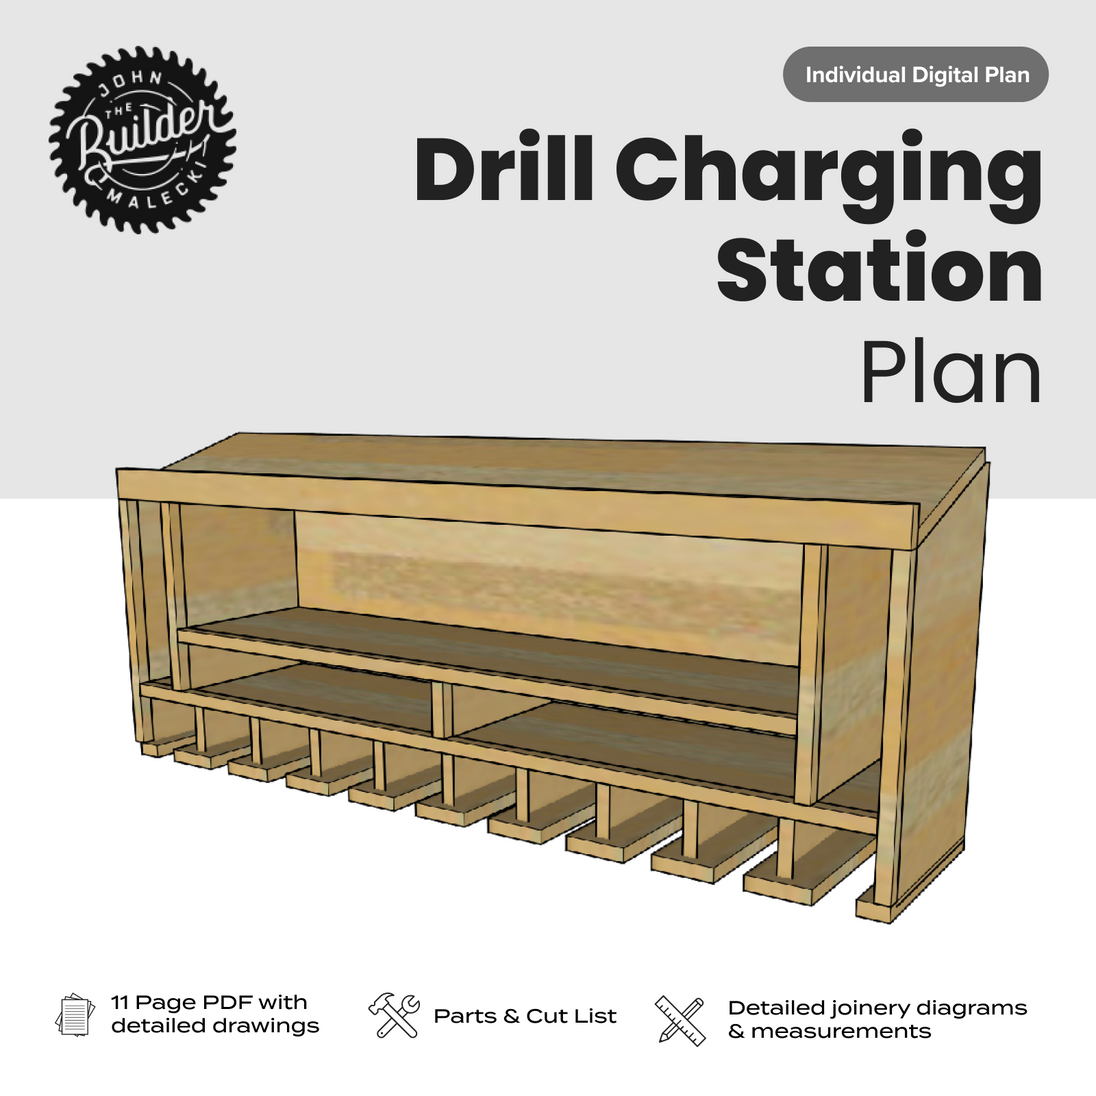
Are you tired of hunting for your cordless drill every time you need it? Imagine having a dedicated station where your drill and all its accessories stay organized and ready to go.
Building a cordless drill station with the right measurements is easier than you think—and it will save you time and frustration. In this guide, you’ll discover simple steps to create a custom drill station that fits your tools perfectly. By the end, you’ll have a neat, efficient workspace that makes every project smoother.
Ready to get started? Let’s dive in!
Choosing Materials
Choosing the right materials is the first step to build a strong cordless drill station. The materials affect the station’s durability and usability. Careful selection saves time and effort later. Focus on wood types and essential tools for the best results.
Selecting Wood Types
Use plywood or pine for a sturdy drill station. Plywood offers strength and smooth surfaces. Pine is light and easy to cut. Choose wood with no cracks or knots for stability. A 3/4 inch thickness works well for most parts. Sand the wood to prevent splinters and get a clean finish.
Necessary Tools And Hardware
Gather screws, wood glue, and brackets for assembly. Use 1 1/4 inch screws for strong joints. Wood glue adds extra hold and durability. Include drawer slides if the station has drawers. A drill and screwdriver make building faster. Sandpaper and a measuring tape are also important for accuracy.

Credit: www.youtube.com
Designing The Drill Station
Designing the drill station is the first step in building a useful workspace. A well-planned design makes your work easier. It helps keep tools organized and within reach. This section guides you through setting the right size and storage options for your drill station.
Determining Station Dimensions
Start by measuring your cordless drill and its accessories. Note the drill’s length, height, and width. Add extra space for easy handling and placement. A good size is about 24 inches wide and 18 inches deep. The height should match your comfort, usually around 36 inches. This height lets you work while standing or sitting. Make sure the station fits your workspace without crowding it.
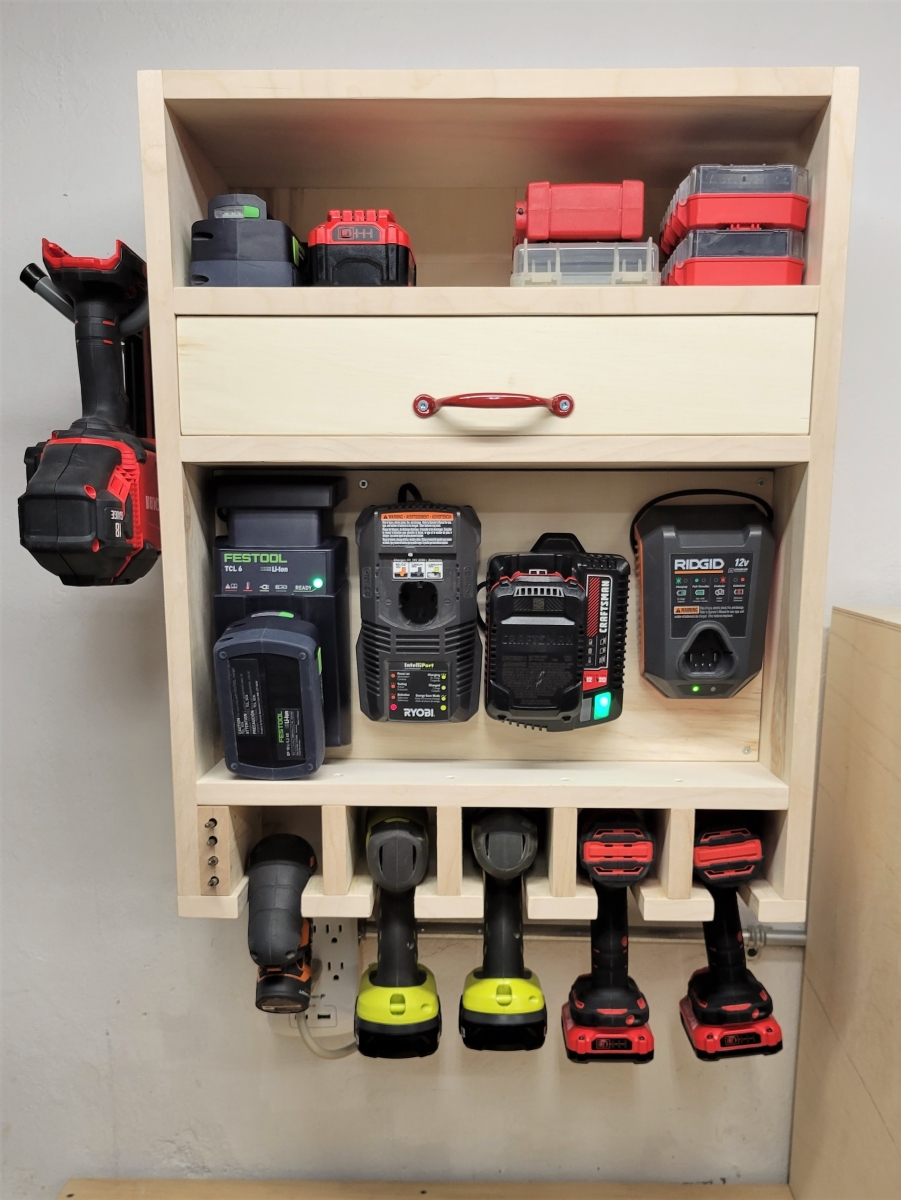
Planning Storage Compartments
Think about the tools and parts you use most. Design compartments for batteries, drill bits, and chargers. Small bins or drawers keep tiny items from getting lost. Include open shelves for quick access to larger tools. Arrange compartments so you can reach everything without moving around. Label each section to save time. Good storage keeps your workspace neat and efficient.
Cutting And Preparing Components
Cutting and preparing components is the first step to build a cordless drill station. It shapes the wood pieces to fit the design perfectly. This step ensures the station is strong and stable. Precise cuts help the parts join well. Careful preparation saves time during assembly and makes the final product look neat.
Measuring And Marking Wood
Start by measuring each piece of wood carefully. Use a tape measure for accuracy. Mark the cut lines with a pencil. Draw clear, straight lines to follow. Double-check your measurements before cutting. Accurate marking prevents mistakes and wasted wood.
Cutting Techniques
Choose the right saw for each cut. A handsaw works well for small pieces. Use a circular saw for straight, long cuts. Cut slowly to avoid splintering the wood. Keep the saw steady and follow the lines. Sand rough edges after cutting for a smooth finish.
Assembling The Station
Assembling the cordless drill station brings all parts together for a sturdy and useful workspace. Careful assembly ensures the station holds tools well and lasts long. Follow each step to build a solid and organized drill station.
Joining Parts Securely
Start by aligning the wood pieces as per the measurements. Use screws or nails to join parts firmly. Drill pilot holes to avoid splitting the wood. Tighten screws evenly to keep the frame stable. Check the corners for squareness before final tightening. Secure joints prevent wobbling and increase durability.
Installing Shelves And Holders
Measure shelf spaces for batteries, drill bits, and chargers carefully. Attach shelf supports at the marked heights. Place shelves and fasten them with screws. Install holders for drills using brackets or hooks. Make sure shelves are level and holders fit tools snugly. Proper installation keeps everything easy to reach and neat.
Adding Finishing Touches
Adding finishing touches to your cordless drill station makes a big difference. It improves how it looks and how long it lasts. These steps protect the wood and give a smooth, clean finish. Taking time here ensures your station stays strong and neat for years.
Sanding And Smoothing Surfaces
Start by sanding all wood surfaces. Use medium-grit sandpaper to remove rough spots and edges. Next, switch to fine-grit sandpaper for a smooth finish. Sand with the grain to avoid scratches. Wipe away dust with a dry cloth after sanding. Smooth surfaces help paint or sealant stick better.
Applying Paint Or Sealant
Choose paint or sealant based on your style and use. Paint adds color and extra protection. Sealant keeps wood natural and guards against moisture. Apply thin, even coats with a brush or roller. Let each coat dry fully before adding another. Finish with two or three coats for best results.
Credit: johnmalecki.com
Customizing For Efficiency
Customizing your cordless drill station improves your work speed and comfort. A well-designed station keeps tools ready and easy to reach. This saves time and reduces frustration. Focus on making the station fit your needs perfectly. Small changes can make a big difference in your daily tasks.
Incorporating Charging Ports
Adding charging ports to your drill station keeps batteries full and ready. Place the ports where you can plug in without moving the drill. Use a power strip with multiple outlets for charging several batteries. Secure cables to avoid tangles and trip hazards. This setup lets you work longer without searching for chargers.
Optimizing Tool Accessibility
Arrange your tools so they are easy to grab and return. Use hooks or slots for drills, batteries, and bits. Keep frequently used items at arm’s length to save time. Label each spot for fast identification. Good accessibility reduces clutter and keeps your workspace tidy.
Maintaining The Drill Station
Maintaining your cordless drill station keeps it working well for a long time. A clean and organized station helps you find tools fast. It also prevents damage and saves money on repairs. Simple care steps keep the station safe and ready for every project.
Regular Cleaning Tips
Wipe the drill station daily to remove dust and dirt. Use a dry cloth or soft brush for corners. Avoid water or harsh chemicals that can damage wood or metal parts. Empty tool holders often to stop buildup of debris. Keep battery slots clean and dry to avoid corrosion. Check drill bits and accessories for dust and clean them too.
Repair And Upgrade Ideas
Check screws and joints regularly and tighten if loose. Replace worn or broken parts to keep the station stable. Add extra shelves or hooks for more storage space. Use small containers to separate drill bits and screws. Paint or seal wood parts to protect against moisture. Upgrade lighting near the station for better visibility during work.
Credit: www.ukraine-canoe.org
Frequently Asked Questions
What Materials Are Needed To Build A Cordless Drill Station?
To build a cordless drill station, you need wood boards, screws, drill bits, clamps, and measuring tape. These materials help create a sturdy and organized workspace for your drill and accessories.
How Do I Measure The Dimensions For The Drill Station?
Measure the drill’s length, width, and height first. Add extra space for battery storage and tool access. Accurate measurements ensure a perfect fit and efficient use of space.
Can I Customize The Drill Station For Different Drill Sizes?
Yes, customize compartments based on your drill sizes and accessories. Adjustable shelves or slots improve versatility. Customization keeps your drill station neat and functional.
How To Ensure Stability In A Cordless Drill Station?
Use thick wood and secure joints with screws or brackets. Adding a solid base or rubber feet prevents slipping. Stability ensures safety and ease while working.
Conclusion
Building a cordless drill station saves space and keeps tools tidy. Use the measurements carefully for a perfect fit. This project helps you work faster and stay organized. It also protects your drill and accessories from damage. Try to follow each step with patience and care.
Soon, you will enjoy a neat and useful workspace. Simple projects like this make everyday tasks easier and more fun. Give it a try and see the difference yourself.