

Changing the drill bit on your cordless drill might seem tricky at first, but it’s easier than you think. Whether you’re fixing something around the house or starting a new project, knowing how to quickly swap out drill bits can save you time and frustration.
In this guide, you’ll learn simple, step-by-step instructions that anyone can follow. By the end, you’ll feel confident handling your drill like a pro. Ready to make your next project smoother and more efficient? Let’s get started!
Choosing The Right Drill Bit
Choosing the right drill bit is key for a smooth drilling job. Using the wrong bit can damage your material or drill. It also wastes time and effort. Understanding different drill bits helps you pick the best one for your task. This guide breaks down types, materials, and sizes.
Types Of Drill Bits
Drill bits come in many shapes and designs. Twist bits are common for wood and metal. Masonry bits have a strong tip for concrete or brick. Spade bits make big holes in wood fast. Each type fits a certain job to work well.
Selecting Based On Material
Choose a drill bit made for your material. Wood needs sharp, pointed bits. Metal requires strong, heat-resistant bits. Concrete and stone need carbide-tipped bits. Using the right bit avoids breaking or dulling the tool.
Size Matters
Pick the right size bit for your hole. Too small means the hole won’t fit the fastener. Too big weakens the hold. Check the screw or anchor size before drilling. Match the bit diameter to the job for best results.
Credit: www.esseg.eu
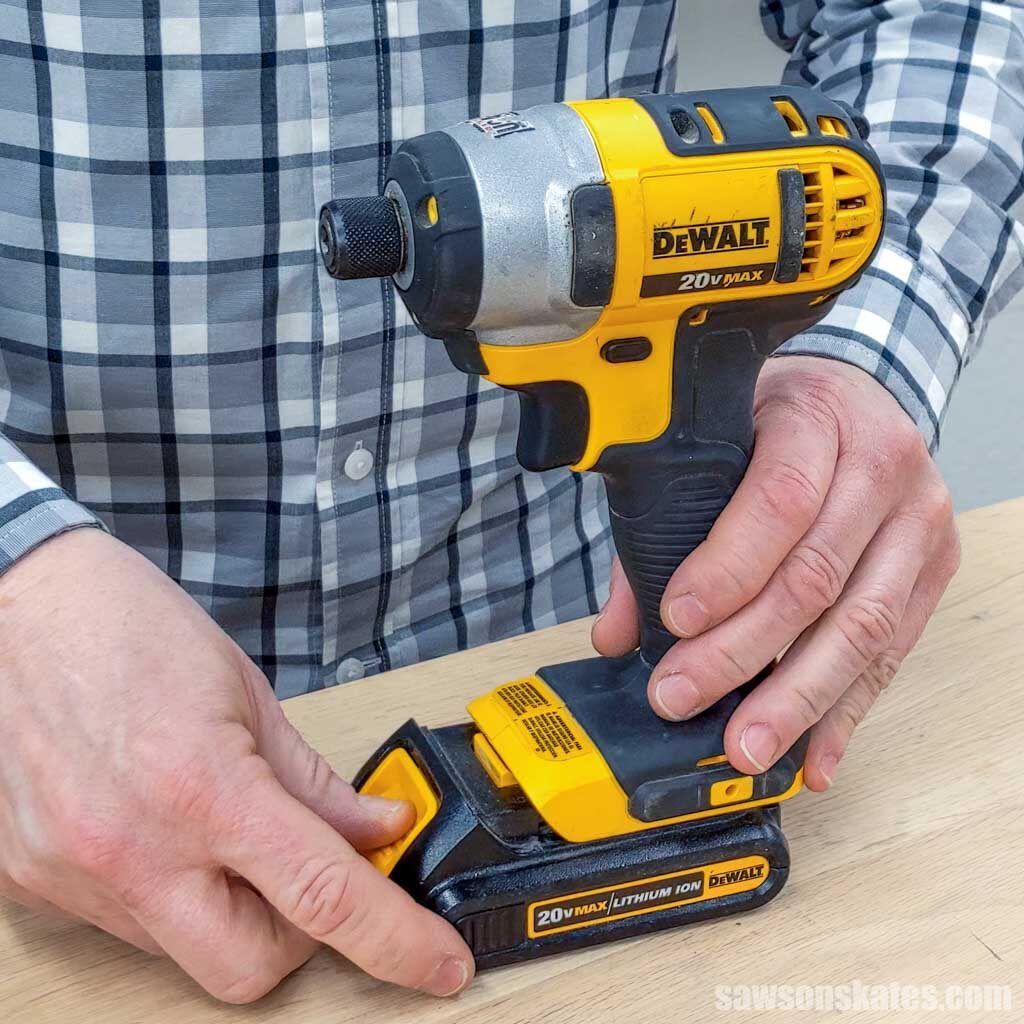
Preparing Your Cordless Drill
Preparing your cordless drill properly makes changing the drill bit easier and safer. This step helps you avoid accidents and keeps your tools in good shape. Follow these simple guidelines before starting the bit change process.
Safety First
Always wear safety glasses to protect your eyes. Keep your hands clean and dry to prevent slipping. Work in a well-lit area to see clearly. Avoid loose clothing or jewelry that might get caught in the drill.
Power Off And Unplug
Turn off your drill before changing the bit. Remove the battery pack to stop any power flow. This prevents accidental starts that could cause injury. Double-check that the drill cannot turn on during the process.
Gathering Tools
Collect all tools needed for the bit change. You may need a wrench or chuck key for some drills. Have a clean cloth ready to wipe the drill and bits. Organize your workspace to keep everything within reach.
Removing The Old Drill Bit
Removing the old drill bit is the first step before adding a new one. It ensures your cordless drill works well and safely. This process is simple and takes only a few moments. Knowing how to do it right helps avoid damage to your drill or bits.
Locating The Chuck
The chuck is the part that holds the drill bit. It sits at the front of the drill. Usually, it looks like a round collar with ridges. You need to find this to remove the old bit.
Loosening The Chuck
Turn the chuck counterclockwise to loosen it. You can do this by hand or with a chuck key. Some cordless drills have a keyless chuck, making it easier. Keep turning until the bit feels loose.
Taking Out The Bit
Once the chuck is loose, pull the old drill bit out. Hold the drill steady with one hand. Use the other hand to gently remove the bit. Store the bit safely if you want to reuse it later.

Credit: www.wikihow.com
Installing The New Drill Bit
Installing a new drill bit on your cordless drill is a simple task. It ensures your drill works well and safely. Follow these steps carefully to place the bit correctly. This will help you drill with accuracy and avoid damage to the tool or workpiece.
Inserting The Bit Properly
Hold the drill with one hand. Use the other hand to open the chuck. Insert the drill bit straight into the center. Push the bit in deep enough to hold it firmly. Make sure the bit is not crooked or loose.
Tightening The Chuck
Turn the chuck clockwise to close it around the bit. Keep tightening until the bit feels secure. Use the drill’s chuck key if it has one. Avoid over-tightening to prevent damage. Check that the bit does not move.
Checking The Fit
Give the drill bit a gentle pull. It should stay firmly in place. Spin the drill slowly without power. Watch if the bit spins true without wobbling. A good fit means better drilling and safety.
Testing The Drill Bit
Testing the drill bit after installation is a key step. It helps ensure the bit is secure and working well. This step prevents damage to the drill or work surface. Safety comes first, so take time to test carefully.
Powering On
Start by turning on the cordless drill. Hold it firmly with both hands. Keep the drill bit pointed away from your body. Use the lowest speed setting to begin. This controls the drill and avoids sudden movements.
Performing A Test Drill
Choose a scrap piece of wood or material. Gently press the drill bit to the surface. Apply steady, light pressure while drilling. Listen for any unusual sounds or vibrations. If the bit spins smoothly, it fits well.
Adjusting If Needed
Stop the drill and turn it off. Check if the bit is loose or wobbly. Tighten the chuck by hand or with a tool as needed. Repeat the power on and test drill steps. Make small adjustments until the bit runs smoothly.

Credit: www.youtube.com
Maintaining Your Drill Bits
Maintaining your drill bits helps them last longer and work better. Taking care of them prevents damage and keeps them sharp. Simple habits after every use can save money and effort later.
Cleaning After Use
Remove dust and debris from the drill bits right after use. Use a dry cloth or a small brush to clean the bits. Avoid water to stop rust from forming. Clean bits drill more smoothly and stay sharp longer.
Storing Properly
Store drill bits in a dry place to avoid rust and damage. Use a case or holder to keep bits organized and safe. Keep bits separated so they do not bump and dull each other. Proper storage keeps bits ready for your next job.
When To Replace
Replace drill bits if they become dull, chipped, or bent. Dull bits make drilling harder and can damage your tool. Bent bits may cause uneven holes or break during use. Regularly check bits to know when it is time to get new ones.
Frequently Asked Questions
How Do I Remove A Drill Bit From A Cordless Drill?
To remove a drill bit, first power off the drill. Hold the chuck and rotate it counterclockwise to loosen the bit. Pull the bit out gently once it’s loose. Always wear safety gloves to avoid injury during the process.
What Is The Best Way To Insert A New Drill Bit?
Insert a new bit by opening the chuck wide enough. Slide the bit straight into the chuck. Tighten the chuck by turning it clockwise until the bit is secure. Make sure the bit is centered for better drilling accuracy.
How Can I Tell If The Drill Bit Is Properly Secured?
A properly secured bit won’t wobble or move when you pull it. Tighten the chuck firmly to avoid slippage. Test by running the drill at low speed before use. This ensures safety and improves drilling performance.
Can I Change Drill Bits Without A Key On My Cordless Drill?
Yes, many cordless drills have keyless chucks. Simply twist the chuck by hand to loosen or tighten the bit. Keyless chucks make bit changes faster and easier, especially on cordless drills.
Conclusion
Changing a drill bit on a cordless drill is simple and quick. First, loosen the chuck by turning it. Then, remove the old bit carefully. Insert the new bit straight into the chuck. Tighten the chuck firmly to hold the bit in place.
Always check if the bit is secure before use. Following these steps keeps your work safe and efficient. Practice a few times to feel confident. Now, you can change drill bits anytime without trouble. Keep your tools ready for any project ahead.