

If you’ve ever found yourself stuck trying to change a drill bit on your Craftsman cordless drill, you’re not alone. It might seem tricky at first, but once you know the simple steps, you’ll be able to switch bits quickly and get back to your project without any hassle.
Imagine how much easier your work will be when you can handle this yourself, saving time and frustration. In this guide, you’ll learn exactly how to change your drill bit safely and efficiently. Keep reading—you’re just a few easy steps away from mastering your drill.
Identify Your Drill Model
Knowing your Craftsman cordless drill model is key before changing the drill bit. Different models have unique features and parts. Identifying the model helps you choose the right drill bit and tools. It also ensures safe and smooth operation.
Start by finding the model number on your drill. This number provides important details about your drill’s size and capabilities. You can use this information to check manuals or online resources.
Check Drill Specifications
Look for the drill’s label or sticker. It usually shows the model number and power details. Note the voltage and speed ratings. These specs tell you how strong and fast your drill is. This info helps in selecting the right drill bit size and type.
Check the instruction manual if you have one. It lists all the technical details. You can also find specs on the Craftsman website. Accurate specs prevent damage to your drill or bits.
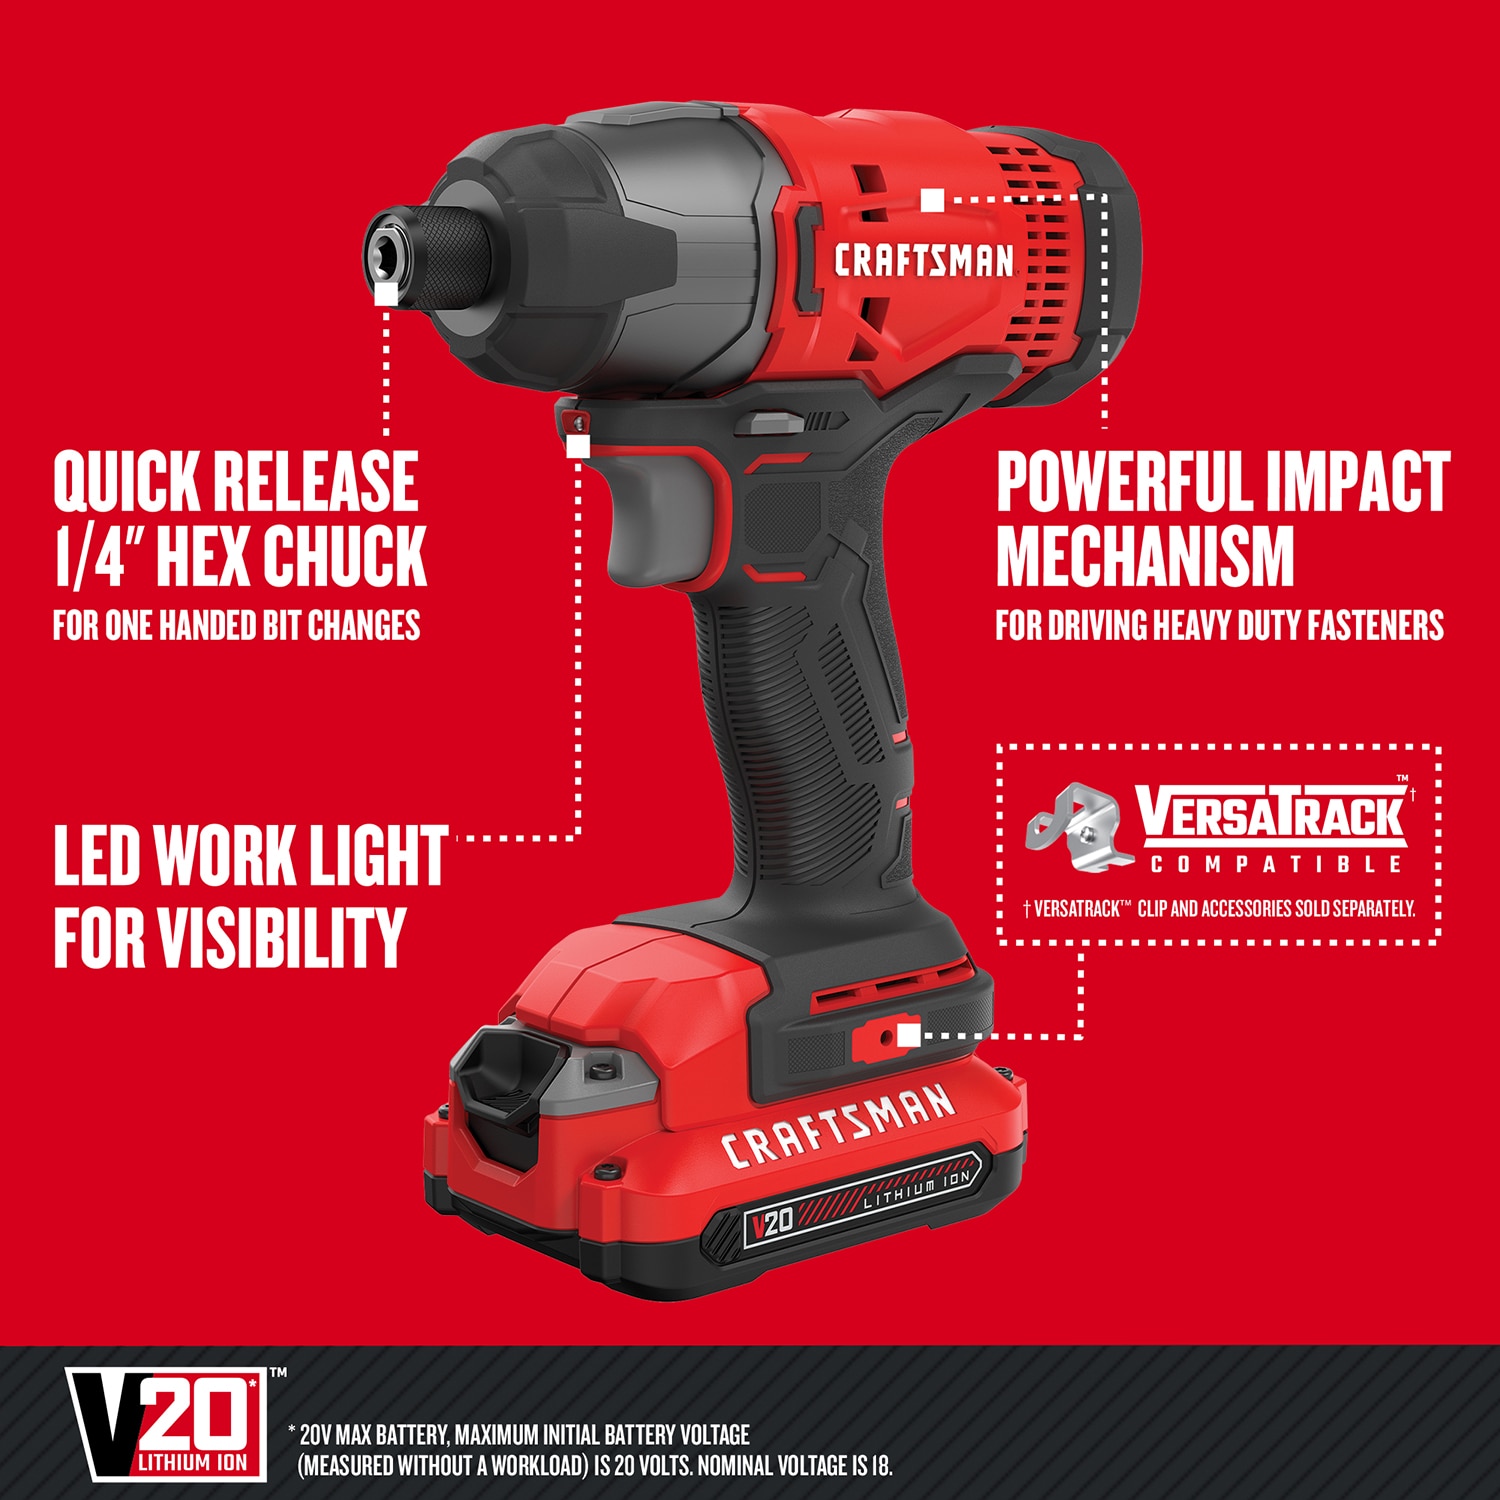
Locate The Chuck Type
The chuck holds the drill bit in place. Craftsman drills may have different chuck types. Most common are keyless and keyed chucks. Keyless chucks twist by hand to tighten or loosen. Keyed chucks need a special tool called a chuck key.
Look at your drill’s chuck to identify its type. This affects how you change the drill bit. Knowing the chuck type makes the bit change quicker and easier.
Credit: www.lowes.com
Gather Necessary Tools
Before changing the drill bit on your Craftsman cordless drill, gather all necessary tools. Having everything ready saves time and ensures safety. It also makes the process smooth and easy. Start by collecting basic safety gear and any extra tools that might help.
Safety Gear To Use
Wear safety goggles to protect your eyes from dust and debris. Gloves help protect your hands from sharp edges and pinches. Use ear protection if you work in a noisy area. Keep your workspace clean and well-lit. These simple steps keep you safe while changing the drill bit.
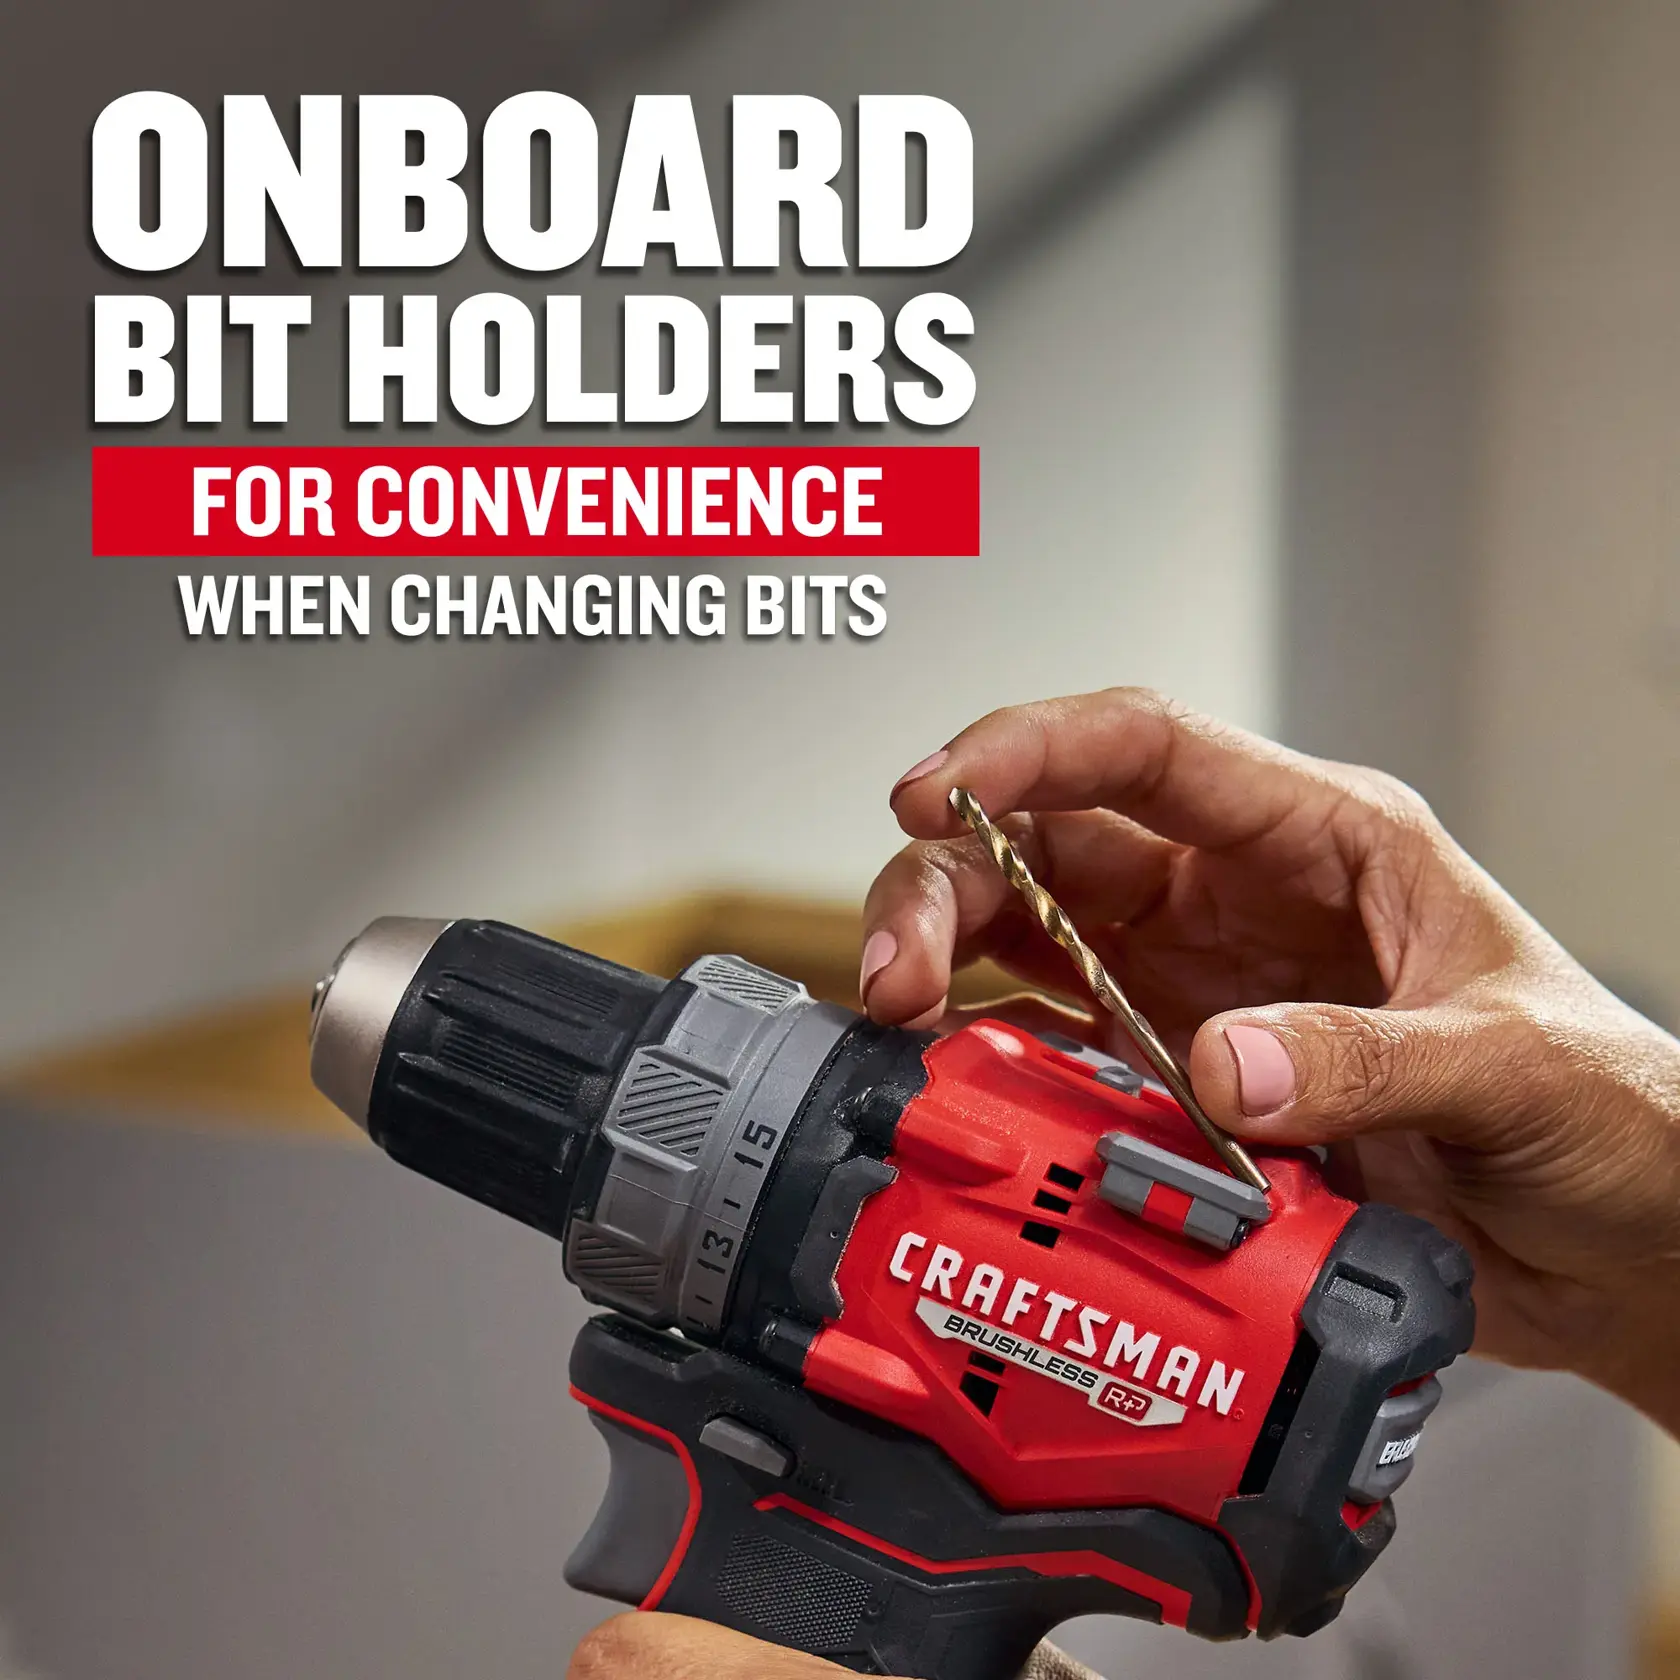
Additional Tools For Assistance
Sometimes, you need extra tools to make bit changes easier. A small wrench or pliers can help loosen tight chucks. A cloth or rag keeps your hands clean and improves grip. Keep a small container nearby to hold screws or small parts. These tools make the job faster and prevent loss of parts.
Prepare The Drill
Preparing your Craftsman cordless drill before changing the bit is key. It keeps you safe and the drill working well. Taking these first steps makes the bit change smooth and easy.
Power Off And Remove Battery
Start by turning off the drill. This stops it from running by accident. Next, remove the battery pack. This step cuts power completely. It protects you from injury. Also, it prevents damage to the drill during the bit swap.
Clean The Chuck Area
Check the chuck area for dust and dirt. Use a dry cloth or brush to clean it gently. Dirt can block the chuck from opening or closing. Clean chuck parts help hold the new bit tightly. This keeps the drill working safely and well.
Loosen The Chuck
Loosening the chuck is the first step to change a drill bit on your Craftsman cordless drill. The chuck holds the bit firmly in place. It must be loose enough to remove the old bit and insert a new one. Craftsman drills come with two types of chucks: keyless and keyed. Each type needs a different way to loosen it.
Using The Keyless Chuck
Hold the drill firmly with one hand. Grip the chuck with your other hand. Turn the chuck counterclockwise. This action loosens the jaws inside the chuck. Keep turning until the bit can move freely. Now, you can pull out the old bit. Insert the new bit straight into the chuck. Turn the chuck clockwise to tighten it. Make sure the bit is secure before you start drilling.
Using A Keyed Chuck
Find the chuck key that came with your drill. Insert the key into the hole on the chuck. Turn the key counterclockwise to loosen the chuck jaws. This will free the drill bit. Remove the old bit carefully. Place the new bit inside the chuck. Turn the chuck key clockwise to tighten. Check that the bit is held tightly in place.
Remove The Old Drill Bit
Removing the old drill bit from your Craftsman cordless drill is the first step in changing it. Doing this carefully protects both the drill and your hands. This part is simple but needs attention. Follow easy steps to take out the old bit safely.
Grip And Pull Techniques
Hold the drill firmly in one hand. Use your other hand to grip the drill bit near the chuck. Twist the chuck counterclockwise to loosen it. Keep a steady grip on the bit. Pull the bit straight out once it feels loose. Avoid bending or forcing the bit out. A smooth pull prevents damage.
Handling Stuck Bits
Some bits can get stuck inside the chuck. Try twisting the chuck back and forth gently. Use pliers for a stronger grip on the bit. Be careful not to hurt the drill or bit. Tap the bit lightly with a small hammer if it still won’t move. This can help loosen tight bits. Patience is key to avoid breaking parts.
Credit: www.craftsman.com
Insert The New Drill Bit
Inserting a new drill bit into your Craftsman cordless drill is simple. This step is key to using the drill safely and effectively. A properly inserted bit ensures steady drilling and prevents damage to the tool or material.
Focus on two main tasks: aligning the bit correctly and securing it firmly. These actions keep the bit in place during use.
Aligning The Bit Correctly
Hold the new drill bit by the smooth end. Place the pointed end inside the chuck. The chuck is the round part at the drill’s front.
Push the bit straight into the chuck. Avoid tilting it. A straight bit fits better and drills more accurately. Check that the bit is centered and not crooked.
Securing The Bit Firmly
Turn the chuck sleeve clockwise to tighten it. Use your hand or the drill’s key if needed. Tighten until the bit feels firmly held. Give the bit a gentle tug to confirm it won’t slip.
Do not overtighten. Over-tightening can damage the chuck or bit. Just ensure it is snug and secure for safe drilling.
Test The Bit Installation
After changing the drill bit on your Craftsman cordless drill, testing the bit installation is important. This step ensures the bit is secure and ready for use. A loose or poorly installed bit can cause problems or even injury.
Testing the installation helps you avoid damage to your drill or work surface. It also confirms that the drill will work smoothly and efficiently. Follow these simple steps to test your drill bit installation safely and correctly.
Reattach Battery And Power On
First, put the battery back into the drill. Make sure it clicks in place firmly. This restores power to the drill for testing. Hold the drill securely in your hand. Turn on the drill with the power switch. Listen for any unusual sounds or vibrations. The drill should start smoothly without jerking.
Perform A Low-speed Test
Next, set the drill to a low speed setting. Slowly press the trigger to start the drill. Watch how the bit spins. It should rotate straight without wobbling. If the bit moves unevenly, stop immediately. Tighten the bit again and retest. Low-speed testing reduces risk and lets you check the installation carefully.

Credit: www.youtube.com
Maintenance Tips
Maintaining your Craftsman cordless drill ensures it works well every time. Simple care extends the drill’s life and keeps it safe to use. Focus on key areas like the chuck and drill bits for best results.
Regular Chuck Cleaning
Keep the chuck free from dirt and dust. Use a small brush or compressed air to clear debris. Open the chuck fully before cleaning. Wipe the jaws with a dry cloth to remove grime. Clean chuck parts regularly to avoid slipping bits.
Proper Bit Storage
Store drill bits in a dry, organized case. Avoid tossing bits in a toolbox where they can get damaged. Group bits by size and type for quick access. Dry bits after use to prevent rust. Proper storage keeps bits sharp and ready.
Frequently Asked Questions
How Do I Unlock The Chuck On A Craftsman Cordless Drill?
To unlock the chuck, hold the drill firmly. Rotate the chuck counterclockwise until it loosens. This releases the drill bit for removal or replacement.
What Tools Are Needed To Change A Drill Bit?
No additional tools are required. Craftsman cordless drills feature a keyless chuck. You can change bits by hand easily and quickly.
How Do I Insert A New Drill Bit Properly?
Open the chuck by turning it counterclockwise. Insert the new bit fully into the chuck. Tighten the chuck by turning it clockwise until secure.
Can I Change Bits While The Drill Is Powered On?
No, always turn off and unplug the drill first. This prevents accidental starts and ensures safety while changing bits.
Conclusion
Changing the drill bit on your Craftsman cordless drill is simple and quick. Just loosen the chuck, remove the old bit, and insert the new one firmly. Make sure the bit is straight and tight before use. Regularly changing bits keeps your drill working well.
Practice a few times to get comfortable with the process. This skill helps you handle many DIY projects with ease. Keep your drill ready and your work smooth.