

In this guide, you’ll learn how to craft nail gun rust for art, restoration, or decoration projects. We’ll cover simple techniques, materials needed, and expert tips to achieve authentic-looking rust on your nail gun accessories or parts.
Key Takeaways
- Understand the purpose: Crafting nail gun rust is useful for creating realistic aged effects on metal surfaces.
- Gather necessary materials: Basic supplies include rust activators, vinegar, salt, and protective gear.
- Proper preparation: Clean and sand the nail gun parts before applying rust to ensure even results.
- Apply rust process: Use specific techniques like vinegar soaking, salt spray, or commercial rust activators for best results.
- Patience is key: Allow sufficient time for rust to develop, which may take several hours to days depending on the method.
- Finish and protect: Seal the rusted surface with clear coat to prevent further corrosion or removal.
Introduction
If you’re into DIY projects, furniture restoration, or prop making, you might want your nail gun parts or accessories to look old and rusty. Learning how to craft nail gun rust can add authenticity to your projects without damaging the actual tool. This guide will walk you through simple, safe, and effective methods to create realistic rust effects on metal surfaces. Whether you’re aiming for a vintage look or want to simulate rust for artistic purposes, we’ve got you covered.
Understanding Why and When to Craft Nail Gun Rust
Rust adds character and authenticity to metal objects. Sometimes, you don’t want to wait years for natural rust to form. Instead, you can artificially create rust for visual effects. This is especially useful in art projects, film props, or decorative pieces. Remember, your goal is to achieve a convincing, aged look, not to weaken or damage the actual nail gun or its parts.
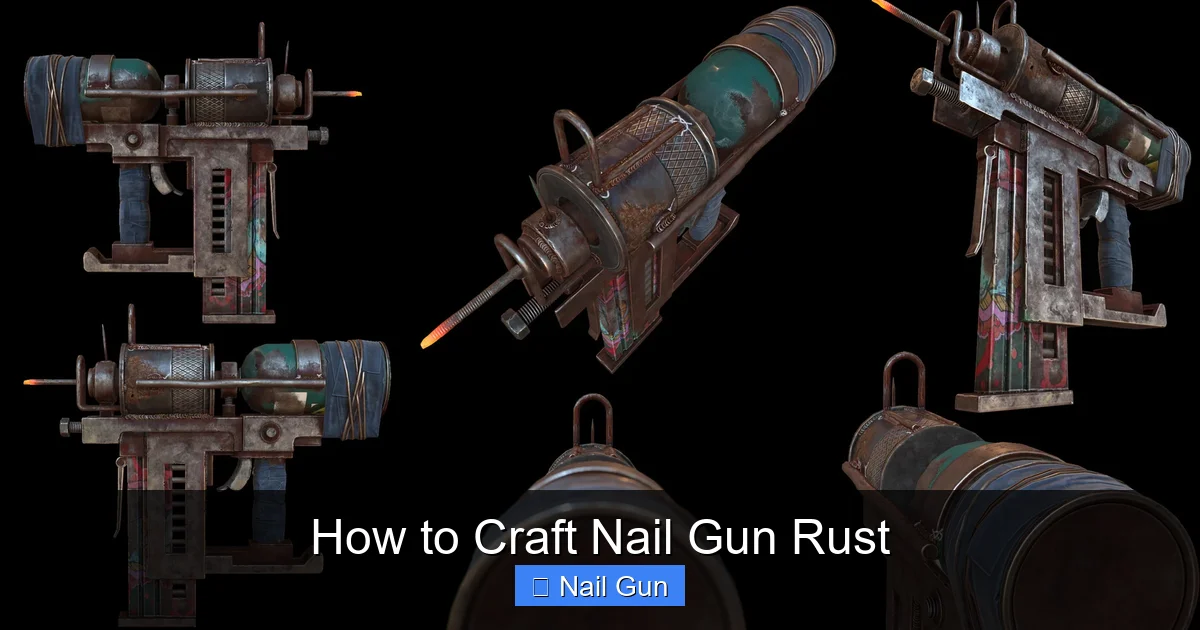
Visual guide about How to Craft Nail Gun Rust
Image source: cdna.artstation.com
Materials Needed
- Vinegar (white or apple cider) – a natural rust activator
- Salt – enhances rust formation
- Hydrochloric acid or commercial rust activators – for faster results (use with caution)
- Spray bottles or brushes – for applying liquids
- Protective gear (gloves, safety glasses, mask)
- Sandpaper or wire brush – for cleaning surfaces
- Clear sealant or lacquer – to protect the rusted look
- Water – for rinsing and mixing
Step 1: Prepare Your Nail Gun Parts
Cleaning and Sanding
Start by thoroughly cleaning the nail gun parts you want to rust. Use a wire brush or sandpaper to remove any paint, grease, or dirt. This ensures the rusting agents adhere well and produce an even, realistic rust pattern.
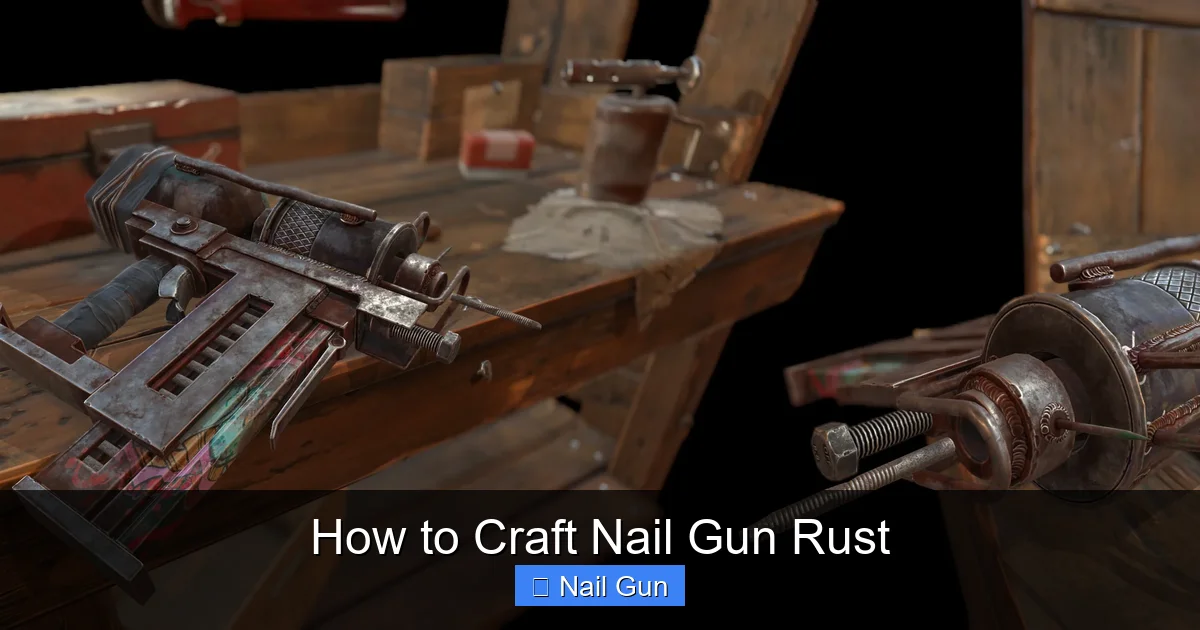
Visual guide about How to Craft Nail Gun Rust
Image source: cdnb.artstation.com
Tip: Wear gloves and safety glasses during cleaning to avoid injury.
Step 2: Choose Your Rusting Technique
There are several methods to create rust. Pick one based on your desired look and available materials:
- Vinegar and Salt Method: Easy and natural, suitable for most projects.
- Commercial Rust Activators: Faster, more controlled results.
- Oxidizing with Hydrogen Peroxide and Salt: Creates a different rust pattern.
Step 3: Applying the Rust Solution
Using Vinegar and Salt
- Mix equal parts vinegar and water in a spray bottle or container.
- Add a generous amount of salt (about 1-2 teaspoons per cup of liquid). Stir until dissolved.
- Spray or brush the solution onto the cleaned metal surface evenly.
Tip: For more intense rust, you can soak the parts in this solution for several hours.
Using Commercial Rust Activators
- Follow the manufacturer’s instructions carefully.
- Apply the activator using a brush or spray, making sure to cover all areas evenly.
- Let it sit for the recommended time, usually 15-30 minutes.
Step 4: Accelerate Rust Formation
To speed up the rusting process, you can apply additional salt or expose the parts to moisture and oxygen. Placing the parts in a humid environment or leaving them outside in the rain can also help develop rust faster.
Important: Keep an eye on the process to prevent over-rusting or damaging the metal.
Step 5: Rinse and Dry
- Once the desired rust look is achieved, rinse the parts with water to stop the chemical reaction.
- Dry thoroughly with a cloth or air dry in a well-ventilated space.
Note: Do not skip this step, as residual chemicals can continue to react or cause corrosion later.
Step 6: Seal and Protect the Rusted Surface
To preserve the rusted effect and prevent further corrosion, apply a clear sealant or lacquer. Use a spray or brush to evenly coat the surface.
Tip: Choose a matte finish for a more authentic, aged look.
Troubleshooting Tips
- Uneven rusting: Ensure even cleaning and apply the rust solution uniformly.
- No rust formation: Check if the metal is too clean or sealed; try longer exposure or different rusting solutions.
- Over-rusting: Rinse quickly and apply sealant sooner to halt the process.
Conclusion
Learning how to craft nail gun rust opens up creative possibilities for decorating, restoring, or customizing metal objects. By following these simple steps, you can achieve realistic, aged effects without damaging your tools. Remember to work safely, be patient, and enjoy the transformation process!
Additional Tips for Best Results
- Test your rusting method on scrap metal first to perfect your technique.
- Use protective gear at all times to avoid chemical exposure.
- Vary the amount of salt and exposure time for different rust textures.
- Combine methods for unique rust patterns.