

If you’ve ever needed to drill a 1/4 inch hole but weren’t sure where to start, you’re in the right place. Getting the size just right can make all the difference in your project’s success.
Whether you’re working on a simple home repair or a creative DIY, knowing the exact steps will save you time, frustration, and wasted materials. Stick with me, and by the end of this article, you’ll have the confidence and know-how to drill that perfect hole every single time.
Ready to get started? Let’s dive in.
Choosing The Right Drill And Bit
Choosing the right drill and bit is key to drilling a clean 1/4 inch hole. The drill and bit must match the material. This ensures the hole is precise and the tool lasts longer. Picking the correct tools helps avoid damage and saves time.
Types Of Drills For The Job
There are different drills for different tasks. A cordless drill is easy to handle and good for most jobs. A corded drill offers more power for tougher materials. For wood, a standard drill works well. For metal, choose a drill with variable speed settings.
Selecting A 1/4 Inch Drill Bit
Drill bits come in many types and sizes. Make sure the bit is exactly 1/4 inch. Twist drill bits are common and work on wood and metal. For softer materials, brad point bits give clean holes. Use a bit made from strong steel for long life.
Material Considerations
Different materials need different bits. Wood is softer and drills easily with most bits. Metal requires bits made from high-speed steel or cobalt. Masonry needs carbide-tipped bits for strength. Match the bit to the material for best results.
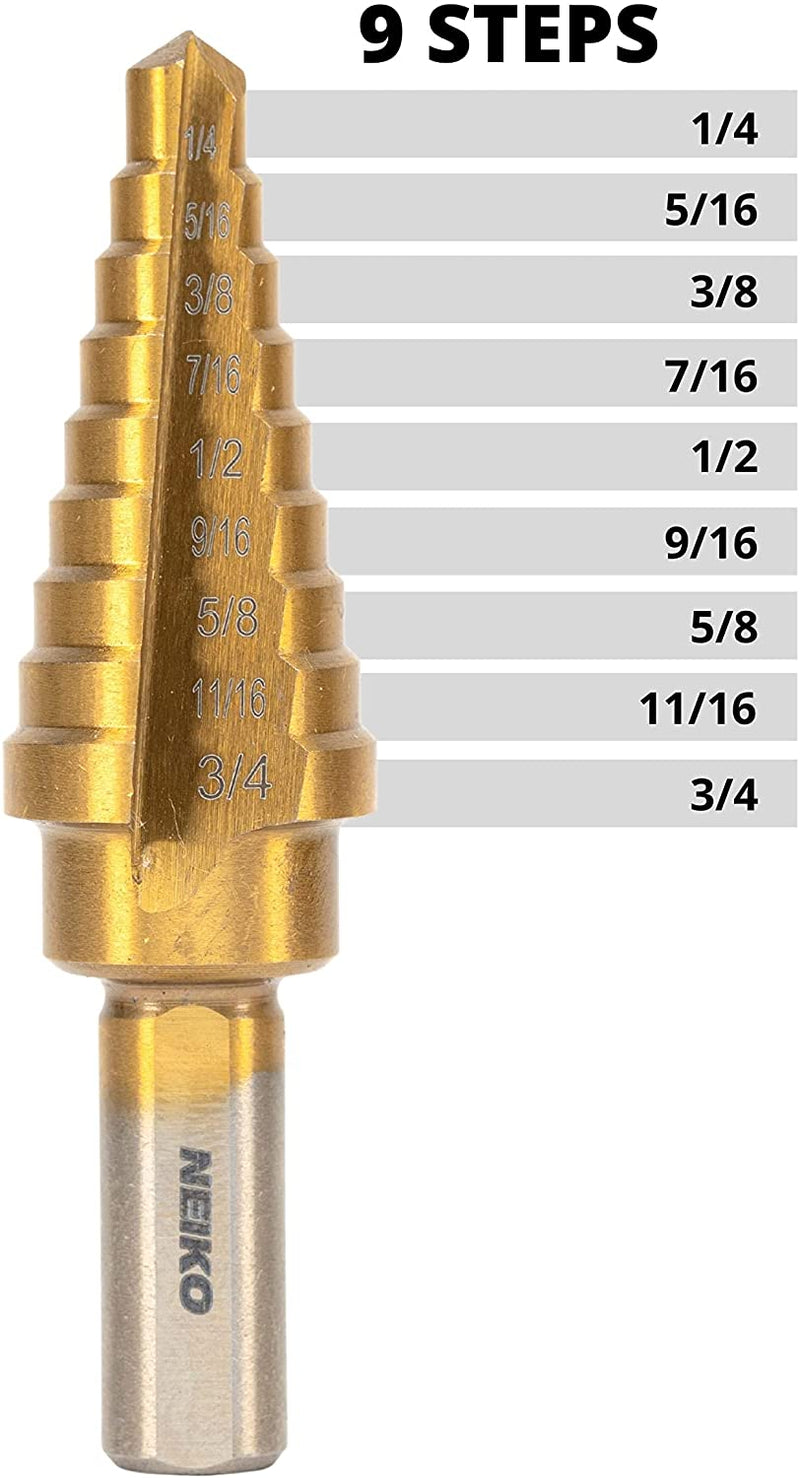
Credit: neikotools.com
Preparing Your Workspace
Preparing your workspace is the first step to drilling a perfect 1/4 inch hole. A clean and organized area helps you work safely and efficiently. Take time to set up everything before starting. This reduces mistakes and makes drilling easier.
Safety Gear Essentials
Always wear safety glasses to protect your eyes from dust and debris. Use ear protection to block loud drilling noises. Wear gloves to protect your hands from sharp edges and splinters. Avoid loose clothes that can get caught in the drill. Safety gear keeps you safe and comfortable.
Securing The Workpiece
Clamp the workpiece firmly to your workbench. This stops the material from moving while you drill. Use a sturdy clamp that holds the piece tightly. A steady workpiece means a cleaner, more accurate hole. Never hold the material with your hand while drilling.
Marking The Drill Spot
Use a pencil or marker to mark the drill spot clearly. Measure twice to ensure the mark is in the right place. A small indentation with a nail or awl helps guide the drill bit. Marking the spot prevents the drill from slipping. This step improves precision and saves time.
Drilling The Hole
Drilling a 1/4 inch hole needs care and the right steps. This section guides you through the drilling process. Follow these tips for a clean and accurate hole.
Setting The Drill Speed
Choose the right drill speed before starting. For wood, use a medium speed. For metal, lower the speed to avoid overheating. High speed can damage the drill bit. Adjust the speed based on the material hardness.
Proper Drilling Technique
Hold the drill steady and straight. Start drilling slowly to make a small guide hole. Apply gentle, even pressure. Let the drill bit do the work. Avoid pushing too hard, or the bit may bend or break. Pull the drill out occasionally to clear debris.
Avoiding Common Mistakes
Do not rush the drilling process. Avoid using a dull drill bit; it causes rough holes. Check that the drill bit is tight and secure. Always wear safety goggles to protect your eyes. Make sure the workpiece is firmly clamped before drilling.
Finishing Touches
After drilling a 1/4 inch hole, the final steps are important. These finishing touches help make the hole clean and precise. They also improve the look and function of your project. Paying attention to small details gives better results and makes your work last longer.
Cleaning The Hole
Start by removing dust and debris from inside the hole. Use a small brush or compressed air to clear out loose particles. Clean holes help parts fit better and prevent damage later. Wipe around the hole with a cloth to remove any leftover dirt.
Checking Hole Accuracy
Check the hole size with a ruler or caliper. Make sure the diameter is exactly 1/4 inch. Test the hole by inserting the drill bit or a matching part. The hole should be snug but not too tight. Correct sizing ensures your project fits together well.
Handling Rough Edges
Look for any sharp or rough edges around the hole. Use sandpaper or a file to smooth these areas gently. Removing rough spots prevents injury and makes the hole look neat. Take care not to enlarge the hole while smoothing edges.
Troubleshooting Tips
Troubleshooting common problems while drilling a 1/4 inch hole helps save time and effort. Small issues can cause frustration and poor results. Knowing how to fix these problems improves your work quality.
Below are simple tips to solve frequent drilling troubles. Follow these to get cleaner and accurate holes.
Dealing With Bit Slippage
Bit slippage happens when the drill bit slips off the spot. This can make holes bigger or uneven. To stop slippage, press the drill firmly and keep it steady. Use a center punch to make a small dent where you want to drill. This dent holds the bit in place.
Fixing Misaligned Holes
Misaligned holes occur if the drill is not straight. Hold the drill perpendicular to the surface. Check your angle before starting. If the hole is off, mark the correct spot and try again. Using a guide or clamp can help keep the drill steady and aligned.
When To Replace The Drill Bit
Dull or damaged bits cause poor drilling results. Signs include slow drilling and rough holes. Replace the bit if it looks worn or bent. New bits cut faster and cleaner. Always keep spare bits ready for your projects.
Credit: www.reddit.com
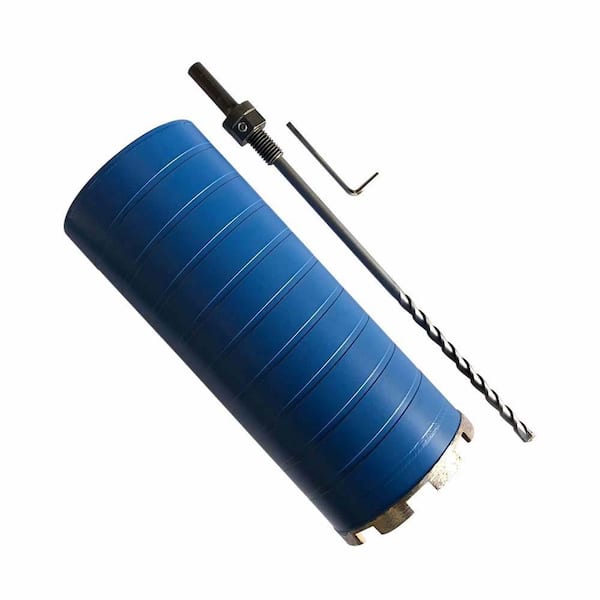
Credit: www.homedepot.com
Frequently Asked Questions
What Drill Bit Is Best For A 1/4 Inch Hole?
A 1/4 inch drill bit made of high-speed steel is ideal. It provides precision and durability for most materials like wood, plastic, and metal. Choose a bit with a sharp tip for clean, accurate holes.
How Do I Ensure A Straight 1/4 Inch Hole?
Use a drill press or guide to keep the drill bit steady. Mark the drilling spot clearly and hold the material firmly. Slow, consistent pressure helps maintain a straight hole without wandering.
Can I Drill A 1/4 Inch Hole In Metal Safely?
Yes, use a high-speed steel or cobalt drill bit. Apply cutting oil to reduce heat and friction. Drill at a slow speed and steady pressure to avoid damaging the bit or material.
What Speed Should I Use For Drilling A 1/4 Inch Hole?
Use a medium to slow speed for metal and faster for wood. Too high speed can overheat the bit or cause rough holes. Adjust speed based on the material’s hardness for best results.
Conclusion
Drilling a 1/4 inch hole is simple with the right tools. Always choose the correct drill bit for your material. Keep the drill steady and apply even pressure. Take your time to avoid mistakes or damage. Practice on scrap pieces to build confidence.
This skill helps in many DIY projects around the home. With patience, anyone can drill clean, accurate holes. Now, you can handle small tasks with ease and safety. Just follow these easy steps and you’ll do great.