

Are you about to start a project and need to drill a hole for a screw but aren’t sure where to begin? Knowing how to drill the perfect hole can save you time, prevent damage, and make your work look professional.
Whether you’re fixing something around the house or building from scratch, mastering this simple skill will boost your confidence and results. Keep reading, and you’ll learn step-by-step how to drill a hole that fits your screw perfectly every time. Your next project is about to get a whole lot easier.
Credit: woodbin.com
Choosing The Right Drill And Bit
Choosing the right drill and bit is crucial for drilling a hole for a screw. It affects the hole’s size, depth, and the screw’s hold. Using the wrong tools can cause damage to the material or make the screw loose. Understanding different drills and bits helps you pick the best tools for your project.
Types Of Drills For Screws
There are many drills for driving screws. Cordless drills are popular for their ease of use and mobility. They offer enough power for most home projects. Corded drills provide constant power but need an outlet nearby. Impact drivers are designed for screws and offer high torque. They work well on tough materials and long screws. Choose a drill that matches your project size and material.
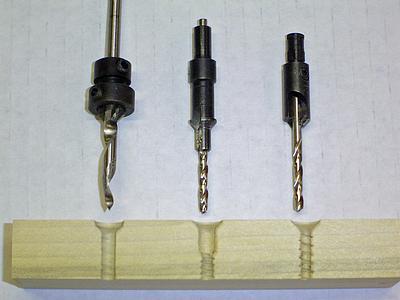
Selecting The Correct Drill Bit
Choosing the right drill bit size is key. The hole should be slightly smaller than the screw’s diameter. This helps the screw grip the material tightly. Pilot bits are best for starting holes. Countersink bits create a space for the screw head to sit flush. Use a bit that fits your screw type and size. Always check the screw package for recommended drill bit size.
Material-specific Bit Choices
Different materials need different drill bits. For wood, use spade bits or brad-point bits. They cut clean holes without splitting wood. For metal, use high-speed steel (HSS) bits. These stay sharp and cut through metal easily. For masonry or concrete, use carbide-tipped bits. These bits handle tough, hard surfaces without breaking. Match the bit to the material for smooth drilling and strong screw hold.
Preparing The Work Surface
Preparing the work surface is an important first step before drilling a hole for a screw. It helps ensure accuracy and safety. Taking time to prepare makes the drilling process smoother. It also protects your materials and tools from damage.
Marking The Drill Spot
Start by marking the exact spot where the hole will go. Use a pencil or a marker for clear visibility. Measure twice to avoid mistakes. A small dot or cross will guide your drill bit. This step helps keep your work precise and neat.
Using Clamps For Stability
Secure the workpiece with clamps to prevent movement. Clamps hold materials steady while you drill. This reduces the chance of slipping or mistakes. Choose clamps that fit your project size. Stable materials make drilling safer and easier.
Protecting Surrounding Areas
Protect the area around the drill spot to avoid damage. Use scrap wood or a piece of cardboard under the workpiece. This prevents splintering or dents on surfaces below. Cover nearby surfaces to keep them clean from dust. Taking these steps keeps your workspace tidy and safe.
Drilling Techniques For Accuracy
Drilling a hole for a screw needs care and skill. Accuracy matters for a strong hold and neat finish. Using the right techniques helps avoid mistakes. This section explains key methods to drill holes precisely.
Setting Drill Speed And Pressure
Use the correct drill speed for the material. Slow speed works best for hard materials like metal. Faster speed suits wood and soft plastics.
Apply steady pressure. Press too hard, and the drill bit may slip or break. Too light, and the bit will not cut properly. Keep a firm grip and even pressure.
Maintaining Drill Angle
Hold the drill straight and steady. The angle affects how well the screw fits. A tilted hole can cause the screw to go in crooked.
Check the drill’s position before drilling. Use guides or marks to keep the angle correct. This helps make clean, accurate holes every time.
Using Pilot Holes
Start with a small pilot hole. This guides the screw and prevents wood from splitting. It also makes screwing easier and more precise.
Choose a drill bit smaller than the screw. Drill the pilot hole at the right depth. This step improves screw grip and overall strength.

Credit: www.popularwoodworking.com
Avoiding Common Mistakes
Drilling a hole for a screw seems easy but has many pitfalls. Avoiding common mistakes saves time and effort. Knowing how to handle wood, hard materials, and alignment keeps your work neat. This section covers key tips to prevent common errors.
Preventing Wood Splitting
Wood often splits when you drill without care. Use a drill bit smaller than the screw size. Drill a pilot hole first to guide the screw. Avoid drilling too close to edges to keep wood intact. Slow drilling speed helps reduce pressure on the wood. A sharp drill bit cuts cleanly, preventing cracks.
Dealing With Hard Materials
Hard materials like metal or concrete need special care. Use a drill bit made for the material type. Apply steady, even pressure while drilling. Let the drill do the work; do not force it. Cooling the bit with water stops overheating. Wear safety glasses to protect your eyes from debris.
Correcting Misaligned Holes
Misaligned holes cause screws to sit poorly or strip. Mark the spot clearly before drilling. Use a center punch to make a small dent for guidance. Drill slowly and check alignment often. If a hole is off, fill it with wood filler or epoxy. Redrill carefully at the correct spot for best results.
Finishing Touches For Secure Screws
Finishing touches are key to making sure screws hold tight and last long. These final steps prevent damage and improve the look of your project. Taking time here saves effort later and gives a neat, professional result.
Countersinking For Flush Screws
Countersinking means creating a small, angled hole at the top. This lets the screw head sit flush with or below the surface. It stops the screw from sticking out and causing snags. Use a countersink bit or a larger drill bit carefully. This step is important for wood projects and helps the surface stay smooth.
Cleaning Debris From Holes
Remove dust and debris from the holes before inserting screws. Use a small brush or blow air into the hole to clear it. Cleaning helps screws go in easily and hold better. Dust or wood chips can weaken the grip. A clean hole means stronger fastening and less chance of splitting.
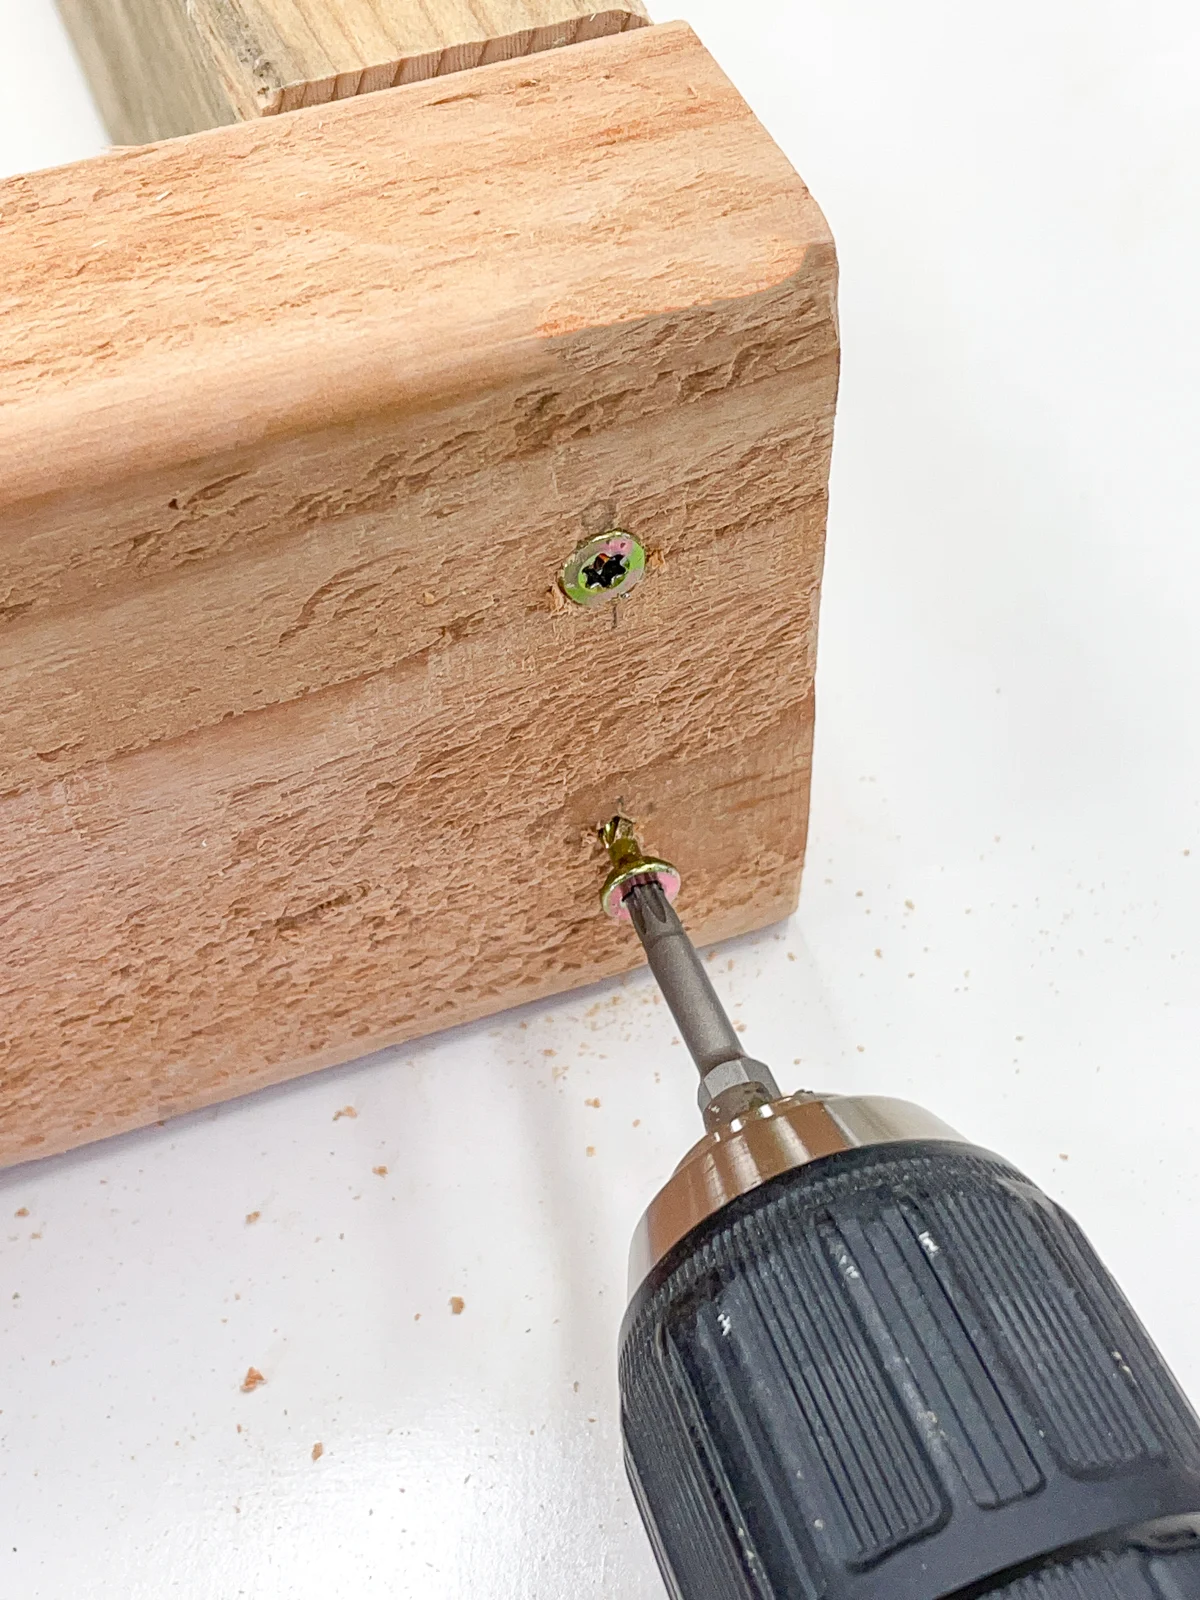
Testing Screw Fit And Stability
Test the screw by inserting it slowly into the hole. Check that it fits snugly without too much force. Tighten the screw just enough to hold firm. Avoid over-tightening which can strip the hole or break the screw. A stable screw feels secure and does not wobble or loosen easily.
Credit: www.thehandymansdaughter.com
Safety Tips While Drilling
Drilling a hole for a screw may seem simple, but safety is very important. Drills are powerful tools that can cause injuries without care. Following safety tips helps prevent accidents and keeps the work smooth.
Wearing Protective Gear
Always wear safety glasses to protect your eyes from dust and debris. Use gloves to protect your hands from sharp edges and heat. Ear protection helps reduce loud noise from the drill. Wear a dust mask if you work with materials that create fine dust.
Handling Tools Safely
Hold the drill firmly with both hands. Make sure the drill bit is tight and in good condition. Keep fingers away from the drill bit. Do not force the drill; let it work at its own speed. Turn off and unplug the drill before changing bits or making adjustments.
Keeping Work Area Organized
Clear the work surface of clutter and obstacles. Keep cords away from the drilling area to avoid tripping. Use clamps to hold the workpiece steady. Good lighting helps you see the drilling spot clearly. Clean up dust and scraps regularly to prevent slipping or accidents.
Frequently Asked Questions
How Do I Choose The Right Drill Bit Size?
Select a drill bit slightly smaller than the screw’s diameter. This ensures a snug fit and prevents wood splitting. Check screw packaging for recommended drill bit sizes or measure the screw’s core thickness for accuracy.
Should I Pre-drill Holes For All Screws?
Pre-drilling is recommended for hardwood and thick materials. It prevents splitting and guides the screw for easier insertion. Softwoods may not always require pre-drilling but doing so can improve precision and reduce material damage.
What Drill Speed Is Best For Drilling Screw Holes?
Use a medium to low drill speed when drilling holes for screws. High speed can cause overheating and damage the material. Slower speeds provide better control and cleaner holes, especially in hardwood or delicate surfaces.
How Deep Should The Pilot Hole Be Drilled?
Drill the pilot hole slightly deeper than the screw length. This allows the screw tip to fully embed without resistance. A hole depth equal to the screw length ensures proper fit and secure fastening.
Conclusion
Drilling a hole for a screw is simple with the right steps. Always choose the correct drill bit size first. Mark the spot clearly and drill slowly to avoid mistakes. Keep the drill steady and straight for best results. Practice on scrap wood to build confidence.
This skill saves time and helps complete projects well. Try it yourself and see the difference.