

Are you facing the challenge of drilling a hole in Formica without cracking or damaging it? You’re not alone.
Formica is tough and can be tricky to work with, but with the right tools and techniques, you can make clean, precise holes easily. In this guide, you’ll discover simple steps that save your surface and make your project look professional.
Keep reading, and you’ll gain the confidence to handle Formica like a pro—no frustration, no mess, just perfect results every time.
Choosing The Right Drill Bit
Choosing the right drill bit is key to drilling a clean hole in Formica. Formica is a hard surface that can chip or crack easily. Using the wrong drill bit can ruin your project. Picking the correct bit helps you work faster and safer. It also keeps the surface smooth and damage-free.
Types Of Drill Bits For Formica
Carbide-tipped drill bits work well on Formica. They are strong and stay sharp longer. High-speed steel (HSS) bits can also be used. They are cheaper but may dull faster. Brad point bits are another good choice. They help keep the hole precise and prevent slipping. Avoid using wood bits with large spurs, as they can crack Formica.
Material And Coating Considerations
Look for drill bits with coatings like titanium or black oxide. These coatings reduce heat and friction during drilling. Heat can damage Formica and the bit itself. Carbide tips are harder than steel and resist wear. A smooth, sharp tip cuts cleaner holes. Avoid dull or rusty bits to prevent chipping and rough edges.
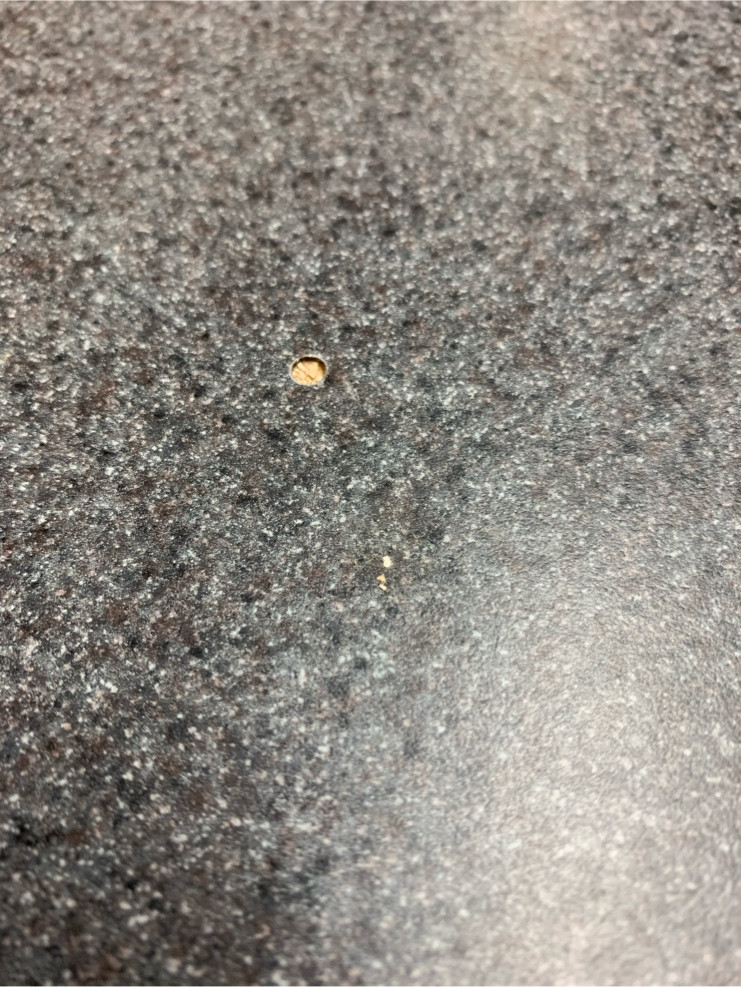
Credit: diy.stackexchange.com
Preparing The Surface
Preparing the surface is the first step to drill a hole in Formica safely and accurately. This step helps you avoid mistakes and damage. A clean and well-marked surface means your drill will go exactly where you want. Take your time with preparation for the best results.
Cleaning The Formica
Start by wiping the surface with a soft cloth. Use mild soap and water to remove dirt and grease. Avoid harsh chemicals that can damage the Formica. Let the surface dry completely before drilling. A clean surface helps the drill bit grip better and reduces slipping.
Marking The Drill Spot
Use a pencil to mark the exact spot for the hole. A small dot is enough to guide your drill. For better accuracy, place a piece of masking tape over the spot. Mark on the tape, not directly on the Formica. This prevents the surface from chipping or cracking during drilling.
Setting Up Your Drill
Setting up your drill correctly is key to drilling a clean hole in Formica. Proper setup helps avoid cracks and chips. It also makes the process easier and safer. Pay attention to your drill speed and the tools you use for accuracy.
Selecting The Appropriate Speed
Use a low to medium speed on your drill. High speeds can overheat the drill bit and damage Formica. Start slow to control the drilling. Increase speed slightly if needed. Keep the drill steady and apply gentle pressure.
Using A Drill Guide Or Template
A drill guide or template keeps the drill bit straight. It prevents slipping on the smooth surface of Formica. Place the guide firmly on the spot you want to drill. This helps make precise holes. It also protects the surface from scratches.
Drilling Techniques
Drilling into Formica requires careful techniques to avoid damage. The surface is thin and can chip or crack easily. Using the right methods helps you get a clean hole without ruining the material. Follow these steps for smooth drilling and a neat finish.
Starting The Hole Carefully
Place a piece of masking tape on the drilling spot. This helps stop the drill bit from slipping. Use a small drill bit first to make a pilot hole. Drill slowly and gently to keep control. This prevents cracks from forming at the start.
Applying Steady Pressure
Hold the drill firmly but do not push too hard. Let the drill bit do the work. Keep the drill steady and straight. Pressing too fast or unevenly can cause damage. Take your time and maintain a steady pace for a clean hole.
Preventing Cracks And Chips
Use a sharp drill bit designed for laminate or wood. Avoid dull bits that can tear the surface. Drill at a low speed to reduce heat and stress. Support the underside of the Formica with wood. This support stops cracks and chips as the drill breaks through.
Finishing Touches
After drilling a hole in Formica, finishing touches improve both look and safety. These steps help avoid rough edges and leftover mess. Taking time here keeps your project neat and professional.
Smoothing The Edges
Use fine sandpaper or a sanding block to smooth the hole edges. Move gently around the hole to remove sharp bits. This prevents cuts and stops the Formica from chipping later. Check the edges by running your finger softly along them.
Cleaning Up Debris
Clear dust and tiny chips from the hole and surface. Use a soft brush or a cloth to wipe the area clean. Avoid strong chemicals that might damage the Formica. A clean workspace shows quality and care in your work.

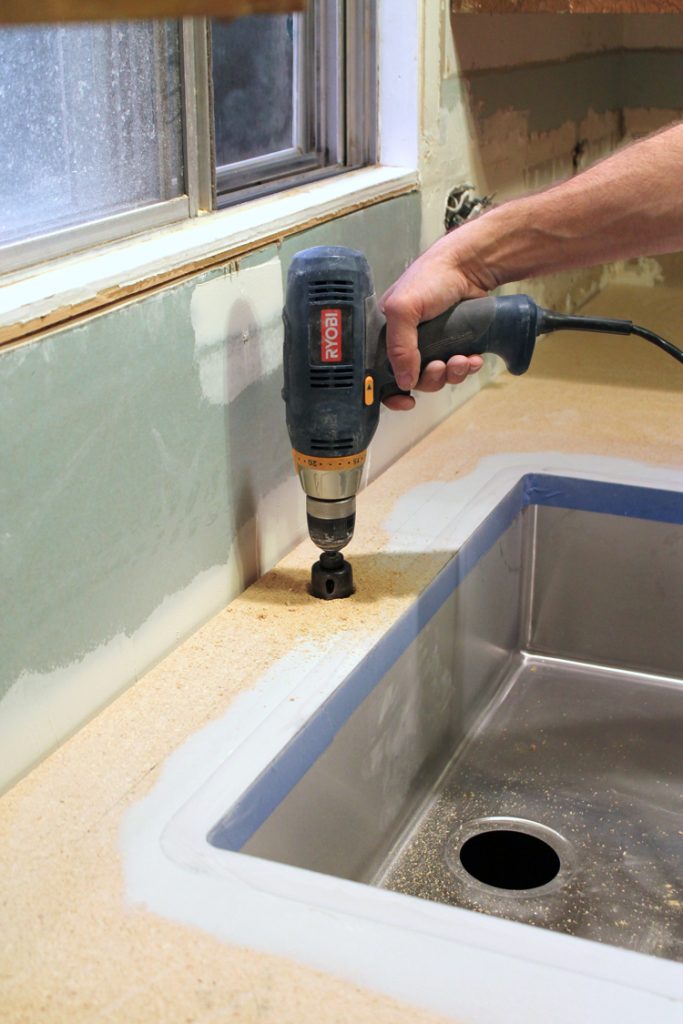
Credit: www.youtube.com
Safety Tips
Drilling a hole in Formica needs care and attention. Safety is very important to avoid injuries and damage. Follow these safety tips before and during drilling.
Protective Gear To Use
Always wear safety glasses to protect your eyes from dust and chips. Use a dust mask to avoid breathing small particles. Gloves help protect your hands from sharp edges and heat. Wear long sleeves to protect your arms. Closed-toe shoes keep your feet safe from dropped tools.
Handling Tools Safely
Check your drill and bits before starting. Make sure they are clean and sharp. Hold the drill firmly with both hands. Keep your fingers away from the drill bit. Use a slow speed to avoid cracking the surface. Do not force the drill; let it work gently. Unplug the drill when changing bits or adjusting. Store tools properly after use to prevent accidents.
Common Mistakes To Avoid
Drilling a hole in Formica can be tricky. Mistakes can cause cracks, chips, or damage. Avoiding common errors ensures a clean, smooth hole. Take time and follow simple steps.
Drilling Too Fast
Drilling too fast creates heat and pressure. Heat can melt or crack the Formica surface. Move the drill slowly and steadily. Let the drill bit do the work. Use low speed to avoid damage.
Ignoring Surface Preparation
Not preparing the surface leads to slipping and mistakes. Clean the area to remove dust and grease. Place masking tape on the spot to protect it. Mark the hole location clearly before drilling. This helps keep the drill steady and accurate.
Credit: www.thecraftpatchblog.com
Frequently Asked Questions
How Do I Drill A Hole In Formica Without Cracking?
To avoid cracks, use a sharp drill bit and drill slowly. Start with a small pilot hole and increase drill speed gradually. Apply light pressure and keep the drill bit cool by pausing frequently or using water as a lubricant.
What Drill Bit Is Best For Formica Surfaces?
A carbide-tipped or diamond-tipped drill bit works best for drilling through Formica. These bits provide precision and durability, reducing the risk of chipping. Avoid using regular wood or metal bits, as they may damage the surface or cause cracks.
How Can I Prevent Formica From Chipping While Drilling?
Place masking tape over the drill spot to protect the surface. Drill slowly at a low speed to minimize vibrations. Using a backing board underneath the Formica also helps prevent chipping by supporting the material during drilling.
Should I Use A Drill Speed Setting For Formica?
Yes, use a slow to medium drill speed to avoid overheating and cracking. High speeds can cause the drill bit to catch and chip the surface. Drilling slowly provides better control and a cleaner hole.
Conclusion
Drilling a hole in Formica can be simple with the right steps. Use a sharp drill bit and go slow to avoid cracks. Mark the spot clearly before you start. Keep the drill steady and apply gentle pressure. Take your time and check your progress often.
This method helps you get clean, smooth holes every time. Practice on a scrap piece if you can. Now, you’re ready to drill confidently and safely.