

If you need a reliable water source for your home, garden, or farm, knowing how to drill a well point can save you time and money. You might think this job is too complicated or requires expensive tools, but with the right steps, you can do it yourself.
Imagine having clean water just a few feet below your feet, ready whenever you need it. This guide will show you how to drill a well point safely and effectively, even if you’ve never done it before. Keep reading, and you’ll learn the simple tricks that make the process easier than you expect.
Choosing The Right Location
Choosing the right location for drilling a well point is very important. The location affects water quality and how easy it is to drill. Picking a good spot saves time and money.
Consider several factors before starting the drilling process. This helps to avoid problems later.
Assessing Ground Conditions
Check the soil type in the area. Sandy or gravel soils usually allow water to flow well. Clay or rocky soils can make drilling harder.
Look for signs of water nearby, such as wet soil or plants that need a lot of water. These signs can show where water is easier to reach.
Avoiding Contaminated Areas
Do not drill near places with pollution. Avoid areas close to septic tanks, garbage dumps, or chemical storage.
Contaminants can enter your water supply and cause health risks. Keep a safe distance from these sources.
Checking Local Regulations
Check local rules about drilling wells. Some places require permits or have rules about where you can drill.
Following these rules prevents legal issues and fines. Contact local authorities for clear guidelines before starting.

Credit: www.amazon.com
Gathering Necessary Tools And Materials
Gathering the right tools and materials is the first step in drilling a well point. Proper preparation saves time and prevents mistakes. Having everything ready makes the process smoother and safer.
Selecting Drill Equipment
Choose a drill that matches the soil type and depth you need. A hand auger works well for shallow wells. For deeper wells, a power drill or rotary rig may be necessary. Check that the drill bits are sharp and in good condition. Use drill rods that fit securely and are strong enough to handle the job.
Preparing Well Point Components
Pick a well point that suits the water table level and soil condition. The well point usually includes a screen, a pipe, and a drive shoe. Ensure the screen size matches the soil grain size to allow water in but keep soil out. Cut the pipe to the correct length before starting. Clean all parts to remove dirt and rust.
Safety Gear Checklist
Wear safety goggles to protect your eyes from debris. Use gloves to avoid cuts and blisters. A hard hat helps protect your head from falling objects. Wear sturdy boots to protect your feet and provide good grip. Consider ear protection if using loud power tools. Always have a first aid kit nearby.
Preparing The Site
Preparing the site is the first important step before drilling a well point. This step ensures a safe, clear, and organized area for the work. Proper preparation saves time and prevents problems during drilling. It also keeps workers safe and equipment secure.
Clearing The Area
Remove all plants, rocks, and debris from the drilling spot. Clear enough space around the area for machines and workers. This helps avoid accidents and equipment damage. Keep the ground flat and stable for better work conditions.
Marking Drill Points
Mark the exact spots where the drilling will happen. Use stakes or spray paint to show these points clearly. This guides the drill operator and keeps the work precise. Correct marking avoids drilling in the wrong place.
Setting Up Support Structures
Build support frames or platforms if the ground is soft or uneven. These structures hold the drill steady and secure. They prevent sinking or shifting during drilling. Proper support improves safety and drilling accuracy.
Drilling The Well Point
Drilling the well point is a key step in setting up a reliable water source. It requires care and attention to detail. Proper drilling ensures clean water and a long-lasting well. Follow the right methods to avoid common drilling problems. Here’s how to drill the well point effectively.
Starting The Drill
Begin by placing the drill bit at the marked spot. Make sure the drill is steady and secure. Turn on the drill at a slow speed. Let the bit cut into the soil gently. Avoid forcing the drill too hard. This helps prevent damage to the equipment. Keep checking the drill bit for wear or dirt.
Maintaining Drill Alignment
Keep the drill straight as you go deeper. A tilted drill can cause an uneven well point. Use a level or guide to check alignment. Adjust the drill angle if it starts to lean. Proper alignment ensures the well point reaches the water table correctly. It also makes the drilling process easier and safer.
Managing Drill Speed And Pressure
Control the drill speed based on soil type. Soft soil needs slower speed and light pressure. Hard soil requires more pressure but steady speed. Too much pressure can break the drill bit. Too fast speed can cause overheating. Listen to the drill’s sound for signs of strain. Slow down or pause if the drill struggles.
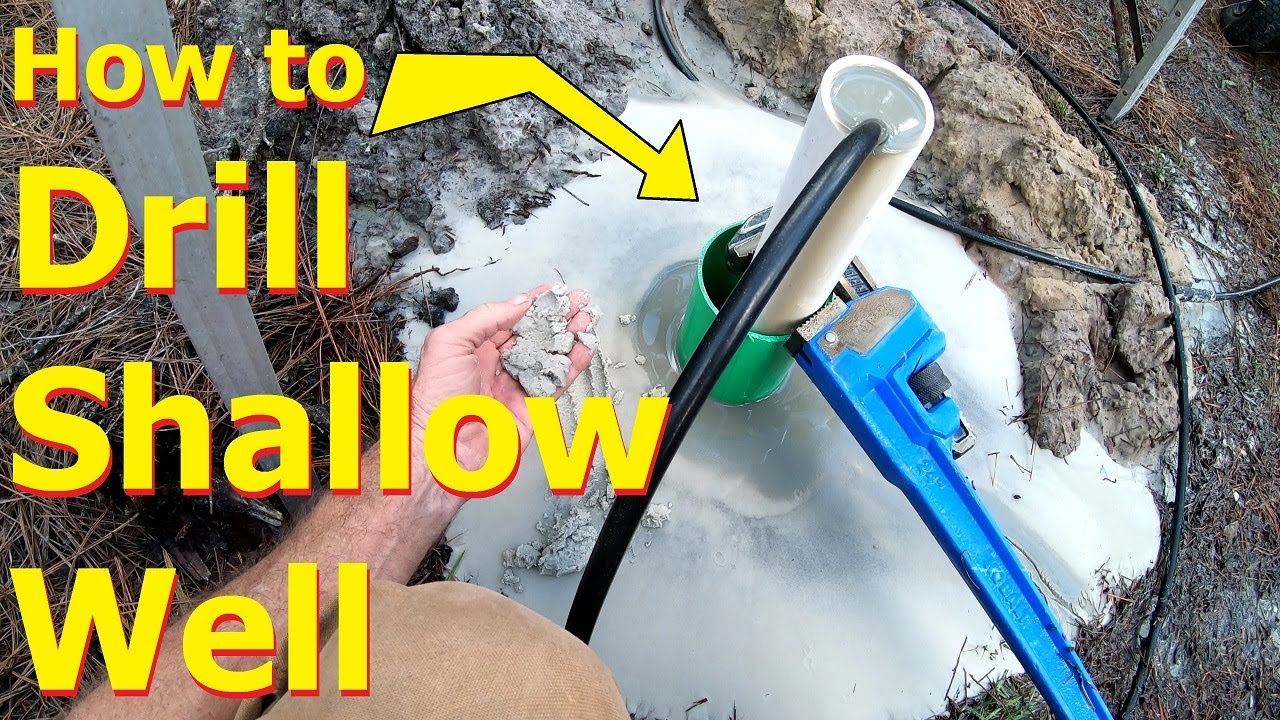
Installing The Well Point
Installing the well point is a key step in drilling a well. This process allows water to enter the system easily. Proper installation ensures the well works efficiently and lasts longer.
Lowering The Well Point
Carefully lower the well point into the drilled hole. Use a strong rope or pipe to control the descent. Make sure the point reaches the water-bearing layer. Avoid sudden drops to protect the equipment.
Sealing And Securing
Seal the area around the well point with sand or clay. This prevents surface water from entering the well. Secure the well point firmly to the pipe. Tight connections stop leaks and keep the system stable.
Connecting To Pump System
Attach the well point to the pump system using pipes. Check all connections for tightness and leaks. This link moves water from the well to your home or field. Test the pump to ensure smooth water flow.

Credit: www.amazon.com
Testing And Maintenance
Testing and maintenance are key to keep your well point working well. Regular checks help find problems early. This saves time and money. You can ensure a steady water flow and prevent damage.
Checking Water Flow
Start by running water from the well point. Watch how strong the flow is. Low flow means a possible clog or pump issue. Compare flow to past readings to spot changes. Clear water shows good condition. Cloudy water might mean dirt or damage inside.
Inspecting For Leaks
Look closely at all pipes and joints. Leaks waste water and reduce pressure. Check for wet spots or water pooling near the well point. Listen for unusual sounds like hissing. These can signal small leaks. Fix leaks quickly to avoid bigger problems.
Routine Maintenance Tips
Clean the filter and screen regularly. Remove any dirt or debris blocking water. Lubricate moving parts to avoid rust and wear. Test the pump monthly to ensure it works well. Keep a log of maintenance tasks and observations. This helps track the health of your well point over time.
Troubleshooting Common Issues
Drilling a well point can sometimes bring unexpected challenges. Troubleshooting these common issues helps keep your project on track. Understanding basic fixes saves time and effort during drilling. This section covers common problems and clear solutions.
Handling Blockages
Blockages often occur from soil or debris clogging the drill. Stop drilling and pull out the drill pipe carefully. Clean the drill bit and pipe with water or air. Use a thin rod to clear the inside of the pipe. Avoid forcing the drill through hard blockages. Instead, try gentle tapping or slow rotation to loosen debris. Regular cleaning during drilling reduces blockages.
Dealing With Low Water Yield
Low water yield means the well does not produce enough water. Check the well depth to ensure it reaches the water table. Drill deeper if needed. The soil type affects water flow; sandy soils usually provide better water. Use a larger well point to improve water intake. Pump slowly at first to avoid drawing sand. Installing a filter screen can help keep water clean and steady.
Fixing Equipment Malfunctions
Equipment problems can stop your drilling work quickly. Check all connections for tightness and leaks before starting. Inspect hoses for cracks or damage regularly. Replace worn drill bits to keep drilling smooth. Lubricate moving parts to reduce wear and tear. Keep spare parts handy for quick replacements. Follow manufacturer guidelines for maintenance to avoid breakdowns.
Credit: nofrillsdental.com.sg
Frequently Asked Questions
What Is A Well Point And Why Use It?
A well point is a small, perforated pipe used to lower the water table. It helps in dewatering construction sites or wells. Using well points prevents waterlogging and stabilizes the soil during drilling or excavation.
How Do You Drill A Well Point Safely?
To drill safely, wear protective gear and check underground utilities first. Use proper drilling equipment and maintain steady, controlled pressure. Follow local regulations and monitor water flow to avoid accidents and ensure efficient drilling.
What Tools Are Needed To Drill A Well Point?
Essential tools include a well point assembly, drill rods, a hammer drill or rotary hammer, a water pump, and safety gear. These tools help penetrate soil and maintain water flow during the drilling process.
How Deep Should A Well Point Be Drilled?
Well points are usually drilled 10 to 20 feet deep. Depth depends on the water table level and soil type. Proper depth ensures effective dewatering and stable groundwater control.
Conclusion
Drilling a well point is a useful skill for water access. Follow each step carefully to avoid common mistakes. Use the right tools and check your work often. Stay safe and wear proper gear while working. This method can save money and time.
Practice makes the process easier and faster. Keep learning to improve your drilling skills. Water from a well point helps in many daily tasks. Try it yourself and see the benefits clearly.