

Are you ready to add eye hooks to your project but unsure where to start? Knowing how to drill eye hooks correctly can save you time, effort, and frustration.
Whether you’re hanging plants, organizing tools, or setting up decorations, getting this step right ensures your hooks hold strong and stay put. In this guide, you’ll discover simple, clear steps that anyone can follow—even if you’ve never used a drill before.
Keep reading, and you’ll gain the confidence to tackle your project like a pro.
Choosing The Right Eye Hook
Choosing the right eye hook is important for safety and performance. Eye hooks come in different types, sizes, and materials. Each factor affects how well the hook will hold and last. Understanding these differences helps you pick the best eye hook for your project.
Types Of Eye Hooks
Eye hooks come in several types. Screw-in hooks have a sharp, threaded end for wood. Lag eye bolts are stronger and need a nut or anchor. Wire eye hooks are flexible and used for light tasks. Pick the type based on the surface and weight you need to hold.
Material Considerations
Eye hooks come in steel, stainless steel, and brass. Steel is strong but can rust outdoors. Stainless steel resists rust and lasts longer outside. Brass looks nice and resists corrosion but is softer. Choose the material based on where and how long you will use the hook.
Size And Load Capacity
Eye hooks have different sizes and weight limits. The size affects how strong the hook is. Bigger hooks hold more weight but need bigger holes. Check the load capacity to match the weight you want to support. Always pick a hook that can hold more than your heaviest load.
Credit: www.manmadediy.com
Tools And Materials Needed
Gathering the right tools and materials makes drilling eye hooks easier. This step ensures accuracy and safety. Prepare all items before starting the job.
Drill And Drill Bits
Choose a drill suitable for wood or metal, depending on your project. Use drill bits that match the size of the eye hook’s shaft. A sharp drill bit creates a clean hole and prevents wood splitting.
Measuring Tools
Use a tape measure or ruler to mark the drilling spot. A pencil helps to mark the exact point. Accurate measuring avoids mistakes and keeps your project neat.
Safety Gear
Wear safety goggles to protect your eyes from dust and debris. Use gloves to protect your hands from sharp materials. A dust mask helps if you work with dusty surfaces.
Marking The Drill Spot
Marking the drill spot is a crucial first step before installing eye hooks. Accurate marking ensures the hook goes in the right place. It also helps prevent mistakes and damage to the material.
Taking time to mark correctly makes the drilling process smoother. It saves effort and keeps your project neat and safe.
Finding The Ideal Location
Choose a spot that supports the hook’s purpose. Look for solid wood or a sturdy surface. Avoid weak or thin areas that may crack or break.
Consider the load the hook will carry. Position it where the weight distributes evenly. This reduces stress on the material and hook.
Measuring And Marking Accurately
Use a ruler or tape measure to find the exact point. Measure twice to confirm the spot is correct. Mark the spot lightly with a pencil.
A small dot or cross works best. It guides the drill bit without causing extra holes. Clear marking helps keep the drill steady and precise.

Credit: www.youtube.com
Preparing The Pilot Hole
Preparing the pilot hole is a key step before drilling eye hooks. It helps to make the drilling easier and prevents wood from splitting. A well-prepared hole also ensures the eye hook fits tightly and holds firmly. Taking time to prepare the hole saves effort and avoids damage.
Selecting The Correct Drill Bit Size
Choose a drill bit slightly smaller than the eye hook’s shaft. This size allows the hook to screw in smoothly. A bit too large makes the hook loose. Too small makes screwing difficult and risks breaking the wood. Check the hook’s thickness and pick the right bit carefully.
Drilling Techniques For Different Materials
Softwood needs less pressure and slower speed when drilling. Hardwoods require steady pressure and slower drill speed. For drywall or plaster, use a masonry bit for better grip. When drilling metal, use a high-speed steel bit. Always drill straight to avoid angled holes and weak holds.
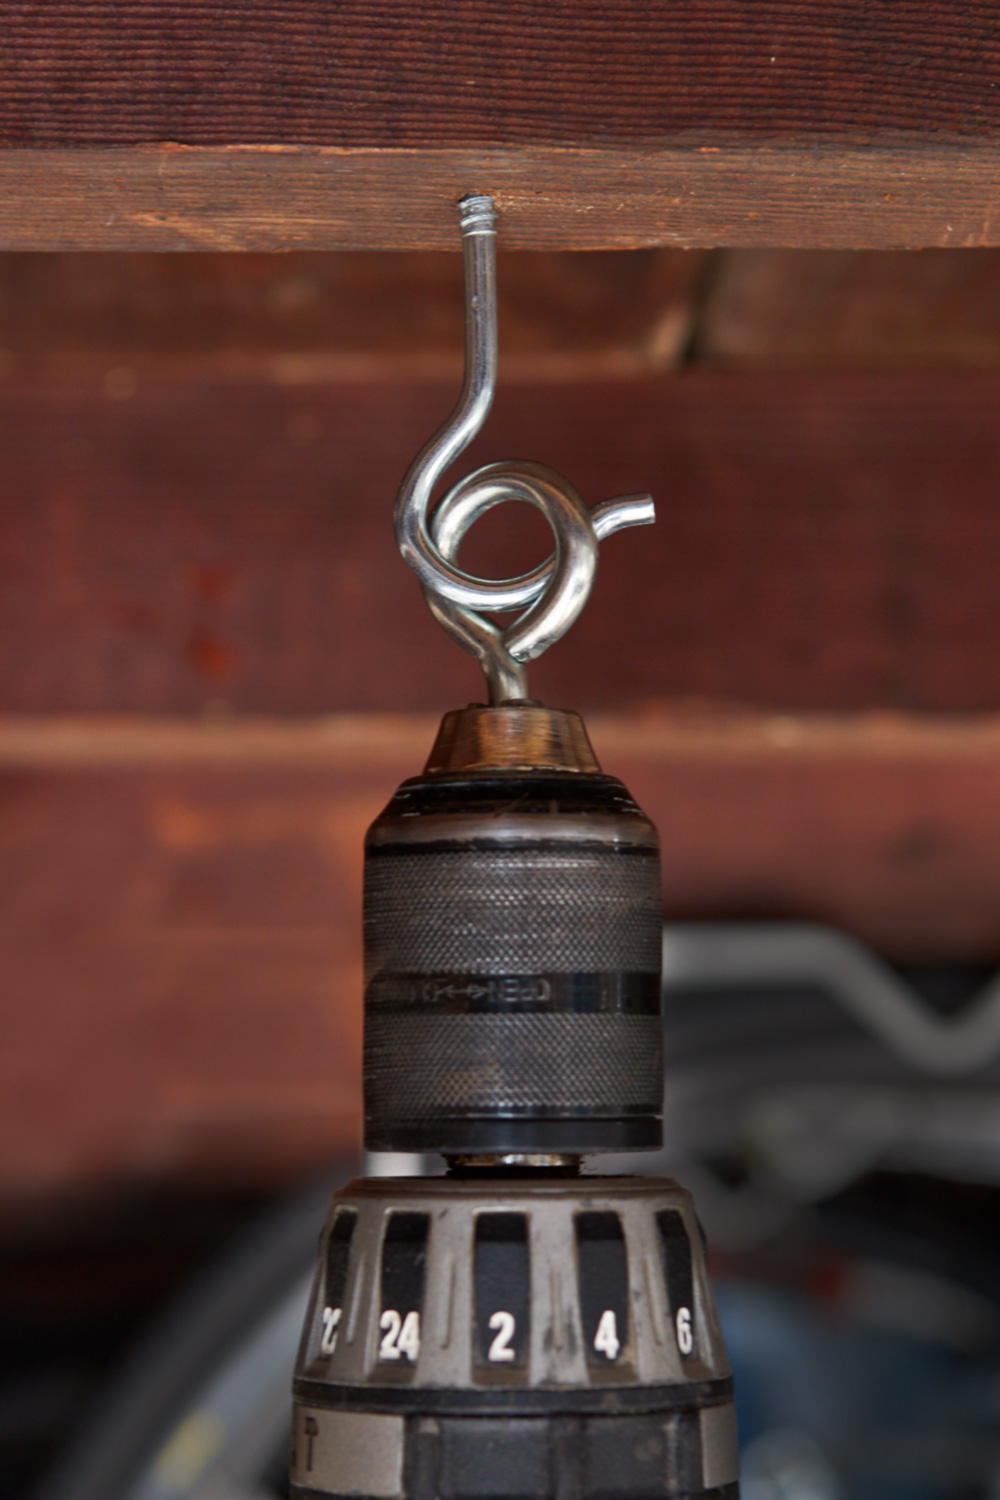
Installing The Eye Hook
Installing an eye hook properly ensures it holds firmly and lasts long. Start by choosing the right spot and drilling a pilot hole. This hole makes screwing in the eye hook easier and prevents wood from splitting. The depth and size of the hole should match the eye hook’s shaft. After drilling, the next step is to install the eye hook securely.
Hand-twisting Method
Place the eye hook’s tip into the pilot hole. Hold the hook’s loop and turn it clockwise with your hand. Keep twisting until the hook goes in straight and feels tight. This method works well for small hooks in soft wood. Stop if you feel strong resistance to avoid breaking the hook or wood.
Using Tools For Tightening
For larger hooks or hard wood, tools help tighten the eye hook better. Use a screwdriver or a rod through the eye for extra leverage. Turn the hook slowly and steadily, applying steady pressure. Tools prevent slipping and save effort. Check the hook’s alignment often. Tighten until it feels secure but do not over-tighten. Over-tightening can strip the wood or damage the hook.
Ensuring Secure Installation
Ensuring the eye hooks are installed securely is key to their performance and safety. A loose hook can cause accidents or damage. Take time to check the strength and stability after drilling. This step helps you avoid future problems.
Testing Stability
After installing the eye hook, gently pull on it to test strength. Use steady force, not too hard, to see if it holds firm. If the hook does not move, it is secure. Check for any wobbling or looseness around the hook base. Stability means the hook is ready for use.
Adjusting Or Reinstalling If Needed
If the hook feels loose, remove it carefully. Inspect the hole for damage or being too wide. Drill a smaller pilot hole in a different spot nearby. Insert the hook again and test stability once more. Repeat this until the hook feels tight and safe. Proper fit prevents accidents and ensures long-lasting use.
Common Mistakes To Avoid
Drilling eye hooks seems simple but many make common mistakes. These errors can cause damage or make the hooks unsafe. Avoiding these mistakes saves time and effort. It also ensures your eye hooks hold strong and last longer.
Drilling Too Large Or Small Pilot Holes
Choosing the right pilot hole size is key. A hole too large won’t hold the hook tightly. A hole too small makes screwing difficult and can split the wood. Match the pilot hole diameter to the hook’s shaft size. This helps the hook grip well and prevents damage.
Ignoring Material Strength
Not all materials handle eye hooks the same way. Soft wood can split easily if the pilot hole is wrong. Hard wood needs a strong pilot hole to avoid cracking. Know your material before drilling. Adjust your drill speed and pressure to protect it.
Overtightening Eye Hooks
Turning eye hooks too hard causes problems. It can strip the threads or bend the hook. Use steady, moderate force to screw the hook in. Stop when it feels secure and firm. This keeps the hook safe and ready for use.

Credit: www.instructables.com
Maintenance Tips For Eye Hooks
Proper maintenance keeps eye hooks safe and strong. Regular care helps avoid damage and extends their life. Simple checks and cleaning make a big difference. Follow these easy steps to keep your eye hooks in good shape.
Regular Inspection
Check eye hooks often for any signs of wear or damage. Look for cracks, bends, or rust on the metal. Make sure the hooks are tightly screwed in and not loose. Replace any hooks that show serious damage to prevent accidents.
Cleaning And Lubrication
Clean eye hooks with a soft cloth to remove dirt and dust. Use mild soap and water for tougher grime. Dry the hooks well to stop rust from forming. Apply a small amount of lubricant to the threads. This keeps them easy to turn and stops corrosion.
Frequently Asked Questions
How Do I Choose The Right Drill Bit For Eye Hooks?
Select a drill bit slightly smaller than the eye hook’s shaft. This ensures a tight fit and secure hold. Using the correct size prevents wood splitting and makes installation easier. Always check the eye hook size before drilling.
What Is The Best Drill Speed For Installing Eye Hooks?
Use a low to medium drill speed when installing eye hooks. High speed can cause wood damage or overheating. Controlled speed ensures better precision and prevents the drill bit from slipping. Adjust speed according to the material hardness.
How Deep Should I Drill For An Eye Hook?
Drill a hole slightly shorter than the eye hook’s threaded length. This allows the hook to grip firmly while avoiding wood splitting. Measure the hook’s shaft before drilling to ensure the perfect hole depth.
Can I Drill Eye Hooks Into Metal Surfaces?
Yes, but use a metal drill bit suitable for the metal type. Pre-drill a pilot hole to make threading easier and prevent damage. Use proper safety gear and apply cutting oil for smoother drilling.
Conclusion
Drilling eye hooks is simple with the right steps. Choose the correct drill bit size first. Mark the spot carefully to avoid mistakes. Drill a small pilot hole to guide the hook. Twist the eye hook in slowly and firmly.
Check that the hook is secure before use. Following these steps helps ensure safety and success. Practice makes the process easier every time. Now, you can add eye hooks confidently to your projects.