

Have you ever wanted to turn an empty glass bottle into something unique and useful? Drilling into glass might sound tricky or even risky, but with the right steps, you can do it safely and easily.
Whether you’re making a stylish lamp, a cool vase, or a creative craft project, knowing how to drill a glass bottle opens up a world of possibilities. Keep reading, and you’ll discover simple tips and tricks that will make your project a success.
Your next DIY masterpiece is just a drill away!
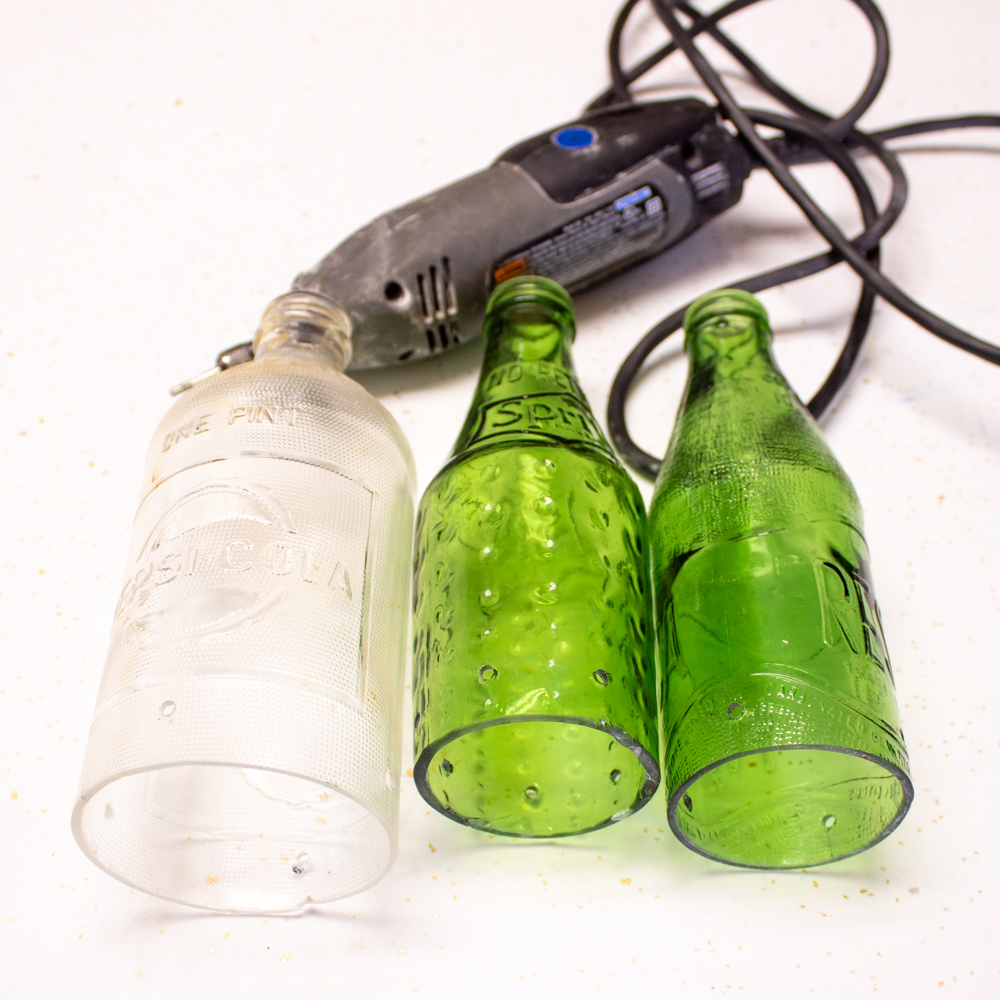
Tools Needed
Drilling a glass bottle needs the right tools to work safely and well. Without proper equipment, you risk breaking the bottle or hurting yourself. The tools help you make clean holes without cracks or chips.
Gather these tools before you start. They make the process smooth and reduce mistakes. Let’s explore what you need for this project.
Choosing The Right Drill Bit
Use a diamond-tipped or carbide drill bit for glass. These bits are strong and cut through glass smoothly. Regular drill bits can crack or shatter the bottle.
Select a small size bit first to create a pilot hole. Then, use a larger bit to widen the hole carefully. This method reduces pressure on the glass.
Safety Gear Essentials
Wear safety glasses to protect your eyes from glass shards. Gloves help keep your hands safe and steady. A dust mask stops you from breathing in glass dust.
Always work in a well-ventilated area. Keep a first aid kit nearby for any minor cuts. Safety gear is critical to prevent accidents.
Additional Supplies
Use masking tape on the drill spot to stop slipping. Water or a coolant keeps the drill bit cool and reduces heat. Heat can cause the glass to crack.
Have a stable surface or clamp to hold the bottle steady. A towel or soft cloth under the bottle prevents scratches. These extras improve your drilling success.
Preparing The Bottle
Preparing the bottle is the first step to drill glass safely and effectively. Proper preparation helps avoid cracks and ensures a clean hole. It also makes the drilling process smoother and faster. Follow these simple steps to get your bottle ready.
Cleaning The Surface
Start by washing the bottle with warm water and soap. Remove all dirt, dust, and grease. Use a soft cloth to clean the spot where you want to drill. A clean surface helps the drill bit grip better and prevents slipping.
Marking The Drill Spot
Use a marker or a piece of tape to mark the exact spot for drilling. The tape adds extra grip for the drill bit. Make the mark clear and visible. This helps you stay precise and avoid mistakes.
Securing The Bottle
Hold the bottle steady on a flat surface. Use a clamp or place it inside a towel to keep it from moving. A secure bottle reduces the risk of accidents. Keep your hands away from the drill path for safety.
Drilling Techniques
Drilling glass bottles requires careful techniques to avoid cracks and breaks. Using the right method helps create clean holes without damaging the bottle. The drilling process needs patience and attention to detail. Follow these simple steps to drill smoothly and safely.
Starting The Drill Slowly
Begin drilling at a very low speed. This prevents the glass from cracking under pressure. Use a drill bit made for glass or tile. Hold the drill steady and start gently. Slow rotation helps the drill bite into the glass without slipping.
Maintaining Water Cooling
Keep the drill bit cool by adding water. Water reduces heat, which can crack the glass. Use a small container or spray bottle to wet the drill area. Keep water flowing while you drill. This also helps remove glass dust and debris.
Applying Consistent Pressure
Press the drill evenly and steadily. Too much force can cause the glass to break. Too little pressure can make the drill slip. Find a balanced, gentle pressure to guide the drill bit through. Patience is key to avoid damage.
Credit: craftingagreenworld.com
Handling Common Issues
Drilling a glass bottle can be tricky. Common issues might slow you down. Handling these problems carefully helps you finish your project smoothly. Knowing simple tricks prevents damage and saves time.
Here are common problems and how to handle them during the drilling process.
Preventing Cracks
Glass is fragile and can crack easily. Use a small drill bit to start. Drill slowly with light pressure. Keep the bottle wet to reduce heat and stress. Place a soft cloth under the bottle for extra support. Check often for tiny cracks to stop bigger breaks.
Dealing With Slippage
Glass is smooth, so the drill bit can slip. Mark the spot with tape to give grip. Hold the bottle firmly or use a clamp with soft padding. Start drilling at a low speed to keep control. Slippage can cause uneven holes or injury, so stay steady and focused.
Fixing Minor Breaks
Small chips or cracks may happen. Clean the area well before repair. Use clear epoxy glue to fill cracks or chips. Let the glue dry completely before handling. Sand the fixed area gently with fine sandpaper for a smooth finish. Minor breaks can look good as new with care.
Finishing Touches
After drilling your glass bottle, the final steps are important. Finishing touches make the project safe and neat. These steps help you avoid sharp edges and keep your workspace clean.
Smoothing Rough Edges
Drilling glass leaves sharp edges around the hole. Use fine sandpaper or a sanding block to smooth these edges. Move gently in a circular motion to avoid cracking. Take your time to make the edges safe to touch. Smooth edges prevent cuts and improve the look of your bottle.
Cleaning After Drilling
Glass dust and small shards can stick to the bottle. Rinse the bottle under warm water to remove debris. Use a soft brush to clean inside the hole. Dry the bottle with a clean cloth. Clean glass looks clear and prevents dirt buildup.
Safe Disposal Of Waste
Glass shards and dust are dangerous. Collect all waste carefully using a brush and dustpan. Place glass pieces in a thick, sealed container. Do not throw loose shards in the trash. Dispose of waste according to local safety rules to avoid injury.

Credit: www.youtube.com
Creative Uses For Drilled Bottles
Drilled glass bottles open many creative possibilities. They turn ordinary bottles into useful items. You can make art, practical tools, or gifts. Each project adds a personal touch to your space. These ideas inspire new ways to reuse bottles.
Diy Home Decor
Drilled bottles make unique lamps and candle holders. Thread string lights through the holes for soft lighting. Use them as hanging vases for small flowers. Paint or decorate the bottles for a custom look. They add charm and style to any room.
Garden Projects
Use drilled bottles as waterers for plants. Hang them upside down to release water slowly. Create bird feeders by adding holes and hooks. They attract birds and add life to your garden. Bottles also serve as garden markers or plant supports.
Unique Gift Ideas
Fill drilled bottles with fairy lights for glowing gifts. Add sand, shells, or small keepsakes inside. Personalize with names or messages painted on the glass. These gifts feel thoughtful and handmade. Perfect for birthdays, holidays, or special occasions.

Credit: www.wikihow.com
Frequently Asked Questions
How Do I Safely Drill A Glass Bottle?
Use a diamond drill bit and wear safety goggles. Secure the bottle on a soft surface. Drill slowly with steady pressure and keep the area wet to prevent cracking.
What Tools Are Best For Drilling Glass Bottles?
A diamond-tipped drill bit and a power drill work best. Use water to cool the drill bit and reduce glass damage.
Can I Drill A Glass Bottle Without Cracking It?
Yes, by using slow speed, steady pressure, and constant water cooling. Avoid sudden force or overheating to prevent cracks.
How To Prevent Glass Bottles From Breaking While Drilling?
Secure the bottle firmly and use a soft surface. Keep the drill bit wet and apply gentle, consistent pressure throughout drilling.
Conclusion
Drilling a glass bottle can be safe and simple with the right tools. Take your time and work carefully to avoid cracks. Use water to keep the drill bit cool and steady. Always wear safety glasses to protect your eyes.
Practice on old bottles before starting your main project. With patience and care, you can create unique crafts or useful items. Enjoy the process and learn from each attempt. This skill adds a fun twist to your DIY activities. Keep experimenting and stay safe while drilling glass.