

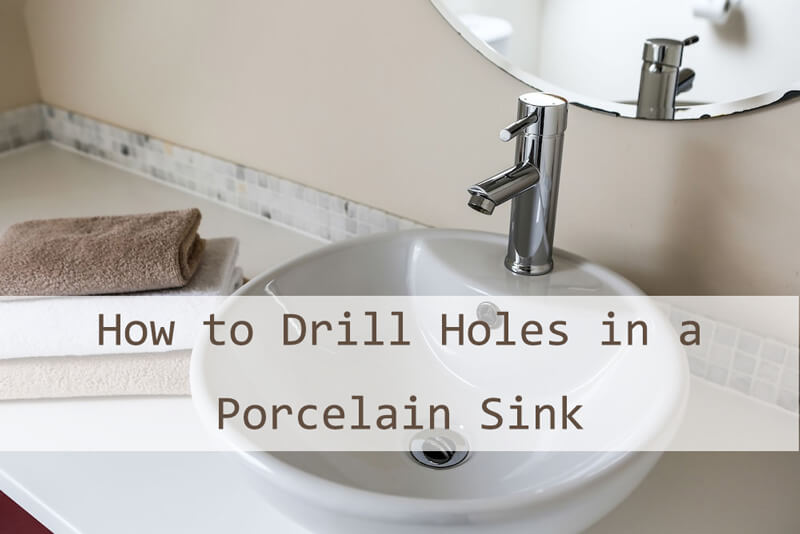
Are you looking to add a new faucet or soap dispenser to your ceramic sink but don’t know how to drill a hole without cracking it? You’re not alone.
Drilling into ceramic can feel risky and tricky, but with the right tools and steps, you can do it safely and easily. This guide will show you exactly how to drill a hole in your ceramic sink, so you can make those upgrades yourself without stress or damage.
Keep reading to learn the simple, effective techniques that will save you time and money.

Credit: www.youtube.com
Tools Needed
Drilling a hole in a ceramic sink needs the right tools. Using proper tools helps avoid cracks and damage. Prepare all items before starting the job. This saves time and keeps the work safe.
Types Of Drill Bits
Use drill bits made for ceramic or glass. Diamond-tipped bits work best. They cut smoothly without breaking the sink. Carbide-tipped bits also do a good job. Avoid regular metal bits; they can crack the ceramic.
Safety Gear
Wear safety glasses to protect your eyes from dust and chips. Use gloves to keep your hands safe. A dust mask helps to avoid breathing ceramic dust. Always wear closed-toe shoes for foot safety.
Additional Supplies
Keep a piece of masking tape to mark the drilling spot. Use water or a spray bottle to cool the drill bit. Cooling stops the sink from heating and cracking. A pencil or marker helps to mark the exact place.
Preparing The Sink
Preparing the sink before drilling a hole is very important. It helps protect the sink and makes the drilling easier. Take your time with these steps. They will make the process safer and cleaner.
Cleaning The Surface
Start by cleaning the sink surface well. Remove any dirt, dust, or grease. Use a mild detergent and a soft cloth. Dry the area completely. A clean surface helps the drill bit grip better. It also prevents scratches and damage.
Marking The Drill Spot
Find the exact spot where you want the hole. Use a pencil or a marker to make a small mark. Double-check the position before drilling. A clear mark guides the drill bit. It keeps the hole in the right place.
Securing The Sink
Make sure the sink does not move during drilling. Use clamps or ask someone to hold it steady. A steady sink prevents cracks and accidents. It also helps you drill a clean, straight hole.
Drilling Techniques
Drilling into a ceramic sink requires care and specific techniques. Without the right approach, the sink can crack or chip. Using the proper methods helps you make clean, precise holes. The following tips focus on how to drill safely and effectively.
Choosing The Right Speed
Set your drill to a low speed. High speed causes heat and can crack the ceramic. Slow drilling gives better control and reduces damage. Use a drill with variable speed settings for best results. Keep the speed steady throughout the process.
Using Water For Cooling
Water cools the drill bit and ceramic surface. It prevents overheating and damage. Apply water continuously while drilling. Use a small stream or spray to keep the area wet. This also helps to reduce dust and debris.
Applying Steady Pressure
Press the drill gently but firmly. Too much force can crack the sink. Too little pressure slows the drilling and causes slipping. Keep your hand steady and let the drill do the work. Pause occasionally to check progress and cool the bit.

Credit: capturingwonderland.com
Preventing Cracks
Drilling a hole in a ceramic sink needs care to avoid cracks. Ceramic is hard but brittle. Pressure or heat can cause it to crack easily. Taking steps to prevent cracks helps keep your sink intact and looking good.
Using the right methods protects the surface and reduces damage. Small precautions save time and money. Let’s explore two effective ways to prevent cracks while drilling.
Using Tape Or Adhesive
Place a strip of tape over the spot to drill. Masking tape works well and sticks firmly. The tape holds the drill bit steady and stops slipping. It also spreads out the pressure from the drill.
Apply the tape in several layers for better protection. Mark the drilling point on the tape with a pencil. This prevents the drill from wandering and scratching the sink.
Starting With A Pilot Hole
Begin with a small drill bit to make a pilot hole. This hole guides the larger drill bit. It reduces the stress on the ceramic surface. Drill slowly and gently at first.
Keep the drill bit cool by dipping it in water. Heat makes cracks more likely. Gradually increase the drill size until the hole reaches the needed diameter.
Finishing Touches
After drilling a hole in your ceramic sink, the job is not yet done. Finishing touches are very important. They make sure the hole is safe, clean, and ready for use. Proper finishing also helps keep the sink strong and free from damage.
Removing Debris
Clear away all dust and small ceramic pieces left from drilling. Use a soft brush or a damp cloth to wipe the area gently. This prevents dirt from causing scratches or blocking the hole. Make sure the hole is clean before moving to the next step.
Smoothing Edges
Sharp edges around the hole can cause cuts or chips. Use fine sandpaper or a small file to smooth the rim carefully. Work slowly and check often. Smooth edges protect your hands and prevent cracks from spreading.
Sealing The Hole
Apply a waterproof sealant around the hole’s edge. This stops water from seeping into the ceramic and causing damage. Use a small brush or your finger to spread the sealant evenly. Let it dry fully before using the sink again.
Troubleshooting Common Issues
Drilling a hole in a ceramic sink can be tricky. Small mistakes can cause damage or make the job harder. This section helps you fix common problems. It guides you through issues like chipping and slipping drill bits. Follow these tips to get a clean hole without stress.
Dealing With Chipped Ceramic
Chipping happens when the ceramic cracks or breaks around the hole. To stop chips, use painter’s tape on the drilling spot. The tape holds the surface and reduces cracks. Drill slowly and apply light pressure. Keep the drill bit cool with water to avoid heat damage. If chips appear, smooth the edges with fine sandpaper. This keeps the sink safe and looks neat.
Handling Drill Bit Slippage
Slippage makes the drill bit slide off the ceramic surface. It can ruin your drilling spot. To stop slipping, mark the exact drill point with a sharp object. Use a small center punch or nail to create a dent. This dent guides the drill bit and keeps it steady. Start drilling at a low speed to keep control. Holding the drill steady helps make a clean hole. Use a diamond-tipped bit for better grip on ceramic.
Credit: www.wowowfaucet.com
Frequently Asked Questions
How Do I Safely Drill A Hole In A Ceramic Sink?
Use a carbide-tipped drill bit and apply masking tape over the spot. Drill slowly with light pressure to avoid cracks. Keep the drill bit and sink surface wet to reduce heat and dust.
What Drill Bit Is Best For Ceramic Sinks?
A diamond-tipped or carbide-tipped drill bit works best for ceramic. These bits cut through the hard surface without cracking or chipping the sink.
How Can I Prevent Cracking When Drilling Ceramic?
Apply masking tape on the drilling spot, use a slow speed, and steady pressure. Keep water on the bit to cool it and reduce stress on the ceramic.
Should I Use Water When Drilling A Ceramic Sink?
Yes, water acts as a coolant and lubricant. It prevents overheating and reduces dust, protecting both the drill bit and sink surface.
Conclusion
Drilling a hole in a ceramic sink takes care and the right tools. Use a diamond drill bit and keep water nearby to cool the area. Take your time and apply gentle pressure to avoid cracks. Mark the spot clearly before you start drilling.
With patience and careful steps, you can do it safely. This simple skill helps you customize your sink for better use. Remember, slow and steady wins the job. Now, you are ready to try drilling your ceramic sink with confidence.