

Are you tired of struggling to water your plants because your ceramic pots don’t have drainage holes? Drilling holes in ceramic pots might seem tricky or risky, but with the right tips and tools, you can do it safely and easily.
Imagine giving your plants the perfect home where water flows just right, keeping roots healthy and happy. In this guide, you’ll discover simple steps that anyone can follow to transform your pots without cracking or damaging them. Keep reading, and you’ll gain the confidence to create better conditions for your plants—and watch them thrive like never before.

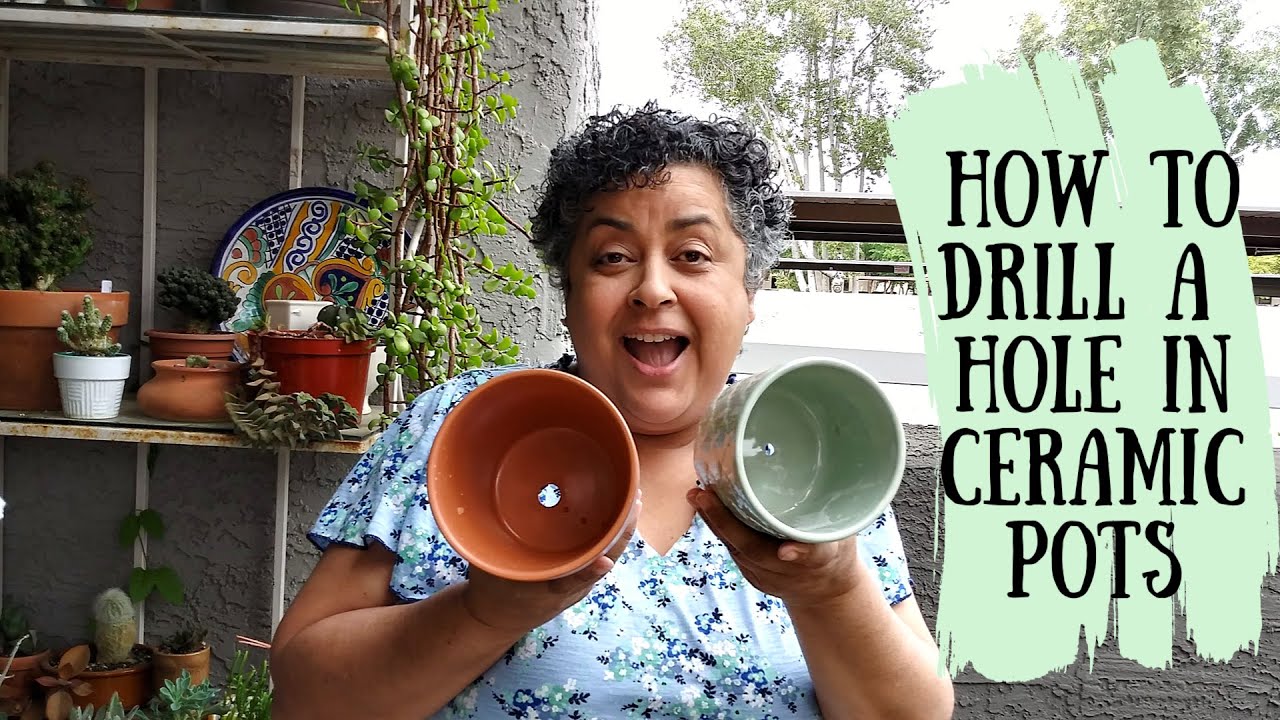
Credit: audreyslittlefarm.com
Tools Needed
Drilling holes in ceramic pots needs the right tools. The tools help you work safely and get clean holes. You need a good drill, the right drill bits, and safety gear. Each tool has a special job. Choosing the right one makes your work easier and better.
Drill Types
A cordless drill is best for ceramic pots. It gives you control and power. A drill with variable speed helps prevent cracking. Slow speed is key for delicate ceramics. Avoid hammer drills. They can break the pot easily.
Drill Bits For Ceramics
Use diamond-tipped drill bits for hard ceramics. They cut smoothly without cracking. Carbide bits work too but less well. Choose bits sized to your hole needs. Start with a small bit to make a pilot hole.
Safety Gear
Wear safety glasses to protect your eyes. Ceramic dust can cause irritation. Gloves protect your hands from sharp edges. A dust mask keeps you safe from fine particles. Always work in a well-ventilated area.
Preparing The Pot
Preparing the ceramic pot properly is important before drilling holes. This step helps avoid cracks and damage. It also ensures clean and accurate holes. Taking time to prepare the pot makes the drilling process easier and safer.
Cleaning The Surface
Start by cleaning the pot’s surface well. Remove dirt, dust, and any residue. Use a soft cloth with mild soap and water. Dry the pot completely before moving on. A clean surface helps the drill bit grip better.
Marking The Drill Spot
Choose the exact spot for the hole. Use a pencil or marker to make a small dot. Make sure the spot is not too close to the edges. Marking clearly guides the drill bit and keeps the hole in place.
Securing The Pot
Hold the pot steady before drilling. Place it on a flat, stable surface. Use clamps or a soft towel to keep it from moving. Securing the pot reduces the risk of slipping and breaking.
Drilling Techniques
Drilling holes in ceramic pots needs care and the right method. Using the correct drilling techniques helps avoid cracks and breaks. It makes the process smoother and safer for your pot and tools.
Choosing The Right Speed
Pick a low to medium drill speed. High speed can cause the ceramic to crack. Slow speed gives better control and less heat. Always start slow and adjust as needed.
Applying Proper Pressure
Use gentle, steady pressure on the drill. Pressing too hard may break the pot. Let the drill bit do the work. Keep your hand steady and avoid sudden movements.
Cooling Methods
Keep the drill bit cool to avoid damage. Use water to cool the area while drilling. Spray or drip water often on the spot. Cooling prevents overheating and cracks in the ceramic.
Credit: www.youtube.com
Common Mistakes To Avoid
Drilling holes in ceramic pots can be tricky. Many beginners make mistakes that cause damage or injury. Avoiding these common errors helps protect your pot and keeps you safe.
Cracking The Pot
Applying too much pressure can crack your ceramic pot. Drill slowly and let the drill bit do the work. Keep the drill steady and avoid sudden movements. Use water to cool the surface and reduce heat. This prevents cracks caused by overheating.
Using Incorrect Drill Bits
Not all drill bits work on ceramic. Use a diamond-tipped or carbide-tipped bit for best results. Regular bits can break or damage the pot. Choose the right size to match your hole needs. This ensures a clean, smooth hole without breaking the ceramic.
Ignoring Safety Precautions
Drilling ceramics produces sharp dust and debris. Wear safety glasses to protect your eyes. Use a mask to avoid breathing in dust. Secure the pot firmly to stop it from moving. Safety keeps you safe and your work clean.
Finishing Touches
After drilling holes in ceramic pots, some final steps make the pot safe and neat. These finishing touches help protect the pot and improve its look. Take time to smooth edges, clean debris, and seal the hole.
Smoothing The Edges
Sharp edges around the hole can cause cuts or cracks. Use fine sandpaper or a nail file to gently smooth these edges. Move the sandpaper in small circles for even smoothing. This step prevents damage and makes the pot safe to handle.
Cleaning Debris
Drilling leaves small dust and ceramic pieces inside and around the hole. Use a soft brush or cloth to clear this debris. Rinse the pot with water to remove fine dust. Clean holes help plants grow better and avoid clogging.
Sealing The Hole
Seal the hole to stop water from leaking or dirt from entering. Use waterproof silicone or a clear sealant for this task. Apply a thin layer around the hole and let it dry fully. Sealing keeps your pot strong and ready for use.
Alternative Methods
Drilling holes in ceramic pots can be tricky. Some tools work better than others. Here are two alternative ways to drill holes safely and cleanly.
Using A Tile Hole Saw
A tile hole saw is a special drill bit made for hard surfaces. It has a diamond coating that cuts through ceramic smoothly. Use low speed on your drill to avoid cracks.
Mark the spot on the pot where you want the hole. Keep the drill steady and apply gentle pressure. Cool the area with water while drilling to stop heat damage. This method makes round and clean holes easily.
Drilling With A Rotary Tool
A rotary tool with a diamond bit is another option. It gives more control for small holes or delicate pots. Hold the tool at a slight angle and start slow.
Move the bit in small circles to wear down the ceramic. Use water to keep the pot cool and reduce dust. This method works well for detailed or precise drilling jobs.

Credit: www.youtube.com
Frequently Asked Questions
How Do I Drill Holes In Ceramic Pots Safely?
Use a diamond-tipped drill bit and water to cool the area. Drill slowly with steady pressure to avoid cracking the pot. Always wear safety goggles and gloves for protection.
What Tools Are Best For Drilling Ceramic Pots?
A variable-speed drill with a diamond or carbide-tipped bit works best. Use a clamp to secure the pot and keep it stable during drilling.
Can I Drill Drainage Holes Without Breaking The Pot?
Yes, by drilling slowly and using water to reduce heat. Avoid applying too much pressure and let the drill do the work for clean holes.
How Do I Prevent Ceramic Pots From Cracking While Drilling?
Keep the drill bit cool with water and use low speed. Apply light, steady pressure and avoid sudden movements to prevent cracks.
Conclusion
Drilling holes in ceramic pots can be simple with the right steps. Use a proper drill bit and take your time. Keep the pot wet to avoid cracks. Safety matters, so wear goggles and protect your hands. Practice on a spare piece before working on your pot.
This way, you gain confidence and avoid mistakes. With patience and care, you can create perfect drainage holes. Enjoy making your pots ready for healthy plant growth. Give it a try and see the difference yourself.